
Why Every Home Baker Should Master a Classic crostata
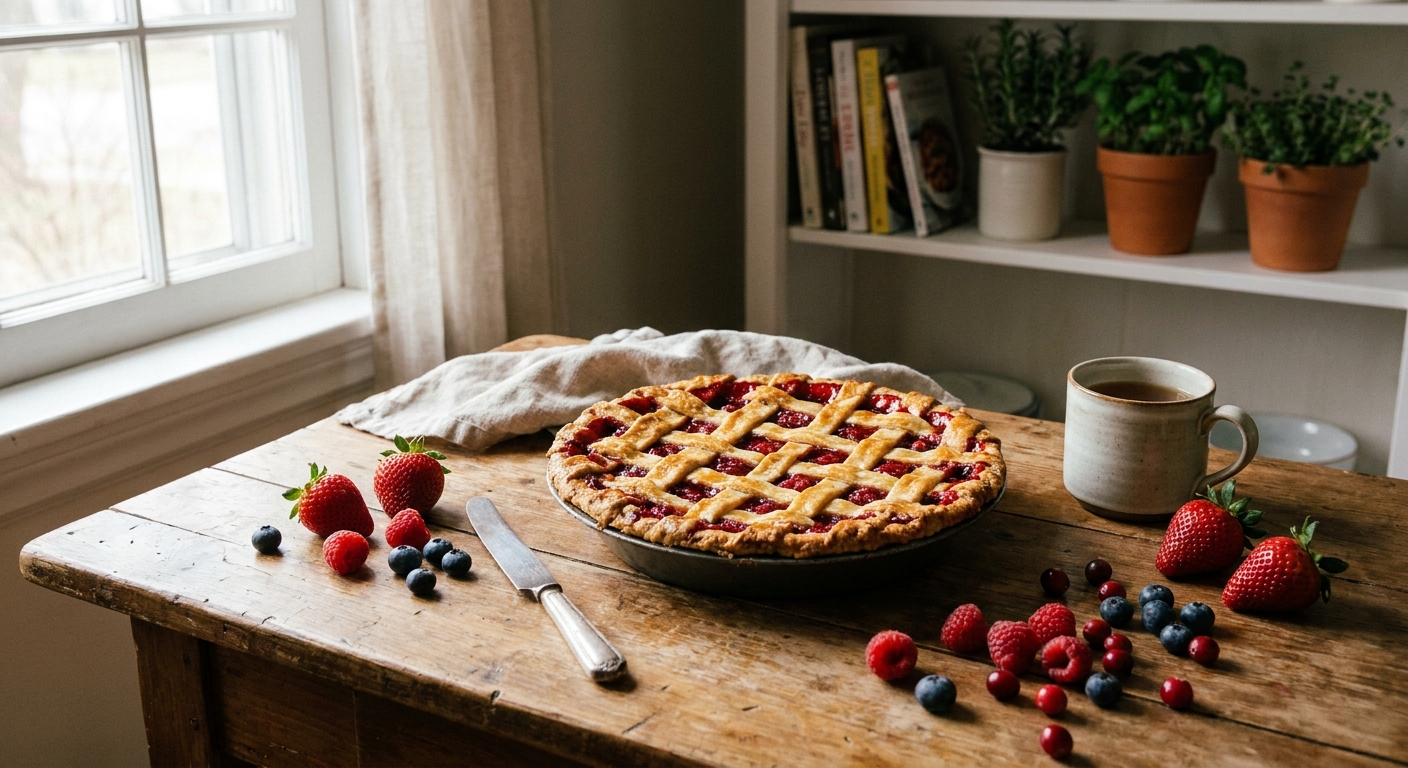
Hey there! If you are craving a rustic, soul-warming dessert, mastering a classic crostata is an absolute must for your baking repertoire. I still remember sitting in my small kitchen in Kyiv last summer, the windows wide open, mixing cold butter into flour to recreate authentic Italian pastry magic using fresh Ukrainian sour cherries straight from the local farmer’s market. The beauty of this beloved Italian jam tart lies in its stunning simplicity. It effortlessly blends a perfectly crumbly shortcrust pastry—known as pasta frolla—with a vibrant, sweet filling of your choice. You really do not need any fancy commercial equipment or an advanced culinary degree to make it happen.
My main goal right now is to guide you through the absolute best process of putting together this timeless treat. It is honestly the most forgiving pastry you will ever try to build in your own kitchen. Even if the crust cracks a bit while you are rolling it out, that just adds to the beautiful rustic, homemade charm that everybody loves so much! Since baking trends constantly come and go, I find it amazing that now in 2026, people are heavily returning to these deeply traditional, unpretentious recipes. There is a massive cultural craving for real, honest food right now. I promise you, once you feel that sweet dough coming together in your hands and smell the rich butter baking in your oven, you will be completely hooked on making it every single weekend.
The Core Mechanics of a Perfect Tart
I completely understand that making pastries from scratch can sometimes feel intimidating, but the true benefit of this specific tart is its immense versatility and structural stability. Whether you are baking for a quick family breakfast or a fancy dinner party, it always delivers exactly what you need. Think about the massive value you get from one simple dough recipe. For instance, you could make a classic, vibrant strawberry jam filling on a Tuesday, and then completely switch gears and use a rich, creamy ricotta and chocolate chip filling by Saturday. Both amazing variations use the exact same base crust!
To give you a better idea of how different basic ingredients affect your final bake, I put together a quick breakdown of your options:
| Ingredient Choice | What It Does to the Dough | My Recommendation |
|---|---|---|
| Powdered Sugar vs. Granulated | Powdered creates a melt-in-the-mouth texture; granulated gives a nice rustic crunch. | Use powdered sugar for a smoother, tighter dough structure. |
| Type 00 Flour vs. All-Purpose | 00 flour produces an ultra-delicate crumb; AP flour holds the lattice shape well. | A 50/50 mix works beautifully, but straight AP is totally fine! |
| Cold Butter vs. Room Temp | Cold butter makes it flaky and crisp; warm butter makes it heavy and greasy. | Always use ice-cold cubed butter. No exceptions! |
If you want to absolutely nail the texture every single time you bake, just follow these core non-negotiable rules:
- Always keep your hands, tools, and ingredients as cold as possible. If your kitchen runs hot, pop your mixing bowl in the fridge for ten minutes before you start.
- Do not overwork the dough. The moment it comes together into a smooth ball, stop kneading immediately. Over-kneading develops gluten, making the pastry tough instead of crumbly.
- Respect the chilling time. Wrapping the dough and leaving it in the fridge for at least an hour allows the butter to firm up and the flour to hydrate fully.
The Fascinating Journey of the Italian Jam Tart
The Ancient Origins of the Tart
Have you ever wondered where this incredible dessert actually comes from? The concept of baking fruit and sweet fillings inside a crust dates back thousands of years. Early versions of this rustic tart can actually be traced all the way back to the mighty Roman Empire. Back then, they obviously did not have the refined white sugars we use today, so they relied heavily on natural local honey to sweeten their fruit bakes. These early tarts were often more savory than sweet, acting primarily as a durable, edible container to hold whatever ingredients they had on hand during long travels.
Evolution Through the Renaissance
Fast forward to the colorful era of the Italian Renaissance, and things started getting seriously delicious. Wealthy aristocratic families began importing expensive cane sugar, completely changing the pastry game across Europe. The sweet pasta frolla we know and love today started to confidently take shape in the grand kitchens of Naples, Venice, and Rome. Master bakers realized that by rubbing rich butter into flour and adding fresh egg yolks, they could create a tender, cookie-like crust that perfectly balanced the intensely sweet, preserved fruit jams. It quickly became a prominent centerpiece at royal banquets, highly praised for both its flavor and the beautiful, intricate lattice work layered on top.
The Modern State of Italian Baking
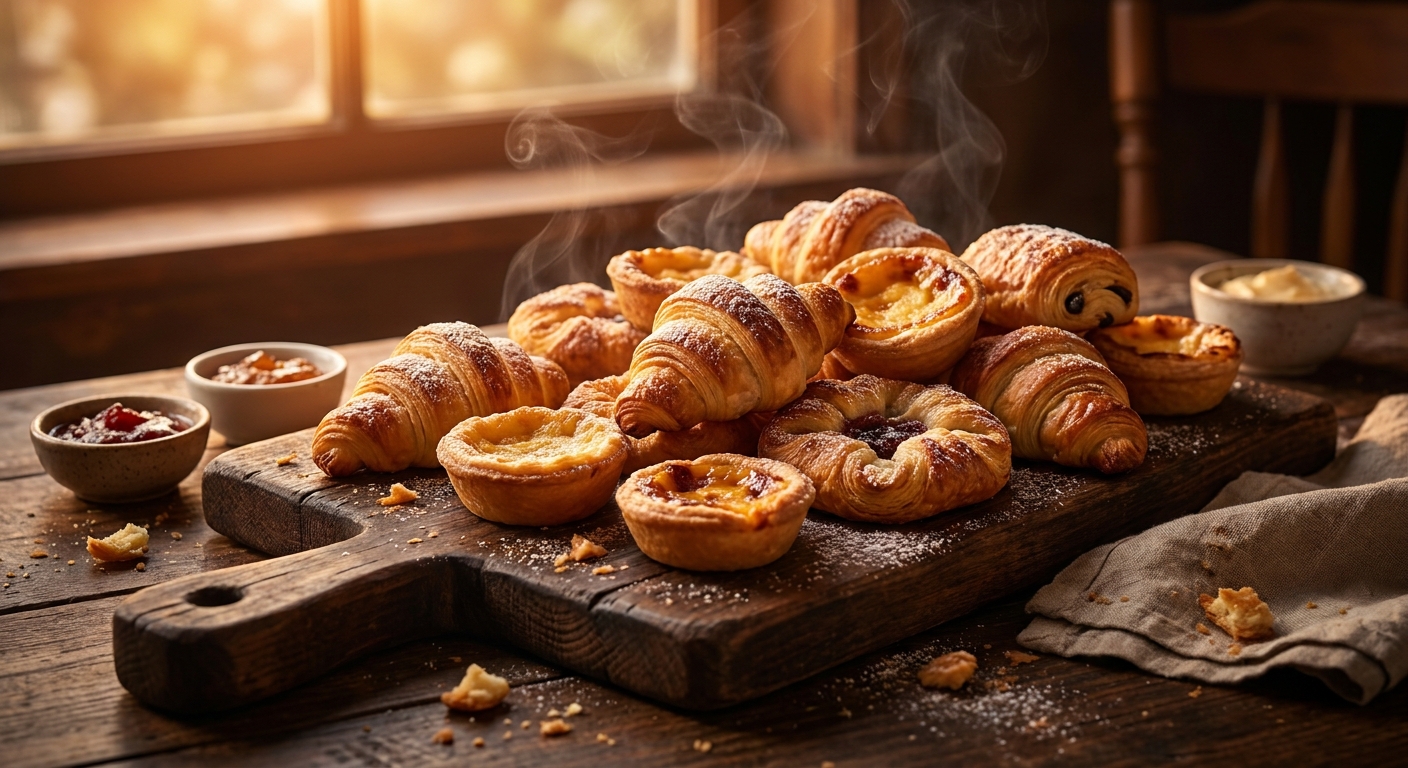
Today, this beautiful tart holds a very special, deeply nostalgic place in Italian culture. It is not just reserved for fancy dinners or royal courts anymore. In fact, if you visit Italy, you will frequently find sweet slices of it served at breakfast right alongside a hot cappuccino. Every single nonna across the country has her own secret family recipe, fiercely guarded and happily passed down through generations. Whether you are grabbing a quick slice at a bustling local bakery in Florence or baking one from scratch in your own kitchen, the core philosophy remains completely the same: use high-quality, simple ingredients and let the natural flavors speak for themselves.
The Science of Pasta Frolla
The Chemistry of Shortcrust Pastry
Okay, let us talk a little bit of baking science, because understanding what actually happens in the mixing bowl makes you a significantly better baker. Making pasta frolla is a delicate chemical balancing act. When you cut cold fat into flour, you are actively coating the flour proteins with protective lipids. This fat barrier physically prevents water (from the eggs) from interacting too much with the flour. If you did not have that fat barrier, the water would readily mix with the flour to form thick, elastic gluten strands. We absolutely do not want chewy, bread-like gluten in our delicate tart crust! We want it to snap, break, and crumble smoothly like a buttery shortbread cookie.
Moisture Control and Fruit Pectin
Then we have to think carefully about the filling. The biggest enemy of a crisp pastry base is a soggy bottom. This is exactly where the science of your jam comes into play. You need a filling with a solid amount of pectin—a naturally occurring starch found in fruits that thickens when cooked with sugar and acid.
Here are a few quick scientific facts to keep in mind while you bake:
- The Maillard Reaction: When the proteins and sugars in the dough hit around 300°F (150°C) in the oven, they undergo a complex chemical reaction that creates that gorgeous golden-brown color and incredible toasted flavor profile.
- Butter Melting Points: Butter contains about 15-20% water. When cold butter hits a hot oven, that water rapidly turns into steam, creating microscopic pockets of air that give the crust its beautifully crisp, slightly flaky texture.
- Pectin Gelation: If your jam is too runny, it will aggressively seep right into the raw dough. Using a high-pectin fruit jam (like apricot, plum, or blackberry) ensures the filling gels up perfectly and stays exactly where it belongs on top of the pastry.
Your 7-Step Master Plan for the Perfect Bake
If you are totally ready to get your hands dirty, I have broken down the entire baking process into a foolproof, step-by-step action plan. You can totally do this!
Step 1: Chilling Your Equipment and Ingredients
Before you even think about mixing, put your butter, eggs, and even your mixing bowl in the fridge. Cold is your absolute best friend here. Weigh out 300g of flour, 150g of cold cubed butter, 100g of sugar, and grab one whole egg plus an extra yolk.
Step 2: Sablage – The Sandy Texture
Toss the flour, sugar, and cold butter cubes together in a bowl. Using just the very tips of your fingers (because the palms of your hands are way too warm), quickly rub the butter into the flour until the mixture resembles coarse, wet sand. You want tiny, pea-sized chunks of butter remaining.
Step 3: Binding with Egg
Create a small well in the center of your buttery sand and drop in your cold egg and egg yolk. Use a fork to gently whisk the eggs, gradually pulling the flour mixture into the center. Once it starts looking shaggy, use your hands to firmly press it together into a single cohesive dough ball.
Step 4: The Crucial Resting Period
Do not skip this step under any circumstances! Flatten your dough ball into a thick disk, wrap it tightly in plastic wrap, and place it in the refrigerator for at least one full hour. This rests the gluten and makes sure the butter is completely solidified again, making it vastly easier to roll out.
Step 5: Rolling the Base
Take your chilled dough out and cut off about one-third of it to save for the lattice top. Roll the larger portion out on a lightly floured surface until it is about a quarter of an inch thick. Carefully drape it over your 9-inch tart pan, pressing it gently into the fluted edges. Prick the bottom a few times with a fork.
Step 6: Crafting the Lattice Top
Spread a generous, even layer of your favorite thick jam over the base. Now, roll out that remaining third of the dough and cut it into long, even strips. Lay them carefully across the top of the jam in a crisscross lattice pattern. You can weave them over and under if you want to be fancy, or just lay them straight across.
Step 7: Baking and Cooling Properly
Bake at 350°F (175°C) for about 35 to 40 minutes, until the pastry is a rich golden brown and the jam is bubbling perfectly. The hardest part is waiting—you absolutely must let it cool completely in the pan before slicing, or it will fall completely apart!
Clearing Up Baking Myths
I hear so much terrible advice circulating around online home baking groups, so I want to clear up some major misconceptions right now.
Myth: You absolutely need a heavy-duty stand mixer or an expensive food processor to make the perfect dough.
Reality: Your bare hands are actually the best tool for this! Mixing by hand prevents overworking the dough and gives you a much better tactical feel for the exact texture you need.
Myth: The lattice on top has to be perfectly symmetrical and flawlessly woven like a professional bakery window.
Reality: This is meant to be a rustic, unpretentious dessert. If a pastry strip breaks or looks a little crooked, just confidently pinch it back together. The imperfections make it look genuinely homemade!
Myth: You can only ever use fruit preserves or jam for the filling.
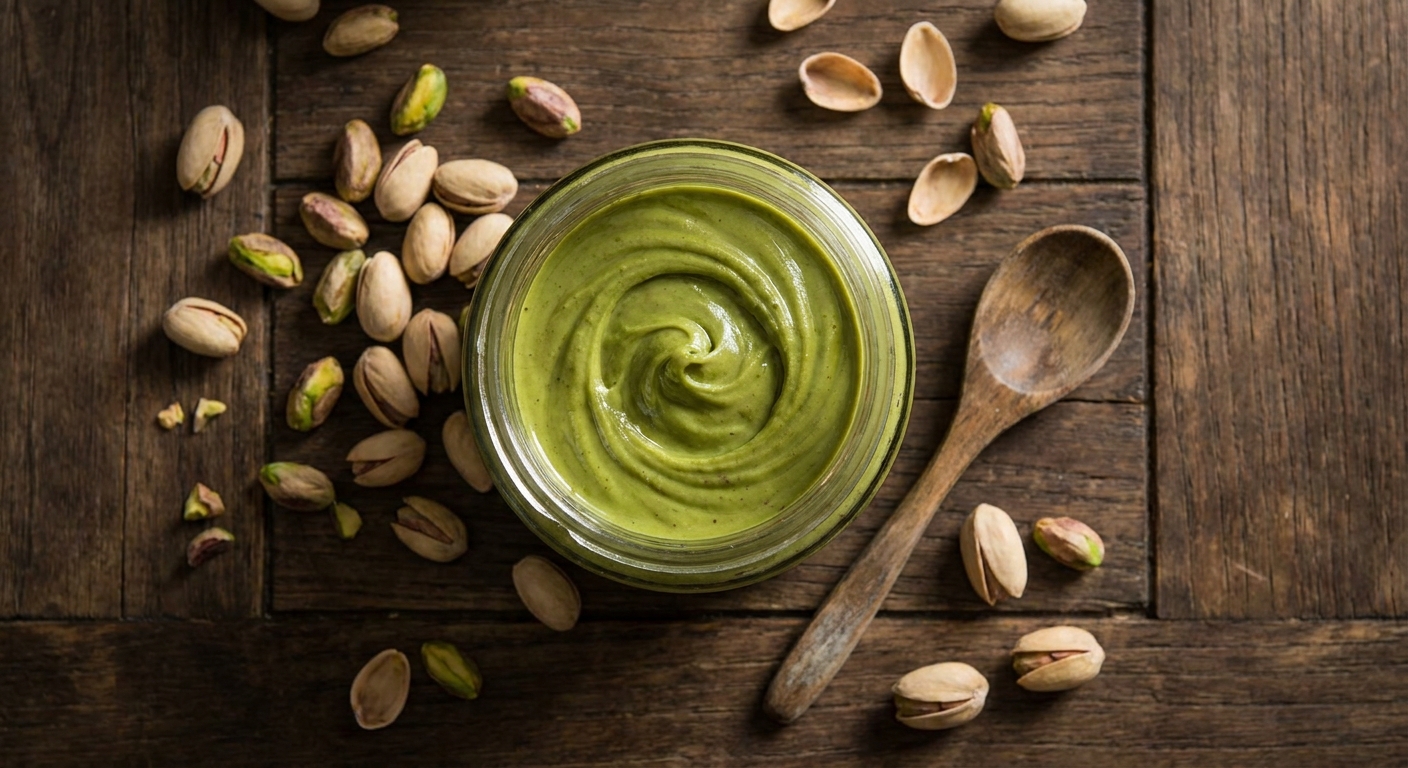
Reality: While jam is the most classic option, you can completely customize it! Hazelnut chocolate spread, sweetened ricotta cheese, or even fresh pastry cream topped with pine nuts are all wildly popular and totally authentic variations you should try.
Frequently Asked Questions
Can I freeze the raw dough?
Yes, absolutely! You can wrap the raw dough tightly in plastic wrap and freeze it for up to two full months. Just let it thaw gently overnight in the fridge before you plan to roll it out.
Why did my crust shrink in the oven?
Shrinking almost always happens because the dough got way too warm while you were handling it, or it simply did not rest long enough in the fridge to relax the gluten network before baking.
How long does the baked tart last?
Stored loosely covered at room temperature, it will stay perfectly crisp and delicious for about three to four days. Honestly, it rarely lasts that long in my house anyway!
Can I easily make it vegan?
You sure can. Swap out the regular butter for a high-quality, hard vegan block butter, and use a couple of tablespoons of ice water or cold non-dairy milk instead of the eggs to bind the flour together.
What is the absolute best pan to use?
A metal tart pan with a removable false bottom is your absolute best bet. It conducts heat wonderfully, ensuring a crisp bottom, and makes removing the fragile final tart incredibly easy.
Does the butter really have to be cubed?
Yes! Cutting it into small, uniform cubes helps it distribute much more evenly into the flour without requiring you to handle it excessively, which would inevitably melt the fat.
Should I blind bake the crust first?
For a standard thick jam filling, no blind baking is necessary at all. You just bake it all together at once. If you are using a very wet filling like ricotta, blind baking the shell for 15 minutes first is a very smart move.
So there you have it, my friend! You are completely armed with all the practical knowledge, science, and wonderful history you need to bake a show-stopping tart right now. Do not wait around—grab your flour, pick your absolute favorite jam, and get to baking. I would absolutely love to hear how amazing your kitchen smells once this beautiful dessert finally hits the oven. Happy baking!
Leave a Reply