
The Ultimate Guide on How to Make Pistachio Cream
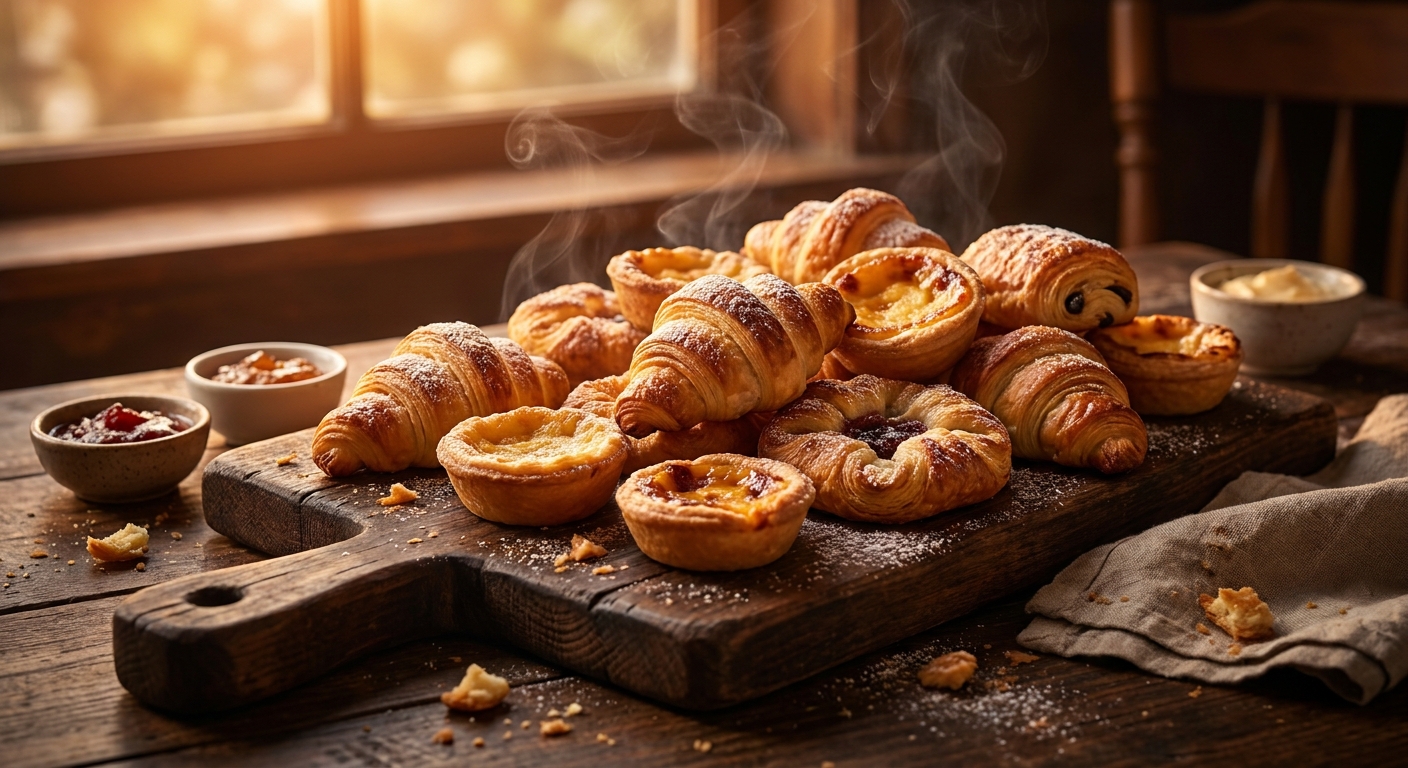
Look, if you are actively searching for how to make pistachio cream, you just hit the absolute jackpot today. I remember sitting in a small, bustling coffee shop in Lviv earlier this year, watching the barista generously pipe thick, vibrantly green pistachio cream into a freshly baked croissant. The smell of roasted nuts and sweet butter was intoxicating. The taste was even better—rich, earthy, and perfectly sweet without feeling artificial. Naturally, when I got back to my own kitchen in Kyiv, I was determined to recreate that exact magic. Let me tell you, buying imported jars of this green gold can absolutely destroy your grocery budget, especially here in 2026 when premium nut prices are sky-high.
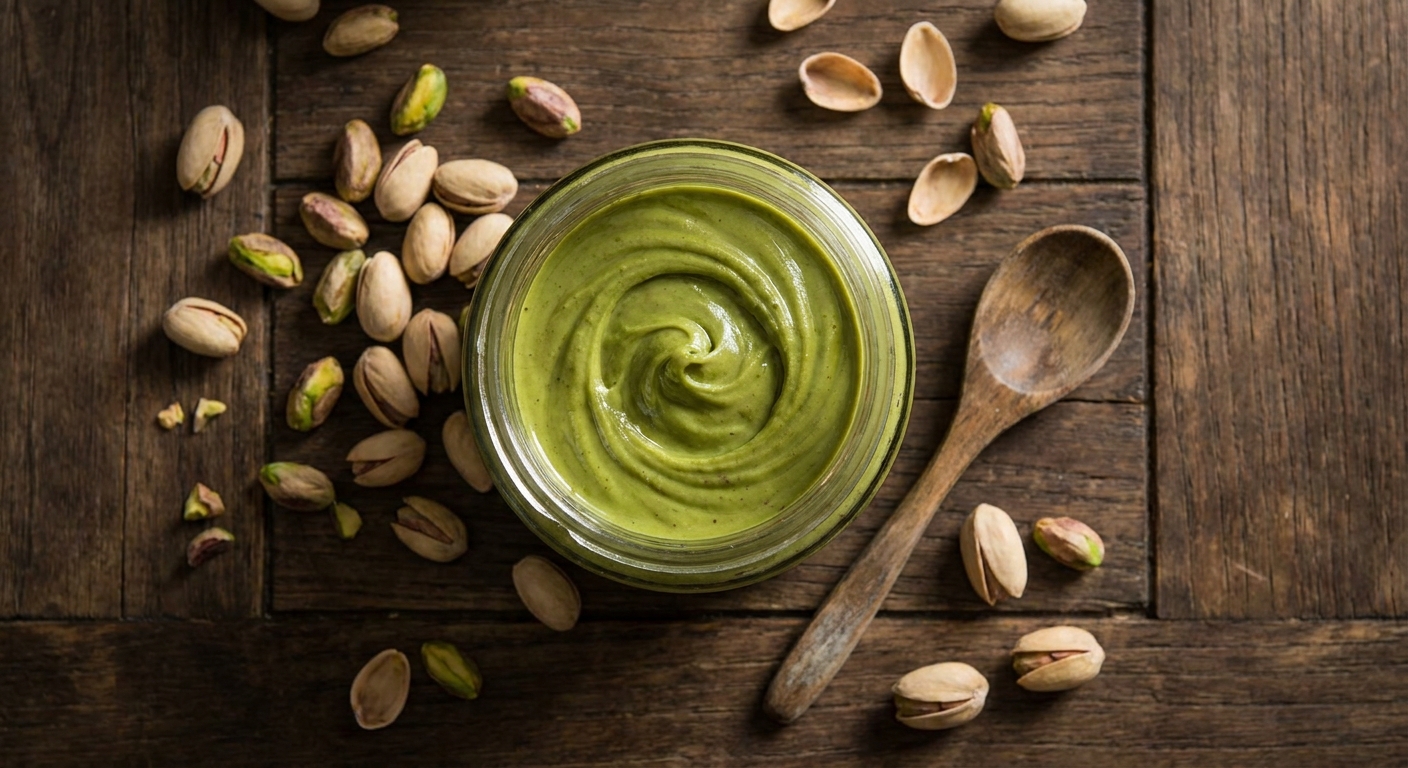
But the secret nobody tells you is that creating this luxurious spread at home is surprisingly straightforward. You do not need to be a professionally trained pastry chef or own industrial-grade machinery to pull it off. All it takes is the right ingredients, a bit of patience, and a solid blender or food processor. By making it yourself, you gain total control over the sweetness, the texture, and the sheer quality of the nuts involved. Forget the pale, dull, oil-separated jars sitting on supermarket shelves. We are going for that vibrant, electric green, thick, velvety texture that you usually only find in high-end European bakeries. Grab your favorite apron, clear off your kitchen counter, and let me walk you through the exact process to create the most mouthwatering nut spread you have ever tasted.
Why Homemade Always Beats Store-Bought
When you decide to take matters into your own hands, the benefits are immediately obvious. The commercial versions of this spread are often loaded with cheap filler oils, refined sugars, and artificial coloring to make them look appetizing on a shelf for months at a time. By processing the ingredients fresh in your own kitchen, you are bypassing all of those unnecessary additives. The value proposition of making your own spread goes far beyond just saving a few dollars; it fundamentally changes the way you experience your desserts.
Think about the sheer versatility of having a fresh batch sitting in your fridge. You can swirl it into your morning oatmeal, making a mundane breakfast feel like a luxury hotel treat. You can use it as a decadent filling for homemade macarons, or simply fold it into freshly whipped cream to create an instant pistachio mousse. The possibilities are endless when you have a high-quality base to work with.
Let us look at a quick breakdown of what you are really getting when you compare your options:
| Source Type | Average Cost per 200g | Ingredient Purity |
|---|---|---|
| Commercial Store-Bought | Moderate to High | Low (Contains palm oil, artificial colors) |
| Artisan Bakery Jar | Extremely High | High (Usually pure nuts, cocoa butter, sugar) |
| Homemade (Your Kitchen) | Low to Moderate | Maximum (You control every single ingredient) |
Here are three undeniable reasons why you should completely switch to the homemade method:
- Absolute Control Over Sugar Levels: Commercial spreads are notoriously sweet, often masking the delicate flavor of the nuts. When you blend it yourself, you can dial the sugar back significantly, letting the natural earthiness shine through.
- No Questionable Filler Oils: Many mass-produced brands rely heavily on cheap vegetable or palm oils to create a spreadable consistency. You can use high-quality cocoa butter, a touch of neutral avocado oil, or just rely entirely on the natural oils released by the nuts themselves.
- Peak Freshness and Flavor: The volatile flavor compounds in roasted nuts begin to degrade the moment they are ground. By making small, fresh batches, you guarantee maximum flavor intensity that a jar sitting on a shelf for eight months simply cannot match.
The Origins of Pistachio Cultivation
To truly appreciate the spread we are making, we need to talk about where these beautiful green kernels come from. The history of this specific nut traces back thousands of years to the Middle East, where it grew wild in arid climates. Ancient civilizations cherished them, often reserving them exclusively for royalty and the elite classes. The dry, hot days and cool nights of regions like modern-day Iran and Syria provided the absolute perfect environment for the trees to thrive. Legend has it that the Queen of Sheba decreed pistachios an exclusively royal food, strictly forbidding commoners from growing them. Trade routes eventually carried these valuable kernels across the Mediterranean, introducing them to southern Europe.
The Evolution of Sweet Nut Pastes
While the nuts themselves were a prized snack, the concept of grinding them into a sweetened paste took a bit longer to develop. In places like Bronte, Sicily—a small town perched on the slopes of Mount Etna—locals began cultivating a specific variety known for its intense green color and exceptional sweetness. It was only a matter of time before Italian pastry chefs realized that the same techniques used to make gianduja (hazelnut and chocolate paste) could be applied to these bright green Sicilian gems. They began roasting them, grinding them to a smooth pulp, and blending them with sugar and fat to create crema di pistacchio. This luxurious spread quickly became the backbone of regional Italian desserts, used to fill cannoli, flavor gelato, and stuff sweet breakfast pastries.
The Modern State of Pistachio Obsession
Fast forward to the current landscape, and this sweet spread has experienced a massive global boom. What was once a niche regional specialty has become a worldwide culinary trend. Social media platforms have fueled an obsession with vibrant, visually striking foods, and nothing catches the eye quite like a thick, glossy ribbon of bright green cream oozing out of a fresh pastry. Bakeries from Tokyo to Toronto to Kyiv are entirely rethinking their menus to feature it. Yet, as demand has skyrocketed, so has the presence of low-quality imitations. This makes the skill of creating authentic, high-quality batches at home more valuable now than it ever has been before.
The Chemistry of Nut Emulsions
Making a smooth, velvety spread is essentially an exercise in culinary chemistry. When you throw whole nuts into a food processor, they first break down into a coarse meal, then a fine powder. As the blades continue to spin, they generate significant friction. This heat causes the cellular walls of the nut to rupture, releasing the trapped lipids (fats). Once the oil is liberated, the mixture transforms from a dry powder into a thick paste. However, the fat content of pistachios (around 45%) is slightly lower than that of macadamias or walnuts, which means they sometimes struggle to turn into a truly fluid cream on their own. This is where emulsification comes in. By introducing a secondary fat—such as melted white chocolate or a splash of neutral oil—you help coat the solid particles, reducing friction and creating that ultra-smooth mouthfeel we all crave.
Temperature Control and Oil Release
Managing the temperature of your equipment is incredibly crucial during this process. If your food processor gets too hot, you risk cooking the delicate oils, which can lead to a bitter, rancid off-flavor. Conversely, if the mixture is too cold, the cocoa butter or chocolate you add might seize, leaving you with a gritty texture. Understanding these physical reactions ensures a perfect batch every single time.
- The Maillard Reaction: Lightly roasting the nuts before grinding triggers this chemical reaction between amino acids and reducing sugars, dramatically enhancing the depth of flavor.
- Friction Heat Limit: The ambient temperature inside the processor bowl should ideally stay below 120 degrees Fahrenheit to protect the integrity of the natural nut oils.
- Emulsifier Synergy: Adding a tiny pinch of soy lecithin or using high-quality white chocolate (which contains natural emulsifiers) helps bind the fat and water molecules, preventing unsightly oil separation during storage.
Step 1: Selecting the Best Raw Pistachios
Your final product will only ever be as good as the raw ingredients you start with. Do not cheap out here. Head to a reputable market or specialty grocer and look for raw, unsalted, shelled pistachios. If you can find the highly sought-after Sicilian Bronte variety, absolutely buy them. Otherwise, standard California or Middle Eastern varieties will work wonderfully. Avoid anything that has been pre-roasted and heavily salted, as this will completely ruin the delicate balance of your sweet spread.
Step 2: Blanching and Peeling for Vibrant Color
This step requires a bit of patience, but it is entirely non-negotiable if you want that beautiful, electric green color. The thin purple-brown skins on the nuts will turn your cream a dull, muddy brown if left on. Bring a pot of water to a rolling boil, drop the shelled nuts in for exactly one minute, and then immediately drain them and plunge them into an ice bath. Once they are cool enough to handle, simply pinch each nut. The bright green kernel will pop right out of the skin. Discard the skins and gently pat the bare nuts completely dry with a clean kitchen towel.
Step 3: Gentle Roasting for Maximum Flavor
Even though you bought raw nuts, lightly roasting them at home wakes up their natural essential oils. Spread your freshly peeled, dried nuts in a single, even layer on a large baking sheet. Place them in an oven preheated to 300 degrees Fahrenheit (about 150 degrees Celsius) for no more than 8 to 10 minutes. Keep a very close eye on them; you want them to become incredibly fragrant, but you absolutely do not want them to take on any brown color. Let them cool completely before moving to the next phase.
Step 4: The Initial Grinding Phase
Transfer your perfectly roasted, cooled nuts to the bowl of a heavy-duty food processor. Turn the machine on and let it run. First, you will see a coarse chop, then a fine powder. Keep going. After about five to seven minutes, the powder will start to clump together, eventually forming a thick, slightly grainy paste. Stop the machine every few minutes to scrape down the sides of the bowl with a rubber spatula, ensuring an even grind.
Step 5: Incorporating Fats and Emulsifiers
Once you have a thick paste, it is time to turn it into a luxurious cream. The best way to achieve a rich, dessert-like texture is by adding melted, high-quality white chocolate. The cocoa butter and milk solids in the chocolate act as the perfect binder. Melt your white chocolate over a double boiler, and while the food processor is running, slowly stream it into the nut paste. You will instantly see the mixture transform, loosening up and becoming incredibly glossy and smooth.
Step 6: Sweetening to Perfection
If your white chocolate is quite sweet, you may not need to add any additional sugar. However, if you want a sweeter profile, now is the time to add powdered sugar. Do not use granulated sugar, as it will not dissolve properly in the fat-heavy mixture and will leave a gritty texture. Add a tiny pinch of fine sea salt right at the end to balance the sweetness and make the nutty flavors pop. Blend for one final minute to ensure everything is perfectly homogenous.
Step 7: Proper Storage and Maturation
Pour your freshly spun cream into sterilized glass jars. It will still be quite warm and slightly runny from the friction of the blender. Let the jars sit on the counter with the lids off until they reach room temperature. As the cocoa butter cools, the spread will thicken into that perfect, spoonable consistency. Seal the jars tightly. The flavor actually improves after sitting for 24 hours, so try to resist eating it all immediately!
Myths vs. Reality of Nut Pastes
Myth: You need expensive, industrial stone grinders to get a smooth texture.
Reality: While a commercial melanger provides absolute silky perfection, a standard high-speed home food processor will absolutely get you 95% of the way there, yielding a highly enjoyable, spreadable consistency.
Myth: You have to add bright green food coloring to make it look authentic.
Reality: Real, high-quality pistachios naturally possess an intense green hue. Blanching and peeling the skins off completely prevents the muddy brown color, entirely eliminating the need for artificial dyes.
Myth: Homemade spreads spoil in just a few days.
Reality: Because there is very little moisture in this recipe (it is mostly fat and sugar), bacteria struggle to grow. Kept in an airtight jar in the refrigerator, it will easily last for several weeks without any degradation in quality.
Frequently Asked Questions
Can I use pre-roasted, salted pistachios?
You technically can, but it is highly discouraged. The commercial roasting process is often too harsh, and the heavy salt content will completely overpower the sweetness of your white chocolate, leaving you with a savory, confused flavor profile.
Why is my cream gritty instead of smooth?
Grittiness usually happens for two reasons: either you did not process the nuts long enough before adding the chocolate, or you added granulated sugar instead of powdered sugar. Always grind the nuts into a paste first.
Do I absolutely have to peel the skins off?
No, skipping the peeling step will not ruin the flavor. However, the skins will give your final product a dull, brownish-green tint instead of that vibrant, bakery-style green color. If aesthetics matter to you, take the time to peel them.
Can I make this completely vegan?
Yes, absolutely. Instead of using traditional dairy-based white chocolate, you can substitute a high-quality vegan white chocolate, or simply use melted, pure cocoa butter alongside a vegan powdered sugar.
How long will this stay fresh in the fridge?
Stored in a sterilized, airtight glass jar, your homemade creation should last beautifully for up to three or four weeks in the refrigerator. Just let it sit at room temperature for ten minutes before using to soften the cocoa butter.
What should I do if the oil separates?
Oil separation is a completely natural process in homemade nut butters without commercial stabilizers. Simply take a clean spoon and vigorously stir the oil back into the paste until it is fully cohesive again.
Can I freeze the finished product?
Freezing is not recommended. The extreme cold can mess with the emulsion of the fats and the white chocolate, causing the texture to become grainy and unpleasant when thawed. Stick to small, fresh batches.
Mastering this simple kitchen technique completely elevates your home baking game. Now that you know exactly how to make pistachio cream, there is no excuse to keep overpaying for those tiny imported jars. Grab some fresh nuts, fire up your food processor, and experience the unparalleled joy of spreading your very own rich, velvety creation on a warm piece of toast this weekend!

Leave a Reply