
The Ultimate Guide to Authentic Italian castagnole
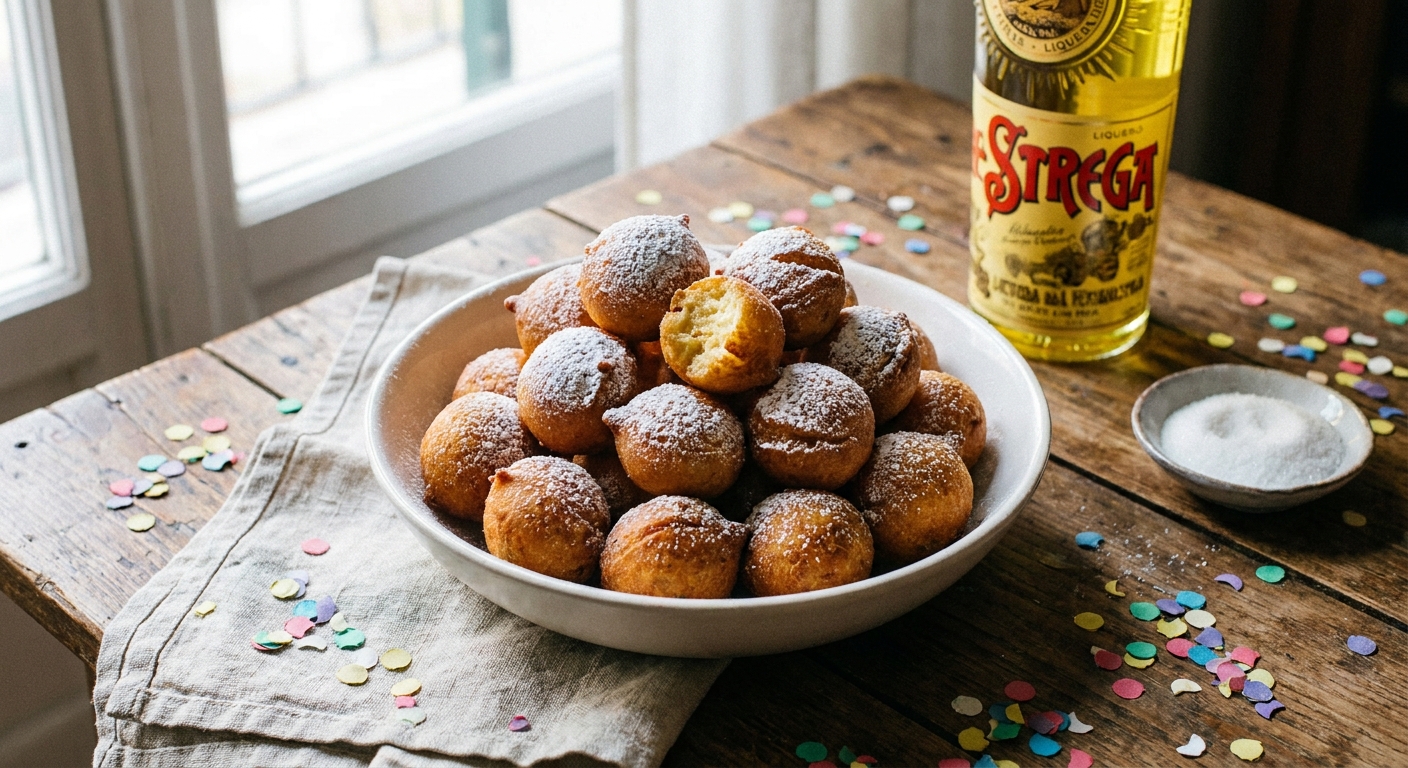
Listen, if you want to experience the true taste of Italian Carnival, making a fresh batch of castagnole is exactly where you start. These golden, crispy-on-the-outside, soft-on-the-inside dough balls are the absolute pinnacle of homemade street food, and trust me, they are wildly addictive. Being a content specialist working heavily out of Ukraine, I spend a massive amount of my time chained to a desk optimizing digital landscapes. But a couple of years back, a trip to Venice completely rewired my brain when it comes to comfort food. I was sitting by a small canal, biting into one of these citrus-scented, sugar-dusted treats, and it hit me instantly. They tasted so much like our beloved Ukrainian ponchiky, but they carried a totally different, brighter Mediterranean energy.
I realized right then that great food connects us globally, and I had to master making them at home. The beauty of this dessert lies in its total simplicity. You don’t need a culinary degree or fancy kitchen gadgets to pull this off. You just need basic pantry staples: flour, sugar, eggs, butter, a hint of lemon zest, and a little bit of baking powder. This guide walks you through every single phase of creating the perfect dough, achieving the ideal fry, and finishing them off so they look like they came straight from an artisanal Italian bakery. Let’s get right to the good stuff.
Why You Need to Master This Dough
There is a massive difference between buying pre-made sweets and frying up your own dough right in your kitchen. The value proposition here is unbeatable: you get maximum flavor output for a minimal financial investment. These treats are incredibly cheap to make, scale up easily, and they are absolute crowd-pleasers. Think about it. Example one: you have a kid’s birthday party coming up and you want something fun, bite-sized, and guaranteed to disappear in seconds. A massive bowl of freshly fried dough balls coated in vanilla sugar will beat a store-bought cake every single time. Example two: you are hosting an impromptu Sunday dinner with friends. You can whip up this batter in ten minutes, fry them while your friends watch, and serve them hot alongside a strong shot of espresso. It is the ultimate flex for a home cook.
To really understand where this treat sits in the pastry hierarchy, look at this breakdown:
| Treat Type | Origin & Texture | Flavor Profile |
|---|---|---|
| Castagnole | Italy. Cake-like, dense but soft. | Citrusy, sweet, hints of rum or anise. |
| Zeppole | Italy. Airy, choux-based or yeast-based. | Often filled with custard, very light. |
| Ponchiky | Ukraine. Yeast-based, pillowy. | Stuffed with jam or poppy seeds. |
If you want to nail this recipe, you need a few critical pieces of equipment. Do not try to eyeball this process. Here is what you strictly need:
- A highly accurate deep fry thermometer to maintain perfect oil temperature.
- A heavy-bottomed Dutch oven or cast-iron pot to retain heat evenly.
- A stainless steel spider skimmer to pull the dough out safely without dragging excess oil.
The Ancient Origins
Let’s step back in time. The history of frying dough stretches back thousands of years, but the specific iteration we are talking about has deep roots in the Italian regions of Emilia-Romagna, Veneto, and Lazio. The name itself comes from the Italian word “castagna,” which translates to chestnut. Why? Because these little fried balls resemble the shape and size of a chestnut perfectly. Originally, these were peasant foods. During the weeks leading up to Lent, known as Carnival, people needed to use up all their rich ingredients—butter, sugar, eggs, and fat—before the fasting period began. Frying dough in pork lard was the most efficient and delicious way to clear out the pantry.
Evolution Through the Centuries
As time marched on, the recipe shifted. While the earliest versions were incredibly rustic and often lacked refined sugar, the industrial revolution and the increased availability of ingredients changed the game. Pork lard was gradually replaced by lighter vegetable oils, which made the dessert less heavy and much more appealing to a broader audience. The leavening agents evolved too. Before commercial baking powder was a thing, cooks relied on rigorous beating of eggs to incorporate air, or they used natural sourdough starters which took hours, if not days. The introduction of chemical leaveners turned this from a multi-day project into a quick, thirty-minute affair, revolutionizing home baking entirely.
The Modern State in 2026
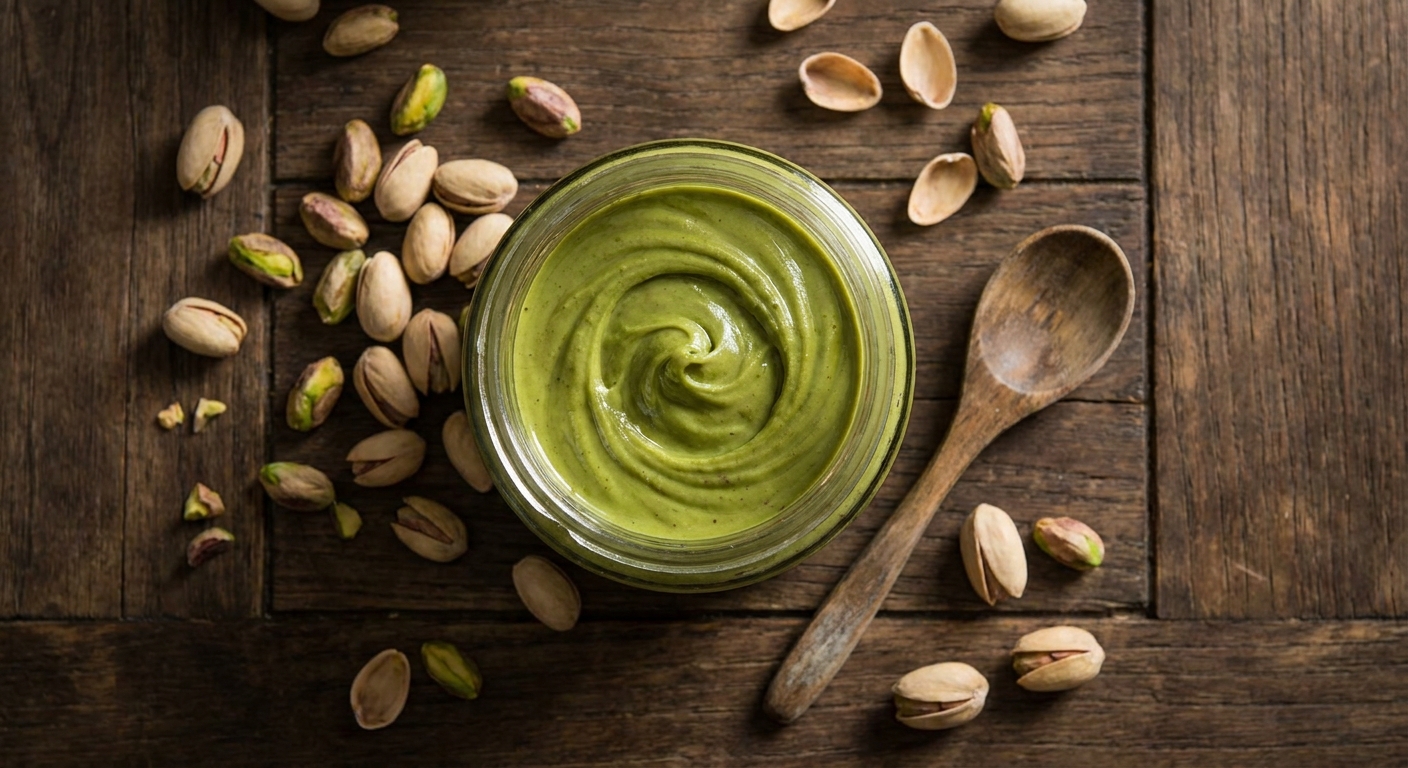
Fast forward to today. Here we are in 2026, and the culinary landscape respects tradition while constantly pushing boundaries. Today’s pastry chefs are taking the classic dough and elevating it. While the traditional plain sugar coating remains legendary, you will now see these treats stuffed with pistachio cream, injected with salted caramel, or dusted with freeze-dried raspberry powder for a sharp, acidic contrast. Even with these high-end adaptations, the soul of the dessert remains exactly the same: a warm, comforting, bite-sized piece of joy that brings people together around a table.
The Chemistry of the Perfect Fry
Frying is not just throwing things into hot oil and hoping for the best. It is a highly aggressive, rapid cooking method driven by intense chemical reactions. When you drop that dough into oil heated to exactly 170°C (340°F), the surface water of the dough vaporizes instantly. This rapid steam expansion pushes the dough outward, creating that beautifully cracked, craggy exterior. The high heat triggers the Maillard reaction—a complex chemical cascade between amino acids and reducing sugars that gives browned food its distinctive, toasted flavor. If your oil is too cold, the dough absorbs the fat, becoming greasy and heavy. If it is too hot, the outside burns black before the center cooks, leaving you with a raw, gooey mess inside.
Gluten Network and Resting Time
The reason this specific dough requires a very light hand is due to gluten mechanics. When flour mixes with wet ingredients, gluten proteins (glutenin and gliadin) bind together to form an elastic network. For bread, you want a strong network. For this cake-like dessert, you want the exact opposite. Overmixing makes the final product rubbery and tough.
Here are some hard scientific facts to keep in mind:
- Smoke Points: Always use neutral oils like peanut (smoke point 232°C/450°F) or refined sunflower oil. Extra virgin olive oil will break down, smoke, and impart a bitter taste at frying temperatures.
- Leavening Activation: Baking powder requires both liquid and heat to fully activate, which is why the dough puffs up the second it hits the oil.
- Starch Gelatinization: The flour starches absorb liquid and swell up to 60°C (140°F), setting the final crumb structure of the dough.
Actionable Plan: Your Step-by-Step Execution Guide
You do not need a week to make these, but you do need a solid plan. Follow these seven precise steps, and you will achieve bakery-level results on your very first try.
Step 1: Gathering the Dry Ingredients
Start by weighing your ingredients. You need 300 grams of all-purpose flour, 75 grams of granulated sugar, a pinch of fine sea salt, and 8 grams (about a tablespoon) of baking powder. Whisk them vigorously in a large bowl. Whisking acts as a lazy person’s sifter, breaking up clumps and evenly distributing the baking powder. This guarantees you will not bite into a harsh pocket of raw baking soda later on.
Step 2: Incorporating the Wet Elements
Create a well in the center of your dry mix. Crack in two large, room-temperature eggs. Add 50 grams of very soft, room-temperature butter (not melted, just soft). Grate the zest of one whole organic lemon directly over the bowl to catch those essential oils, and pour in one tablespoon of dark rum or anise liqueur. The alcohol evaporates during frying but leaves behind a gorgeous depth of flavor.
Step 3: Kneading to the Right Consistency
Use a fork to beat the eggs and butter in the center, slowly drawing in the flour from the sides. Once it forms a shaggy mess, switch to your hands. Gently bring the dough together. Do not knead this like pizza dough. Just press it together until there are no dry spots of flour left. It should feel soft, slightly tacky, but not aggressively sticky.
Step 4: Resting the Dough
Wrap the dough tightly in plastic wrap and let it sit on your counter for 15 to 20 minutes. This rest period is crucial. It allows the flour to fully hydrate and gives the gluten strands a moment to relax. Skipping this step leads to dough that fights back when you try to roll it, resulting in tough, misshapen balls.
Step 5: Shaping the Perfect Balls
Unwrap the dough and cut it into four manageable pieces. Roll each piece into a long rope, about the thickness of your thumb. Using a bench scraper or a sharp knife, cut the rope into small, equal-sized nuggets (about 15 grams each). Roll them quickly between your palms to make smooth, round balls. Keep them uniform so they fry at the exact same rate.
Step 6: Mastering the Frying Process
Heat a generous amount of peanut or sunflower oil in your heavy pot to 170°C (340°F). Do not crowd the pan. Drop in 5 or 6 balls at a time. They will sink, bubble furiously, and eventually float to the top. Keep them moving with your spider skimmer so they brown evenly. They need about 3 to 4 minutes in the oil to cook all the way through.
Step 7: The Final Sugar Coating
Have a shallow bowl filled with granulated sugar ready. As soon as you pull the balls from the oil, let the excess drip off for exactly three seconds, then toss them directly into the sugar. The residual heat and tiny amount of surface oil act as the glue, holding that beautiful crystalline crust in place. Move them to a cooling rack.
Myths & Reality
There is a lot of bad advice floating around on the internet regarding fried dough. Let’s clear the air and set the record straight right now.
Myth: You absolutely need yeast to get a light, fluffy interior.
Reality: Traditional recipes specifically rely on baking powder. This creates a denser, cake-like crumb that holds its shape beautifully and takes a fraction of the time to make. Yeast creates a completely different dessert.
Myth: You have to fill them with cream or custard for them to be authentic.
Reality: The classic, old-school versions are served plain, heavily tossed in sugar. While ricotta or pastry cream fillings are amazing, they are a modern upgrade, not a strict requirement.
Myth: You should fry them in extra virgin olive oil for that “true Italian” flavor.
Reality: Do not do this. Extra virgin olive oil has a very low smoke point and a highly aggressive flavor profile that will overpower the delicate lemon and vanilla notes. Stick to neutral, high-heat oils.
Myth: You can make a massive batch and eat them all week.
Reality: Fried dough has a desperately short shelf life. They are magnificent at hour one, okay at hour four, and essentially dense bricks by day two. Fry them and eat them immediately.
Frequently Asked Questions
Can I bake them instead of frying?
You can physically put them in the oven, yes. Will they taste the same? Absolutely not. Baking turns them into dry, small cookies. The magic of this recipe relies entirely on the rapid expansion that only deep frying provides.
What is the absolute best oil to use?
Peanut oil is the undisputed king of frying desserts. It has a high smoke point, transfers heat efficiently, and leaves a remarkably clean, non-greasy finish on the dough.
Why did my dough balls crack open aggressively in the oil?
Your oil was likely way too hot. If the outside sears instantly, the raw batter inside expands rapidly, bursting through the crust. Always use a thermometer to maintain that steady 170°C (340°F) temperature.
How long should I let the dough rest before shaping?
Aim for roughly 15 to 20 minutes at room temperature. This is the sweet spot for hydrating the flour without letting the baking powder lose its rising power.
Can I swap the lemon zest for orange?
100% yes. Orange zest is fantastic, and many regional Italian variations use a mix of both lemon and orange to give it an intensely bright, citrus-forward kick.
Are these basically just Italian donut holes?
Structurally, they are similar to cake donut holes, but the flavor profile is distinctly European. The addition of rum, heavy citrus, and the specific texture make them stand in a league of their own.
Can I freeze the raw dough to fry later?
It is not recommended. The chemical reaction from the baking powder will degrade over time, meaning your thawed dough won’t puff up nearly as much in the oil. You are better off making fresh batches.
There you have it. You are completely equipped with the knowledge, the science, and the step-by-step strategy to pull off the ultimate Italian treat. Don’t wait for a holiday or a special occasion. Get into your kitchen, heat up some oil, and experience this magic for yourself. If you try this recipe and love it, be sure to share this guide with your friends and leave a comment below about your results!
Leave a Reply