
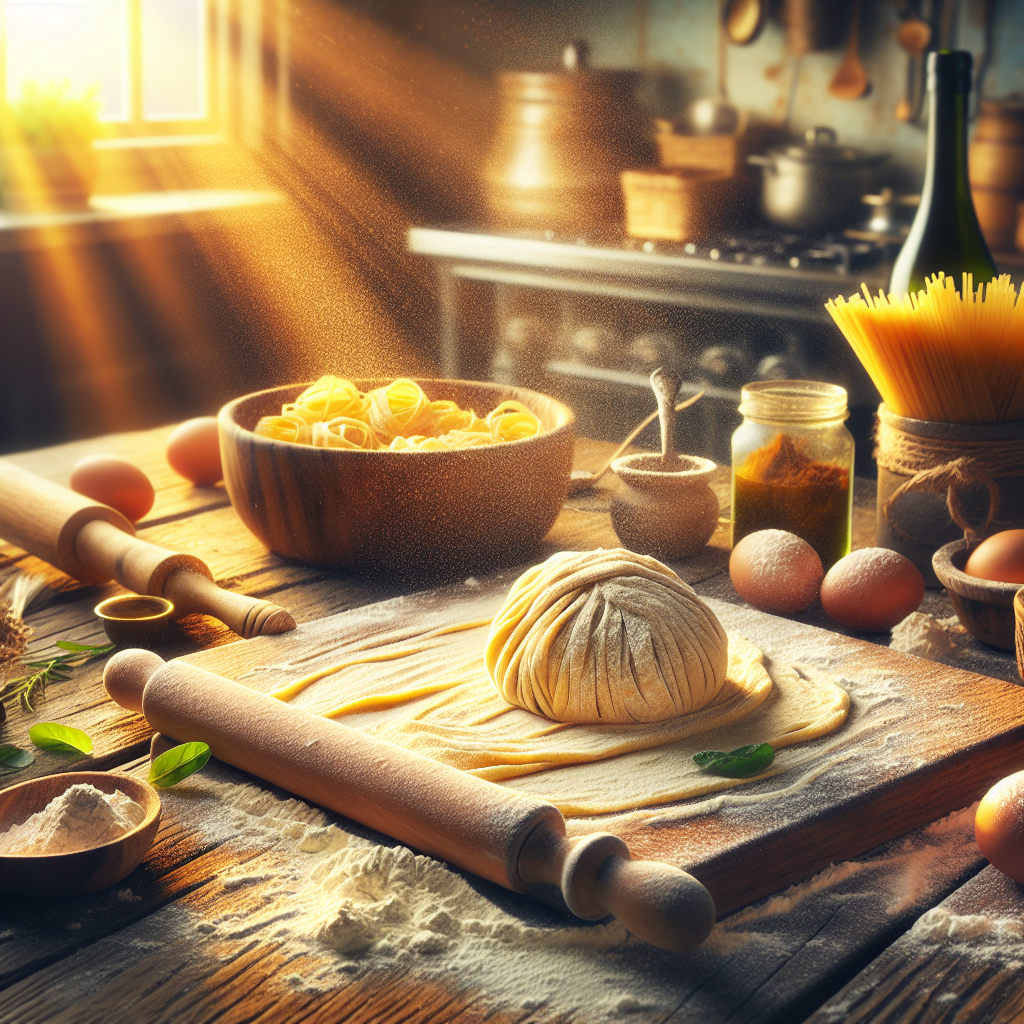
Why Sourdough Pasta is Taking Over Kitchens
Have you ever wondered why a massive bowl of regular spaghetti leaves you feeling instantly exhausted and bloated, yet authentic sourdough pasta gives you sustained energy without the heavy crash? You are not alone. Making sourdough pasta at home has completely shifted from a niche baking experiment to an absolute staple for anyone who genuinely loves real food. My obsession started a few years ago during a trip back to Ukraine. My grandmother, who has kept the same wild yeast culture alive for decades to bake traditional bread, accidentally mixed some of her active starter into a batch of egg noodles. That accidental batch of fermented dough changed everything. The flavor was richer, the texture had a perfect bite, and the usual post-carb lethargy was completely gone.
Listen, mixing a bit of active culture into your flour and eggs is hardly rocket science, but it absolutely changes the entire dynamic of the meal. You get a deeper, slightly tangy flavor profile that stands up brilliantly to heavy ragùs and delicate butter sauces alike. If you already maintain a bubbling jar of wild yeast on your counter, you are halfway there. This guide is going to walk you through exactly how to harness that living culture, mix it with simple ingredients, and craft something that will make you swear off the boxed stuff forever. We are going to cover everything from the basic science of wild yeast to a foolproof daily schedule for getting the best results.
The Core Benefits and Magic Behind the Dough
So, what makes fermented noodles actually superior to the traditional mix of just flour and eggs? The secret lies entirely in the fermentation process. When you allow lactic acid bacteria and wild yeast to pre-digest the starches and proteins in the flour, you are essentially doing your stomach a massive favor. The bacteria break down complex carbohydrates and neutralize antinutrients, meaning your body absorbs the minerals much more efficiently. Beyond the health perks, the culinary advantages are staggering. The dough develops an incredible elasticity, making it a dream to roll out, and the subtle tang cuts through rich, fatty sauces like a sharp knife.
Let’s look at how the different types of noodles stack up against each other:
| Feature | Sourdough Pasta | Traditional Homemade Pasta | Store-bought Dry Pasta |
|---|---|---|---|
| Digestibility | Extremely high (fermented) | Moderate | Low (often causes bloating) |
| Flavor Profile | Complex, slightly tangy, nutty | Mild, egg-forward | Neutral, bland |
| Prep Time | Requires resting/fermentation | Quick (30 min rest) | Instant (just boil) |
| Texture | Chewy with a perfect al dente bite | Soft and tender | Firm but prone to mushiness |
Here are two specific examples of how the fermented flavor elevates a dish: First, imagine a classic Carbonara. The sharp, slightly acidic notes of the fermented noodles perfectly balance the rich, fatty guanciale and heavy egg yolks, stopping the dish from feeling overly cloying. Second, in a simple Aglio e Olio, where there is nowhere for the ingredients to hide, the nutty complexity of the wild yeast becomes the absolute star of the show.
Here are three immediate reasons you need to start making this today:
- Gut Health Optimization: The natural bacteria break down phytic acid, making the meal significantly easier on your digestive system.
- Zero Waste Starter Utilization: It is the absolute best way to use up your sourdough discard instead of throwing it in the trash.
- Unbeatable Texture: The enzymatic activity creates a stronger gluten network, giving you that restaurant-quality chewiness every single time.
Tracing the Roots of Fermented Dough
Ancient Origins
To truly appreciate what you are making, you have to look back at how our ancestors prepared their grains. Long before commercial yeast was isolated in a laboratory, every single dough made by humans was naturally leavened. Historical records suggest that early civilizations, particularly the Greeks and Romans, routinely fermented their grain pastes. While they didn’t have the crank-operated pasta machines we use today, they understood that leaving a mixture of water and crushed wheat out in the warm Mediterranean air made it taste better and last longer. This natural fermentation was simply a fact of daily life, an unintentional but brilliant method of food preservation and flavor enhancement.
Evolution of Pasta Making
As we moved into the Middle Ages, the process became more refined. Italian artisans began heavily drying their noodles to allow for long sea voyages, prioritizing shelf-stability over the slow, complex fermentation process. Speed became the goal. By the time the industrial revolution hit, the slow-fermented, sour-tasting noodles of the past were entirely replaced by mass-produced, extruded dry goods. The living cultures were stripped away in favor of predictability and speed. For decades, the true art of naturally fermented noodles was lost to the convenience of the supermarket aisle, surviving only in highly isolated rural kitchens where grandmothers refused to give up their traditional ways.
The Modern State
Now that we are deep into 2026, the home-cooking landscape has totally shifted back toward ancestral methods. People are tired of hyper-processed foods and are actively seeking out ways to return nutrition and flavor to their tables. Artisan bakers, who spent the last decade mastering bread, have naturally crossed over into the world of Italian cuisine. This beautiful intersection of rustic bread-making and classic Italian pasta crafting has birthed a massive revival. Today, high-end restaurants are specifically advertising naturally leavened noodles on their menus, and home cooks are proudly sharing their fermented fettuccine online. It is a full-circle moment for culinary history.
What Actually Happens During Fermentation
The Lactic Acid Bacteria Magic
Let’s talk about the biology happening on your kitchen counter. Your sourdough starter is a thriving microscopic ecosystem, primarily made up of wild yeasts and lactic acid bacteria (LAB). When you introduce this culture to fresh flour and eggs, the LAB immediately gets to work. They begin consuming the simple sugars present in the flour and convert them into lactic and acetic acids. This is exactly what drops the pH level of the dough. This acidic environment does something phenomenal: it activates an enzyme called phytase. Phytase completely dismantles phytic acid, an antinutrient naturally found in wheat that normally binds to minerals like iron, zinc, and magnesium, preventing your body from absorbing them. By breaking this down, the fermented noodles essentially unlock the nutritional payload of the wheat.
Gluten Network Transformation
Simultaneously, the fermentation process profoundly impacts the gluten matrix. As the wild yeast produces carbon dioxide (which we don’t necessarily need for rising in this context) and the bacteria produce acids, the proteins in the flour become hyper-extensible. The dough relaxes in a way that unfermented dough simply cannot. The enzymes slice through some of the tougher protein bonds, meaning when it finally comes time to roll the sheets out, the dough won’t aggressively snap back at you. It becomes supple, silky, and incredibly cooperative.
- Lower Glycemic Response: The organic acids produced during fermentation slow down the rate at which glucose is released into your bloodstream, preventing massive insulin spikes.
- Fructan Reduction: The wild bacteria consume the fructans (a type of carbohydrate that triggers IBS symptoms in many people), making the final product much gentler on sensitive stomachs.
- Prebiotic Activity: Even after boiling, the structural changes in the starches provide excellent food for your own gut microbiome.
Your Complete 7-Step Guide to Mastering It
Step 1: Feeding Your Starter
Everything begins with a robust, active culture. Do not try to use a neglected, highly acidic starter that has been sitting in the back of your fridge for a month. About six to eight hours before you plan to mix your ingredients, feed your starter with equal parts water and flour. You want it bubbly, active, and smelling pleasantly sweet and milky, not aggressively sharp like nail polish remover. You can technically use discard for this, but an active, freshly fed culture will yield a much better texture and a softer, more complex flavor profile.
Step 2: Mixing the Dough
Clear off a large, clean workspace. Mound about 300 grams of high-quality ’00’ flour or all-purpose flour on your counter and create a wide well in the center. Into that well, drop two large, room-temperature eggs, one egg yolk, a generous pinch of sea salt, and exactly 100 grams of your active sourdough culture. Use a fork to gently beat the wet ingredients together in the center, slowly pulling in flour from the inner walls of the well. Take your time here; rushing will cause the well to break, sending raw egg and starter spilling all over your counter.
Step 3: The Initial Fermentation
Once the dough comes together into a shaggy mass, it is time to let the biology do the heavy lifting. Wrap the dough tightly in plastic wrap or place it in an airtight container. Leave it right on your kitchen counter at room temperature for about two to four hours. This is the bulk fermentation phase. The dough isn’t going to double in size like a loaf of bread, but it will undergo significant chemical changes. The flour will fully hydrate, and the bacteria will begin producing those wonderful organic acids.
Step 4: Kneading and Resting
After the initial room-temperature rest, unwrap the dough and begin kneading it vigorously on a wooden board. Push the heel of your hand into the dough, fold it over, give it a quarter turn, and repeat. You want to do this for a solid ten minutes. Because of the fermentation, you will notice the dough becomes incredibly smooth and elastic very quickly. Once it feels like a supple, smooth ball, wrap it back up and put it in the refrigerator for at least 12 hours, or up to 24 hours. This cold retard develops the deep, nuanced flavors without turning the dough into a sour mess.
Step 5: Rolling the Sheets
When you are ready to eat, pull the cold dough from the fridge and let it sit at room temperature for thirty minutes to take the chill off. Cut the dough into four manageable pieces. Flatten one piece with your hands and run it through the widest setting of your pasta machine. Fold it in half like a book and run it through again. Repeat this folding and rolling process three times on the widest setting to build structure. Then, gradually click down the dial, passing the dough through each setting once until you reach your desired thinness. The fermented dough should glide through the rollers beautifully without tearing.
Step 6: Cutting the Shapes
Dust your beautiful, thin sheets generously with semolina flour to prevent sticking. Now you can choose your adventure. You can run the sheets through a cutting attachment to make uniform spaghetti or fettuccine, or you can grab a sharp knife and hand-cut rustic pappardelle. If you are feeling ambitious, this dough is also absolutely perfect for making filled pastas like ravioli or tortellini because the fermented elasticity holds fillings incredibly well. Toss the cut noodles in a bit more semolina and form them into loose nests on a baking sheet.
Step 7: Cooking and Sauce Pairing
Bring a large pot of heavily salted water to a rolling boil. Remember, the cooking time for fresh, fermented noodles is drastically shorter than boxed goods. Drop your nests into the boiling water and stir gently. They will take no more than 2 to 3 minutes to reach a perfect al dente. Reserve a cup of that starchy, slightly acidic pasta water before draining. Toss the noodles immediately into a pan with your waiting sauce—whether that is a rich brown butter and sage, a slow-simmered bolognese, or a bright pesto. Use the reserved water to emulsify the sauce so it perfectly coats every single strand.
Common Misconceptions
Myth: Fermented noodles taste intensely sour and ruin delicate sauces.
Reality: A properly managed culture provides a subtle, nutty depth, not a sharp vinegar taste. The cold fermentation process slows down the acid production, resulting in a complex, savory background flavor that actually enhances, rather than overpowers, delicate butter or seafood sauces.
Myth: Making this recipe requires multiple days of active, exhausting work.
Reality: While the timeline stretches over two days, the actual hands-on time is less than 30 minutes. The vast majority of the process is simply letting the dough rest in the fridge while you go about your life. It is mostly inactive waiting.
Myth: You absolutely must use expensive, imported Italian flour.
Reality: While ’00’ flour yields an incredibly silky texture, this method works beautifully with standard all-purpose flour, or even a blend of all-purpose and whole wheat. The wild yeast does an amazing job of conditioning regular supermarket flour.
Myth: You can’t dry it for later use.
Reality: You absolutely can dry it! Once cut, simply hang the strands on a drying rack in a well-ventilated room until they snap cleanly. They will store in an airtight container for weeks, retaining all those amazing fermented benefits.
Frequently Asked Questions
Can I use straight discard straight from the fridge?
Yes, you can, but the dough will be significantly more acidic and the gluten won’t be quite as strong. For the absolute best texture and a milder flavor, feeding the culture a few hours beforehand is highly recommended.
Why is my dough tearing in the machine?
Tearing usually means the dough is either too dry or it hasn’t rested long enough. If it feels extremely stiff, sprinkle a few drops of water on it, knead it in, and let it rest for another 30 minutes to relax the gluten.
Can I freeze the dough before rolling it out?
Absolutely. You can freeze the solid block of dough right after the bulk fermentation step. Just wrap it tightly in plastic and thaw it overnight in the refrigerator before you plan to roll and cut it.
How long will the fresh, uncut dough last in the fridge?
Because of the protective acidity of the wild yeast, the dough will easily keep in the refrigerator for up to 3 days. After that, it may start to oxidize and turn a slightly grayish color, though it is usually still safe to eat.
Do I need a machine to make this?
Not at all. A long, heavy wooden rolling pin and a bit of elbow grease work perfectly. In fact, many purists argue that rolling by hand creates a better, more porous surface texture that grips sauces much better than machine-rolled sheets.
Why does my pasta stick together after I cut it?
You aren’t using enough semolina flour. Regular flour will absorb into the dough and cause sticking, but coarse semolina acts like tiny ball bearings, keeping the individual strands perfectly separated while they wait for the boiling water.
Is this safe for people with celiac disease?
No. While the fermentation process breaks down gluten and makes it easier for people with mild sensitivities to digest, it does not eliminate the gluten entirely. It is strictly not safe for anyone with diagnosed celiac disease.
If you love cooking and want to genuinely elevate your daily meals, incorporating wild yeast into your noodles is a game changer. It takes a humble, everyday ingredient and turns it into an artisanal masterpiece that supports your health and delights your palate. Grab your jar of starter from the fridge, clear off your counter, and try mixing your first batch this weekend. Your dinners will never be the same again!


Leave a Reply