
How to Bake Authentic Italian Easter Desserts at Home
Ever wondered why everyone suddenly craves authentic italian easter desserts the moment the weather gets warm? Look, if you are anything like me, you are probably obsessed with testing out new baking projects. I am sitting right now in my Kyiv apartment during a chilly spring afternoon, scrolling through messages from my friend Marco in Napoli. He just sent me a massive care package filled with homemade Pastiera and Colomba, and it completely blew my mind. The textures, the subtle hits of orange blossom water, the rich ricotta—it is a completely different level of baking. I grew up making our traditional Ukrainian Paska, which is a glorious, rich bread in its own right. But tasting Marco’s family recipes made me realize that Mediterranean spring baking has a magical vibe we absolutely need to talk about. The whole point is to bring light, citrus, and joy back to the table after a long winter. Making these sweets is not just about eating; it is an event, a multi-day chat with your ingredients. My goal right now is to walk you through exactly why these pastries rule, how to pull them off without losing your mind, and the actual science making them taste so good.
Why You Actually Need These Spring Sweets
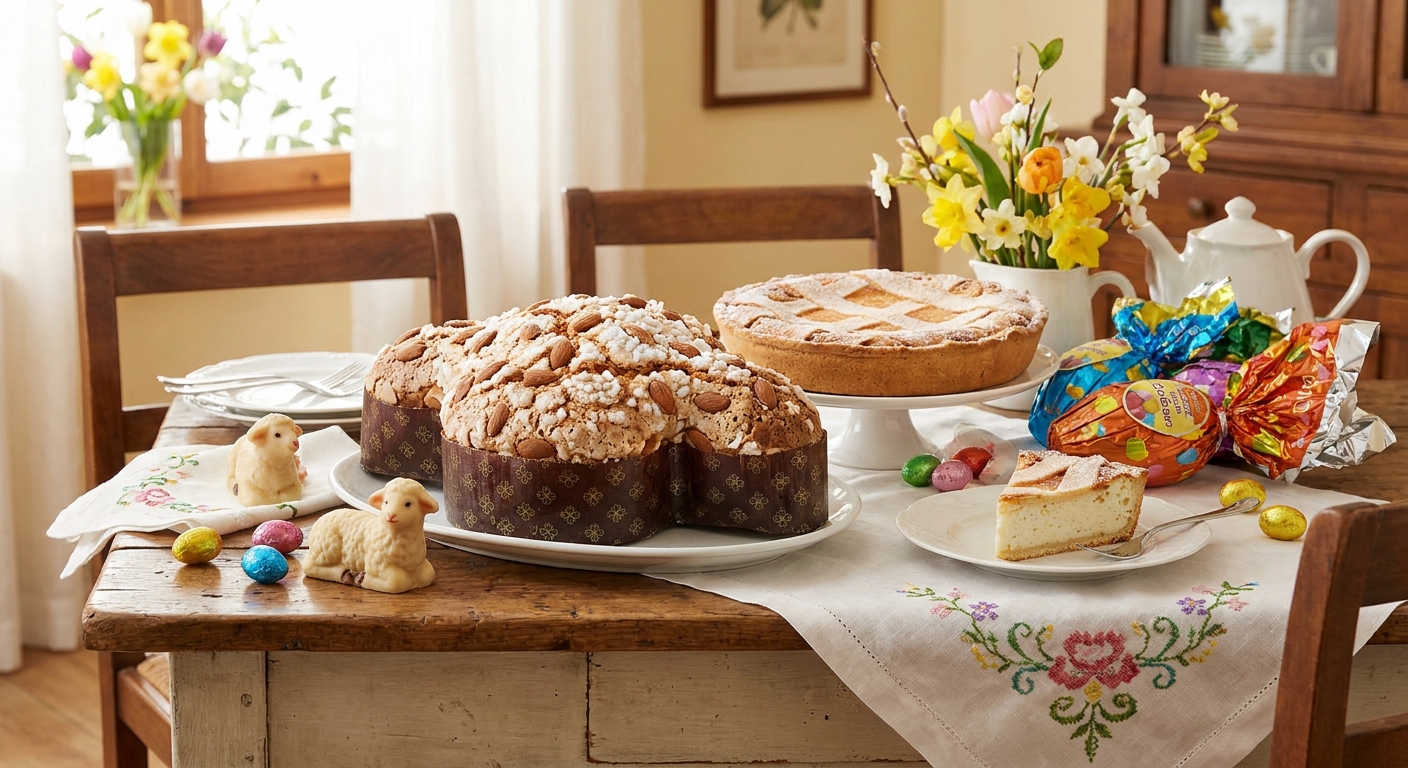
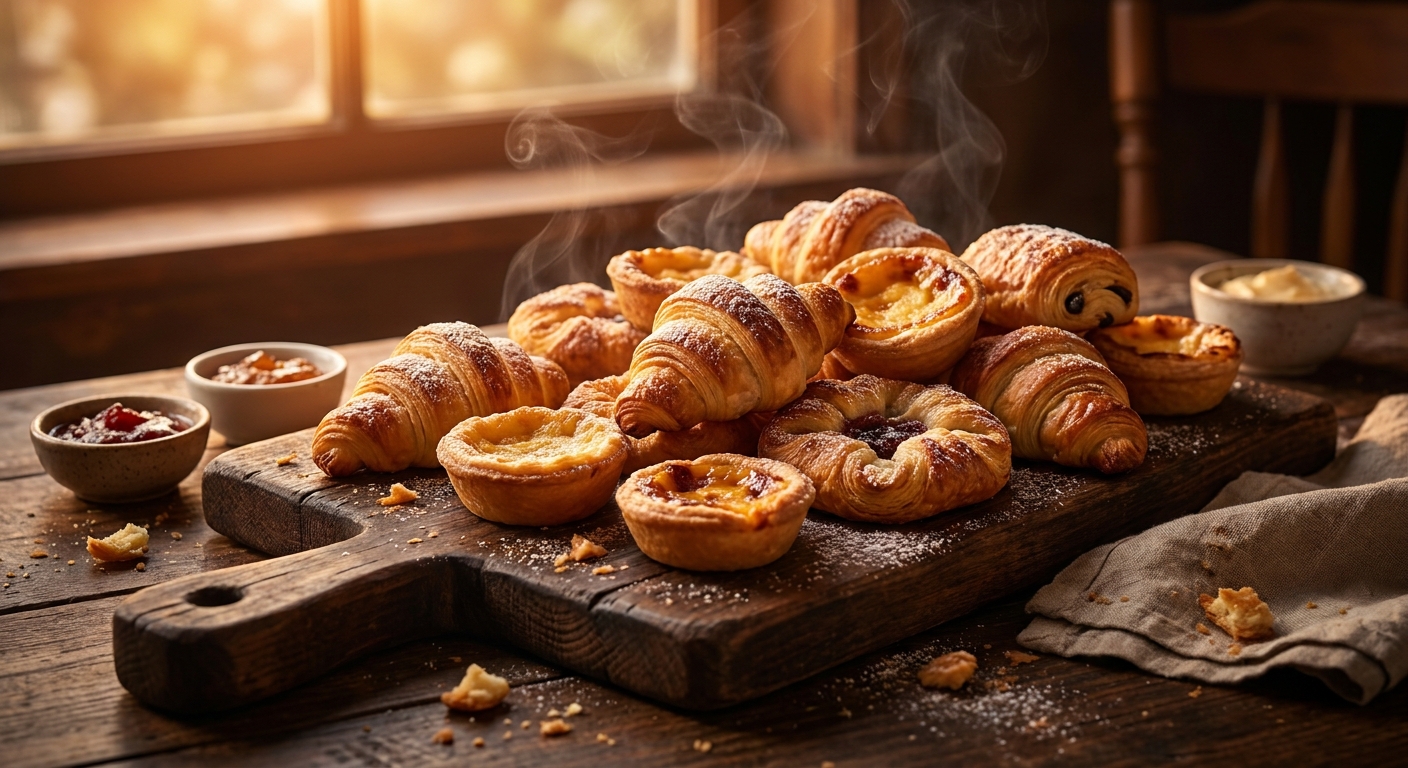
Let’s get straight to the point: baking these regional specialties is incredibly rewarding. The core benefit of tackling these recipes is the massive flavor payoff. You are dealing with enriched doughs, candied citrus, fresh cheeses, and a ton of history. The value proposition here is simple: you trade patience for a pastry that literally tastes like sunshine. Imagine cutting into a freshly baked pie that smells exactly like an orange grove. It instantly elevates your weekend brunch. Take the Pastiera Napoletana, for example. The combination of cooked wheat and ricotta provides an unmatched texture that you just cannot buy in a standard supermarket. Or the Colomba di Pasqua, the dove-shaped bread that is lighter than air, topped with that crackly pearl sugar and almond glaze. It makes a regular slice of cake seem completely boring.
| Dessert Name | Origin Region | Key Ingredients |
|---|---|---|
| Pastiera Napoletana | Campania | Ricotta, cooked wheat, orange blossom water, candied peel |
| Colomba di Pasqua | Lombardy | Flour, butter, eggs, candied orange, pearl sugar, almonds |
| Cassata Siciliana | Sicily | Sponge cake, sweet sheep milk ricotta, marzipan, icing |
| Agnello di Pasta di Mandorla | Apulia | Almond paste, sugar, lemon zest, chocolate filling |
If you want to actually nail these recipes, you have to follow a few absolute rules. Do not cut corners, because the ingredients are too delicate to rush.
- Always drain your ricotta overnight: Moisture is the enemy of a crisp pastry crust. Put your ricotta in a cheesecloth over a sieve in the fridge for at least twenty-four hours before you even think about mixing it.
- Respect the temperature of your butter: For enriched breads like Colomba, your butter needs to be soft but not melting. If it is too warm, the dough gets greasy. If it is too cold, it will not incorporate into the gluten network.
- Use high-quality candied fruit: Those neon-colored cubes from the discount aisle will ruin the flavor. Source real, artisanal candied orange and citron. It makes a massive difference in the final taste.
Origins of Sweet Spring
So where did all this start? The history of these baked goods is wild. Long before modern ovens existed, ancient Romans were already celebrating the arrival of spring with breads enriched with eggs and honey. Eggs have always been the ultimate symbol of rebirth. When early Christianity swept through the Mediterranean, the church essentially absorbed these pagan spring rituals. Monasteries and convents became the absolute epicenters of pastry innovation. Nuns in Naples had access to the best sugar, spices, and orange blossom water brought in by local traders. They took the ancient idea of a spring grain pie and refined it over centuries into the Pastiera we know today. The recipes were fiercely guarded secrets, passed down strictly through oral traditions and handwritten ledgers hidden inside convent walls.
Evolution of Baking Methods
As time moved on, the methods got more sophisticated. By the time the Renaissance hit, Italian bakers were obsessed with achieving lighter, taller doughs. They started experimenting with natural wild yeast, learning how to feed and maintain starters that could lift doughs loaded with heavy butter and eggs. This is where the magic of the panettone-style dough originated. Over the late nineteenth and early twentieth centuries, industrialization allowed for refined flour and consistent commercial sugar, which completely changed the texture of these desserts. Bakers in Milan figured out that they could take the Christmas panettone dough, shape it into a dove, adjust the candied fruit profile, and market it exclusively for spring. It was a brilliant move that solidified the Colomba as a national staple.
The Modern State of Holiday Sweets
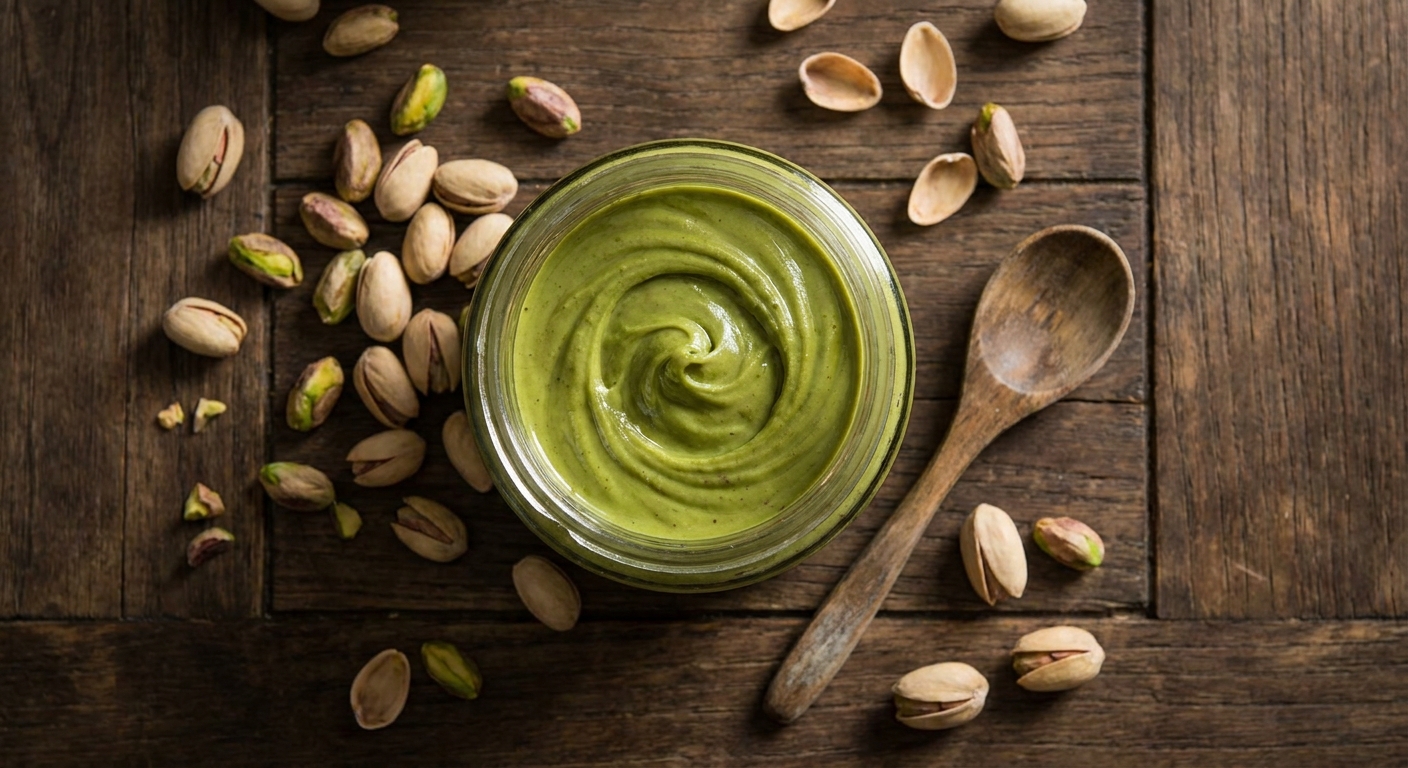
Now that we are solidly in 2026, the baking scene is seeing a massive push back against mass-produced factory cakes. People are tired of artificial preservatives. There is a huge home-baking renaissance happening right now. Everyone wants to touch the dough, feel the hydration, and wait for the natural fermentation. Modern bakers are even tweaking the classic recipes, adding things like pistachio cream or wild local honeys, but the core foundation remains absolutely identical to what those Neapolitan nuns were doing hundreds of years ago. It is a brilliant mix of respecting the ancient steps while using precise modern kitchen scales and digital thermometers to guarantee success.
The Chemistry of the Perfect Dough
Let’s talk about the actual science happening inside your mixing bowl, because understanding the chemistry makes you a vastly better baker. When you mix flour and water, two proteins called glutenin and gliadin link up to form a gluten network. In lean doughs, this is easy. But in rich holiday doughs, you are throwing a massive amount of fat—butter and egg yolks—into the mix. Fat coats the flour proteins and actively prevents them from linking together. This is called the shortening effect. To combat this, you have to develop the gluten network completely before adding the fat. You literally knead the dough until it passes the windowpane test, meaning you can stretch a piece of it so thin that light passes through it without tearing. Only then do you slowly emulsify the butter into the web. If you rush this, the entire structure collapses into a greasy, dense brick.
Mastering Hydration and Fermentation
Fermentation is the next massive hurdle. When you use a natural sourdough starter—known in Italy as pasta madre—you are relying on a symbiotic colony of wild yeast and lactic acid bacteria. These microorganisms eat the complex carbohydrates in the flour and produce carbon dioxide gas, which gets trapped in your strong gluten web, forcing the bread to rise. But sugar creates a high osmotic pressure environment. Essentially, high sugar pulls water out of the yeast cells, severely slowing them down. This is why a sweet dough takes forever to rise compared to a plain baguette.
- Maillard Reaction: This is the chemical reaction between amino acids and reducing sugars that gives the crust its dark, beautiful mahogany color and deep caramel flavor. It kicks in at around 140 degrees Celsius.
- Yeast Temperature Limits: Wild yeast is most active between 25 and 28 degrees Celsius. If your dough drops below 20 degrees, the yeast goes dormant and the rise stops completely.
- Enzymatic Activity: Amylase enzymes in the flour break down starches into simple sugars over long fermentation periods, which is why a slow-proofed dough naturally tastes sweeter and browns better in the oven.
- Moisture Migration: In filled pastries like Pastiera, managing moisture is key. The cooked wheat acts as a sponge, holding onto the moisture so the filling stays incredibly creamy while baking, without making the bottom crust soggy.
Day 1: Sourcing Ingredients
You cannot just wake up and decide to bake an authentic Colomba in three hours. It is a project. Start your week on Monday by hunting down the good stuff. Go to a specialty grocer or look online for high-protein bread flour. You need flour with at least 13 to 14 percent protein to hold up the butter. Buy real vanilla beans, fresh high-fat butter, and the best candied orange peel you can find. Also, start feeding your sourdough starter twice a day to build its strength.
Day 2: The Starter Preparation
On Tuesday, your goal is to get your pasta madre incredibly active. You need to do what is called a ‘bagnetto’, or a sweet bath. You wash the starter in water with a tiny pinch of sugar to remove excess acidity, then feed it equal parts flour and water. Keep it in a warm spot, ideally around 28 degrees Celsius. You want it to triple in volume within four hours. If it does not triple, keep feeding it. A weak starter will completely fail in an enriched dough.
Day 3: The First Dough (Primo Impasto)
Wednesday evening, you mix the first dough. You combine your strong, active starter with flour, water, sugar, and egg yolks. Once the gluten is fully developed and elastic, you slowly add the soft butter. This dough then needs to ferment overnight for about 12 to 14 hours at a cozy room temperature. By Thursday morning, it should have tripled in size. Do not touch it until it has officially tripled.
Day 4: The Second Dough (Secondo Impasto)
Thursday morning, take your tripled first dough and put it back in the mixer. Add more flour, the rest of the sugar, honey, vanilla, more egg yolks, and salt. Build the gluten back up, then slowly add the second batch of butter. Finally, fold in the candied orange peel. The smell at this stage is absolutely intoxicating. It smells like a professional bakery. Let this dough rest for an hour in a warm place to relax.
Day 5: Shaping and Final Proof
Friday is shaping day. Divide the dough into pieces and let them sit on the counter for 30 minutes. This is called bench rest. Then, shape them into the traditional dove forms or round panettone molds. Cover them gently and place them in a warm environment for their final rise. This can take anywhere from 6 to 12 hours depending on how aggressive your yeast is. You are waiting for the dough to crest just below the top of the paper mold.
Day 6: Glazing and Baking
Saturday morning, the dough is ready. Carefully mix an almond glaze using almond flour, sugar, egg whites, and a bit of cornstarch. Pipe this glaze gently over the top of the proofed dough. Do not press down or you will deflate the entire thing. Scatter whole almonds and pearl sugar on top. Bake it at 160 degrees Celsius until a thermometer in the center reads 93 degrees Celsius. The moment it comes out, you must pierce the bottom with long skewers and hang it upside down to cool, otherwise the delicate crumb will collapse under its own weight.
Day 7: Resting and Tasting
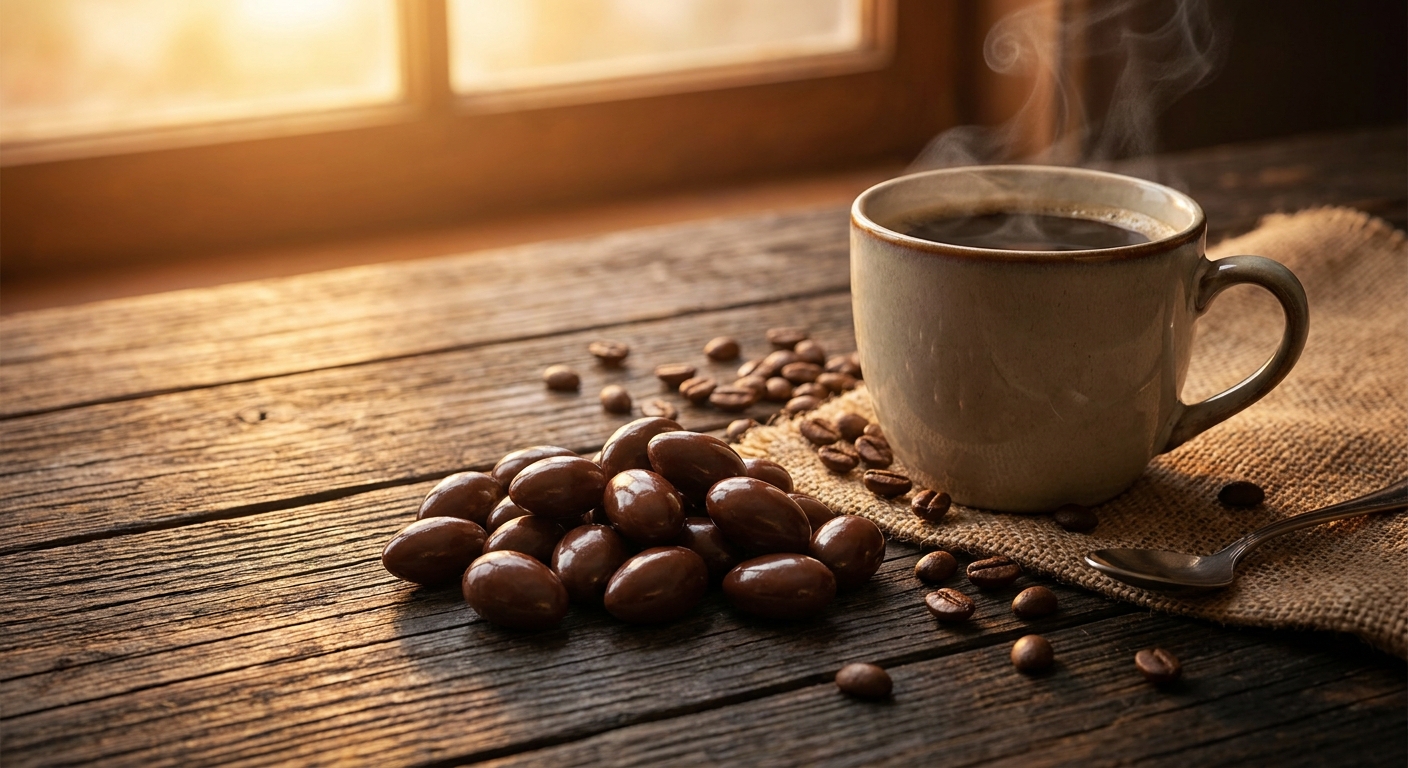
Sunday is the big day. Yes, you have to wait. Enriched breads taste significantly better if they rest for at least 24 hours after baking. The moisture redistributes, the vanilla and citrus oils permeate the crumb, and the texture settles. When you finally cut into it, tear it with your hands rather than slicing with a knife. The soft, cotton-like strands of dough will pull apart beautifully. Pair it with a strong espresso.
Myths & Reality
Myth: Panettone and Colomba are the exact same thing, just shaped differently.
Reality: While the doughs are similar, they are not identical. Colomba typically does not contain raisins, heavily features candied orange paste, and has a distinct almond glaze on top that changes the moisture dynamic of the bake.
Myth: Making Pastiera takes too much special equipment and cannot be done at home.
Reality: You literally just need a rolling pin, a mixing bowl, and a basic cake tin. The traditional cooked wheat comes pre-cooked in jars at most Italian delis. It is actually one of the most accessible regional pies to bake.
Myth: You cannot make these recipes outside of Italy because the flour is different.
Reality: In 2026, you can easily buy imported Italian Manitoba flour online, or just use any locally milled, high-quality, high-protein bread flour. The technique matters way more than the brand of flour.
Myth: Ricotta does not need to be drained for baked cakes.
Reality: If you do not drain your ricotta, your pastry will literally boil from the inside out, turning the crust into mush. Always, always drain it.
Frequently Asked Questions
Can I freeze the raw dough?
No, freezing enriched sourdough kills the wild yeast activity. If you freeze the dough, it will struggle to rise and become extremely dense when baked.
What is a good substitute for orange blossom water?
If you absolutely cannot find it, use a tiny splash of pure vanilla extract combined with finely grated fresh orange zest. It will not be exactly the same, but it gets the job done.
Can I use commercial yeast instead of sourdough?
Yes, but the texture and shelf life will change. Commercial yeast causes a much faster rise, resulting in a slightly drier crumb that goes stale faster. Sourdough naturally preserves the bread.
Why did my Colomba collapse after baking?
You probably did not hang it upside down quickly enough, or you under-baked it. The internal structure is too weak to support itself while piping hot, so hanging it is mandatory.
How long does Pastiera stay fresh?
It actually gets better after two days in the fridge! The flavors meld together perfectly. It generally lasts up to a week if kept chilled in an airtight container.
Do I have to use candied fruit?
Traditionally, yes, the sugar in the fruit helps retain moisture in the bread. If you hate it, use high-quality chocolate chips, but make sure to freeze them first so they do not melt into the dough during mixing.
Can I knead the dough by hand?
It is theoretically possible, but highly discouraged. Hand-kneading a high-hydration, butter-heavy dough takes about an hour of intense physical labor. A stand mixer is your best friend here.
Look, jumping into the world of traditional spring baking is an adventure. You are taking simple ingredients and turning them into something legendary. It requires patience, a bit of technique, and a whole lot of love. Do not let the multiple steps scare you off. The sheer joy of pulling a perfect, golden, aromatic pastry from your own oven is completely unmatched. Gather your ingredients, feed your starter, and get ready to blow everyone away at your next holiday gathering. Get your apron on and start baking today!
Leave a Reply