
Why Everyone is Obsessed with Dessert Squares
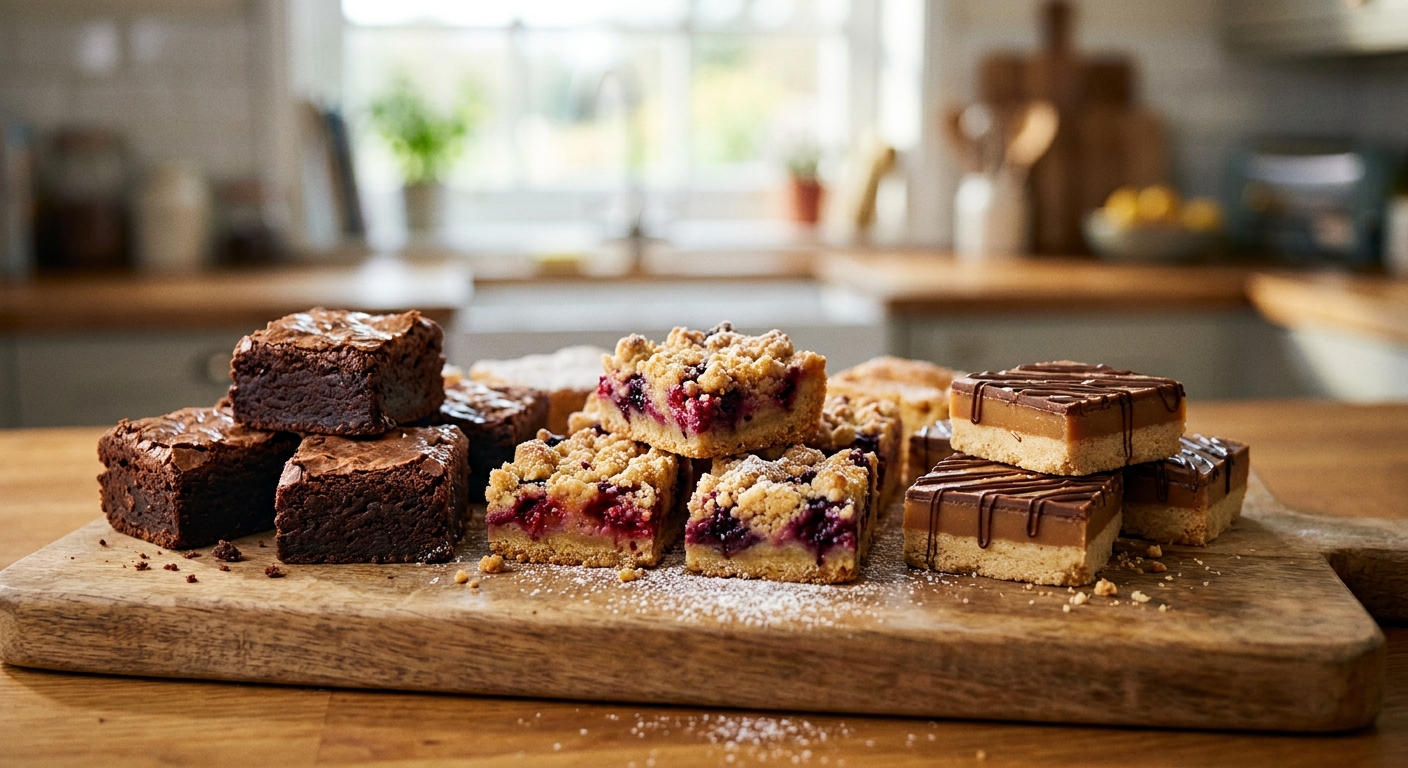
Hey! Have you noticed how dessert squares completely took over our social media feeds recently? I swear, every time I scroll, someone is cutting into a perfectly gooey, rich batch of dessert squares. It is the ultimate comfort baking, honestly. The beauty of these treats lies in their absolute simplicity combined with endless flavor possibilities. Whether you are throwing together a quick brownie, a fruit crumble, or a layered millionaire’s shortbread, baking in a single flat pan just makes life easier.
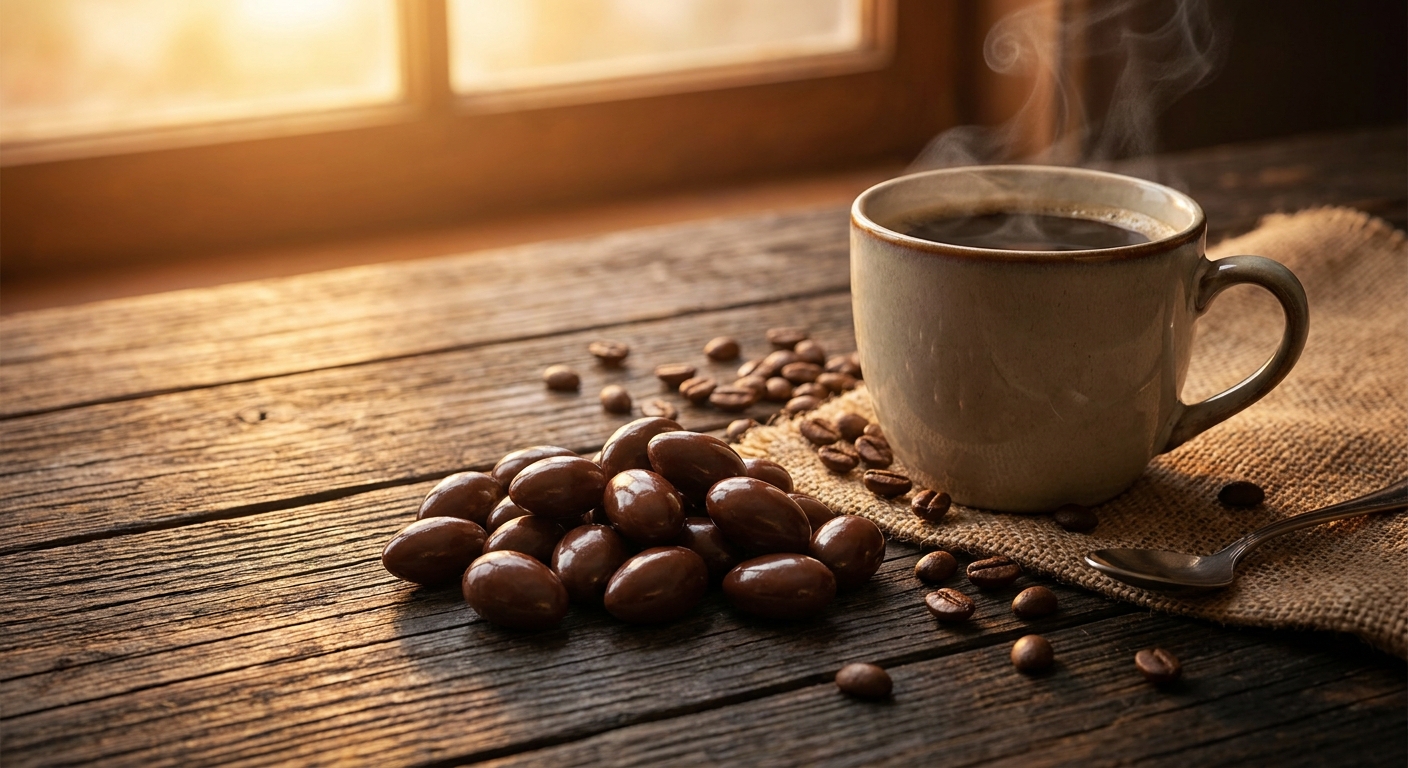
I remember back in my tiny Kyiv apartment, right near the Golden Gate, my oven was so temperamental I couldn’t even attempt traditional tiered cakes. They would inevitably burn on one side and stay raw on the other. So, I started adapting classic Ukrainian recipes—like medivnyk (honey cake) and syrnyk (cheesecake)—into flat traybakes. Serving honey cake in this format was a total game-changer for my weekend coffee meetups with friends. You just bake, slice, and share. No frosting stress, no structural collapses.
By mastering the basic flat-pan technique, you unlock a universe of sweet treats that require half the effort of a standard layer cake but deliver twice the crowd-pleasing satisfaction. Now that we are deep into 2026, the trend has evolved past simple brownies into spectacular layered creations that you can easily master right in your own kitchen. Let me show you exactly how to do it.
The Magic Behind the Perfect Pan Bake
There is a real, tangible benefit to choosing traybakes over round layer cakes or individual cupcakes. For one, the ratio of edges to centers gives everyone their preferred texture. If you love a crispy, chewy bite, grab a corner piece. If you want that ultra-fudgy, melt-in-your-mouth middle, it is right there waiting for you in the center. This formatting is practically a baking superpower for entertaining.
Think about the value proposition here: minimal prep time, maximum yield, and incredibly easy transportability. For example, if you make a lemon raspberry crumble bar, carrying a whole pan to a picnic is infinitely easier than transporting delicate, top-heavy cupcakes. Or consider a caramel chocolate oat bar; you can stack them neatly in a tupperware container without ruining any intricate piping or delicate frosting designs.
Here is a quick breakdown of how different popular bases compare so you know exactly what you are getting into:
| Base Type | Texture Profile | Best Paired With |
|---|---|---|
| Shortbread | Crumbly, buttery, firm | Caramel, chocolate, fruit curds |
| Oatmeal Crumble | Chewy, crunchy, rustic | Berries, apples, stone fruits |
| Brownie/Blondie | Dense, fudgy, rich | Nuts, cream cheese, marshmallows |
| Cookie Dough | Soft, dense, nostalgic | Chocolate chips, M&Ms, fudge |
If you want to start creating your own signature recipes instead of relying on cookbooks, just follow this basic framework:
- Establish a solid crust: Press a firm dough like graham cracker, digestive biscuit, or shortbread evenly into a parchment-lined pan. This prevents your wet toppings from turning everything into a mushy disaster.
- Add a contrasting middle layer: If your base is crunchy, make the center gooey or creamy. Think baked cheesecake, soft caramel, gooey marshmallows, or a tart fruit jam.
- Finish with a textured topping: Sprinkle streusel, toasted nuts, or pour a hard chocolate shell over the top to give that satisfying initial snap or crunch when you bite into it.
The Deep Roots of Pan Baking
Origins of the Square Bake
The concept of baking cakes in shallow, rectangular pans goes back centuries, long before we had standardized 9×13 inch metal tins sitting in our cupboards. Early bakers realized that spreading dough thinly across a heated surface cooked the food much faster than baking a tall, thick loaf. Historical records show that flat, sweetened breads were cut into grids for easy sharing during communal feasts. The actual term for these treats started evolving when mass-produced baking tins became widely available to home cooks during the industrial revolution. Housewives needed quick, reliable sweets that could feed large families without requiring hours of meticulous decoration. The flat sheet cake was the obvious answer, providing maximum surface area for quick, even baking.
Evolution of Traybakes
During the mid-20th century, convenience baking took the world by storm. The invention of the graham cracker crust and the popularization of pre-packaged chocolate chips led to the iconic magic cookie bar, which required zero mixing bowls—you just layered the ingredients directly into the baking pan. This era solidified the traybake as a staple of potlucks, bake sales, and holiday gatherings. Instead of dealing with delicate frosting, bakers experimented with built-in toppings like toasted coconut, marshmallows, and oat streusels. The sheer ease of cutting a massive slab into perfect little geometric shapes made portion control easy and visually appealing.
The Modern State of Baking
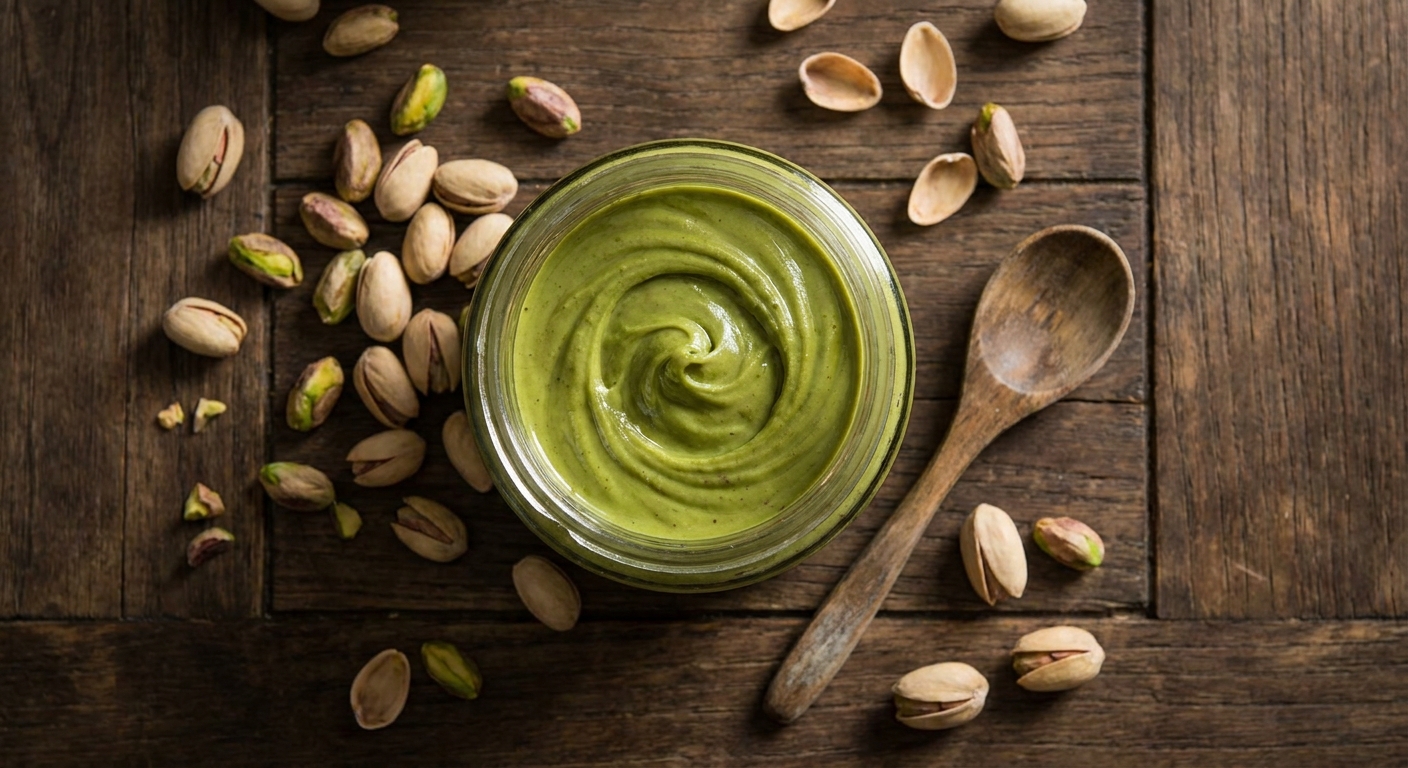
Fast forward to today, and the humble traybake has received a serious gourmet makeover. Artisanal bakeries around the globe now feature perfectly sliced, straight-edged creations wrapped in minimalist packaging. We see flavor profiles incorporating high-end ingredients like matcha, black sesame, tahini, and ruby chocolate. The focus has shifted heavily toward precise layers and high-quality components, elevating these treats from a quick afternoon snack to a sophisticated dessert option suitable for high-end dinner parties. They successfully bridge the gap between comforting home baking and professional pastry arts.
The Science of Baking in a Square
The Science of Pan Heat Distribution
Baking in a rectangular or square pan is a completely different thermal experience compared to using a round tin. When you pour batter into a 9×9 inch metal pan, heat transfers from the oven air to the metal walls, cooking the perimeter first. Because corners have two exposed walls meeting at a 90-degree angle, they receive intense heat from two directions simultaneously, which is why corners always bake faster and become significantly crispier. Light-colored aluminum pans are highly recommended by professionals because they conduct heat quickly and evenly. Conversely, glass or ceramic acts as an insulator, holding onto heat long after you pull it from the oven. This means if you bake a brownie in a glass dish, the residual heat can actually overbake the edges while it sits on your counter cooling down.
Baking Ratios Explained Simply
Creating the perfect texture relies entirely on baker’s percentages rather than sheer luck. To get a fudgy center rather than a dry, cakey one, you must alter the ratio of fat and sugar to flour. Flour provides structure through gluten development, while fat (butter or oil) and sugar actively inhibit gluten formation, leading to a denser, more tender bite. When you understand these basic ratios, you don’t even need strict recipes anymore; you can just freestyle based on the texture you want.
Here are some scientific facts about how ingredients behave in a flat pan:
- Sugar liquefies when heated. Using a higher ratio of brown sugar adds molasses, which holds onto moisture and creates a much chewier texture than standard white sugar.
- Eggs act as binders, but the egg whites actively dry out baked goods while the yolks add rich, emulsified fats. Swapping whole eggs for extra egg yolks guarantees a denser, fudgier consistency.
- Resting the batter for 30 minutes before baking allows the flour to fully hydrate, which leads to a more uniform crumb and that highly sought-after crackly top, especially in chocolate-based recipes.
- Cooling your bake completely before slicing is not just about temperature; it allows the fats (like butter and cocoa butter) to crystallize and set properly, ensuring sharp, clean cuts without crumbling into a mess.
Your 7-Day Traybake Masterclass
Ready to master this craft? I put together a 7-day challenge to build your skills progressively from the most basic crusts to complex, multi-layered masterpieces. By the end of this week, you will be an absolute traybake expert.
Day 1: The Classic Shortbread
We start with the foundation of all good things. Mix butter, sugar, and flour together, then press it firmly into an 8×8 pan. Prick it all over with a fork to let steam escape and bake until lightly golden. This simple bake teaches you how to handle a press-in crust and understand the visual cues for when a buttery base is fully cooked.
Day 2: The Fudgy Cocoa Brownie
Mastering the ultimate brownie is essential. Today, focus on melting the butter and sugar together over a double boiler to create that signature glossy, crackly top. Pour the batter into your pan and practice pulling it out of the oven while the center is still slightly gooey. Carryover cooking will finish the job on the counter.
Day 3: The Fruit Crumble Bar
Let’s introduce moisture. Use a hearty oat, brown sugar, and butter mixture for both the base crust and the sprinkled topping. Spread a thick, generous layer of raspberry jam or fresh macerated berries in the middle. You will learn how the base absorbs just enough moisture from the fruit while baking to become wonderfully chewy.
Day 4: The Cheesecake Swirl
Take your brownie batter from Day 2 and add a tangy cream cheese layer. Dot the cream cheese batter heavily over the chocolate base and use a butter knife to swirl them together in a figure-eight motion. This teaches you how to bake two distinct batters with totally different densities at the exact same time without ruining either.
Day 5: The Millionaire’s Shortbread
Time for distinct, stacked layers. Bake a shortbread crust and let it cool completely. Then, pour over a thick layer of homemade stovetop caramel. Once that caramel firmly sets, top it evenly with melted dark chocolate. Patience is the key lesson here, as each individual layer must set fully before the next one is added.
Day 6: The No-Bake Fridge Cake
Give your hard-working oven a rest. Crush up some digestive biscuits, mix them with melted chocolate, golden syrup, and marshmallows, then press the sticky mixture firmly into a tin. This day focuses entirely on chilling times and structural integrity without the use of heat or eggs to bind ingredients.
Day 7: The Signature Freestyle
Now it is time to invent. Look in your pantry and combine everything you have learned. Maybe create a salty pretzel crust, a peanut butter fudge center, and a dark chocolate ganache topping. Trust the ratios and techniques you practiced all week to build your ultimate custom dessert.
Separating Baking Myths from Reality
There is so much bad advice out there about baking. Let’s clear up some nonsense right now so you don’t ruin your next batch.
Myth: You need expensive, heavy-duty pans for the best results.
Reality: Cheap, lightweight aluminum pans actually yield the best results because they heat up and cool down incredibly fast, preventing your edges from overbaking and drying out.
Myth: You should always cut your baked goods right out of the oven while they are warm and soft.
Reality: Cutting them hot guarantees a sticky, crumbly mess. You must let them cool completely—sometimes even chilling them in the fridge overnight—to get those pristine, bakery-style sharp edges.
Myth: If a recipe calls for an 8×8 pan, you can just use a 9×9 without changing anything.
Reality: A 9×9 pan has about 25% more surface area than an 8×8 pan. Your batter will spread much thinner, meaning it will bake significantly faster and likely turn into a dry brick if you don’t reduce the cooking time.
Myth: Greasing the pan with butter and dusting it with flour is enough to prevent sticking.
Reality: For gooey, sugar-heavy layered bakes, parchment paper with a two-inch overhang is absolutely non-negotiable. It acts as a durable sling so you can lift the entire block out effortlessly before slicing.
Frequently Asked Questions & Wrap Up
Can I freeze them?
Absolutely. Most dense, fat-heavy bakes like brownies, blondies, and shortbreads freeze beautifully for up to three months if wrapped tightly in two layers of plastic wrap.
How do I get clean slices?
Use a large, sharp chef’s knife. Run the blade under very hot water, wipe it completely dry with a towel, and make one firm push down into the bake. Clean the blade between every single slice.
Why did my caramel layer sink into the base?
Your base was likely underbaked or still way too warm when you poured the hot caramel over it. Always let the bottom layer cool entirely before adding a liquid layer.
Can I substitute butter for coconut oil?
Yes, but remember that coconut oil melts at a much lower temperature than butter, which can make your crust slightly oilier at room temperature and alter the crunch factor.
What is the absolute easiest recipe for beginners?
A classic graham cracker crust topped with condensed milk, chocolate chips, and shredded coconut (often called magic cookie bars) is completely foolproof and requires no mixing bowls.
Why are my edges hard like rocks?
You probably baked them in a glass dish, which retains heat too long after baking, or your oven temperature was running significantly hotter than the dial indicated.
How long do they stay fresh?
Stored in an airtight container at room temperature, most variations will easily last 4 to 5 days, though they rarely survive that long without being eaten!
There you go! Everything you need to know to fill your kitchen with the most incredible smells and tastes. Baking does not have to be a stressful endeavor full of collapsing cake tiers and melting frosting. Now it’s your turn to grab a mixing bowl and get to work. Try out the 7-day challenge, experiment with your absolute favorite flavors, and don’t forget to share your amazing creations with your friends. Happy baking!
Leave a Reply