

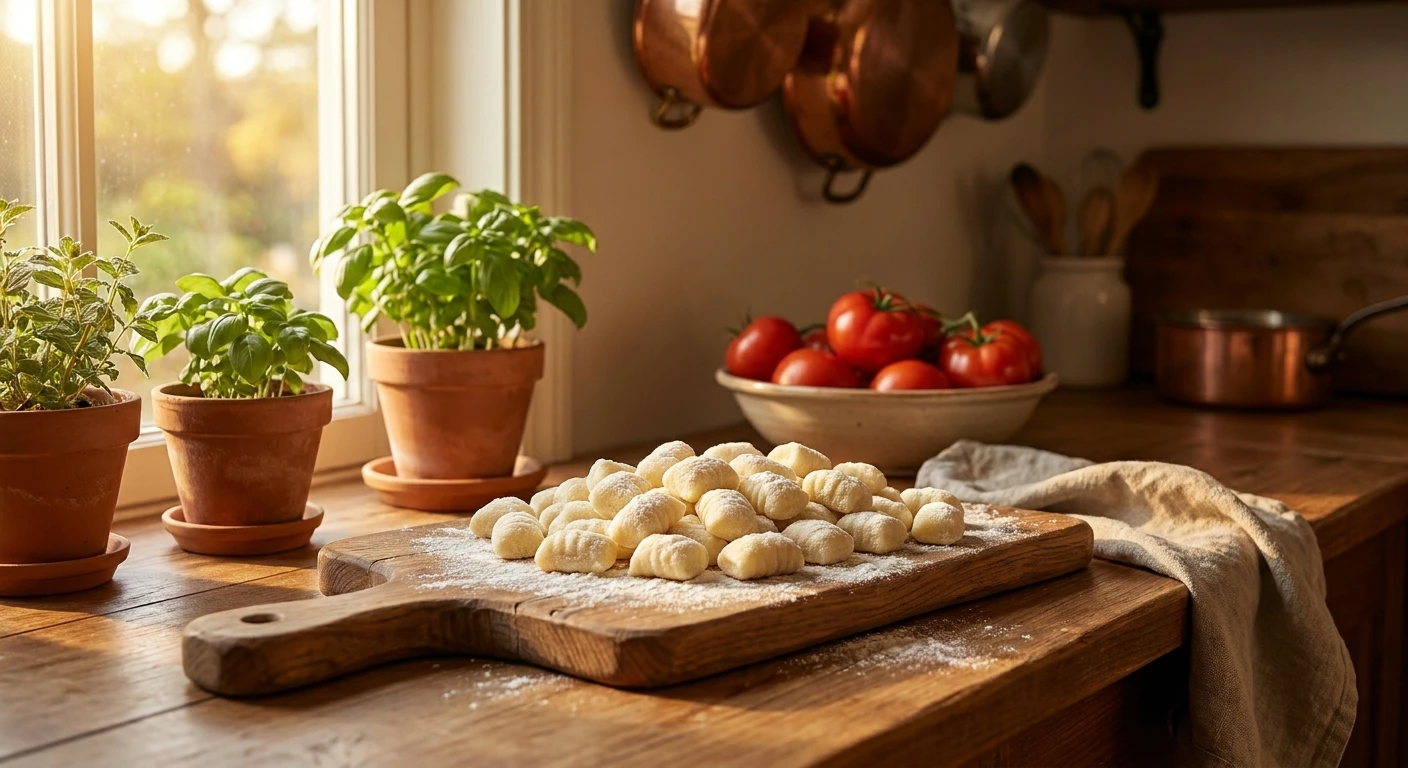
Mastering the Perfect Gnocchi Maison
Let me tell you, getting the perfect gnocchi maison on your plate is a whole lot easier than most people think, and the results are mind-blowing. Honestly, I remember sitting in my kitchen in Kyiv last winter, looking at a massive sack of local potatoes. We Ukrainians absolutely adore potatoes—we roast them, boil them, fry them, and mash them to perfection. But combining our deep, cultural love for the humble spud with pure Italian culinary technique? That is where the magic truly happens.
If you have ever tried making fresh pasta or dumplings from scratch, you already know the vibe. There is something incredibly grounding about working with your hands, feeling the temperature of the dough, and creating a masterpiece from practically nothing. The secret to an ethereal, pillowy dumpling is completely within your reach. You do not need a culinary degree, nor do you need expensive equipment. You just need a bit of patience, the right type of potato, and a solid understanding of how moisture interacts with flour.
Now that we are well into 2026, the global obsession with rustic, from-scratch home cooking has reached an absolute fever pitch. People are tired of overly processed, mass-produced meals. They want the real deal. They want the rustic charm and the undeniable flavor of something crafted by hand. That is exactly what we are doing here today. We are taking basic pantry staples and turning them into golden, melt-in-your-mouth clouds of joy.
Why Bother Making It from Scratch?
Look, I get it. The supermarket is right down the street, and those vacuum-sealed packages of dumplings look incredibly convenient. But let us be totally honest—they usually taste like dense, chewy pencil erasers. Making this dish at home completely changes the paradigm. The value proposition here is off the charts. You are trading a fraction of your Sunday afternoon for a meal that would cost a premium at a high-end Italian restaurant.
When you take control of the ingredients, you dictate the final texture. You get to decide if you want a hearty, rustic bite or a delicate, melt-in-your-mouth sensation. Here is a quick breakdown of how your homemade version stacks up against the alternatives:
| Sourcing Method | Texture Quality | Flavor Profile |
|---|---|---|
| Store-Bought (Vacuum Sealed) | Dense, gummy, often rubbery | Bland, requires heavy sauces to mask the taste |
| Restaurant Quality | Usually light and fluffy | Rich, authentic, but heavily priced |
| Your Own Kitchen | Ethereal, pillowy, incredibly tender | Deeply flavorful, customizable, insanely fresh |
If you are still on the fence, think about the pure economics and the sheer satisfaction of the process. It is ridiculously cheap to make, and the bragging rights are forever. But to get it right, you need to respect the core ingredient. Here are the three non-negotiable rules for potato mastery:
- Starch Content is King: You absolutely must use floury, high-starch potatoes like Russets or older potatoes. Waxy potatoes will turn your dough into a slippery, unusable mess.
- Moisture is the Enemy: The less water inside your potato flesh, the less flour you will need to bind the dough. Less flour equals a lighter, fluffier end product.
- Temperature Matters: You have to rice or mash the potatoes while they are piping hot to allow steam to escape, but you must let them cool slightly before adding eggs, or you will accidentally cook the proteins.
Origins of the Little Dumpling
Long before tomatoes ever made their way to Europe, these little dumplings were a staple of the Roman empire. However, the earliest versions were completely unrecognizable from what we eat today. The Roman legions used a mixture of semolina porridge mixed with eggs, which was allowed to cool, sliced into pieces, and fried. It was peasant food—cheap, incredibly filling, and totally necessary for survival during harsh winters.
Evolution Across Europe
Fast forward to the 16th century. Spanish explorers brought the potato back from the Andes mountains in South America. Initially, Europeans were incredibly skeptical of this strange tuber, often using it merely as decorative garden plants or animal feed. But once culinary innovators in Northern Italy realized how beautifully the potato’s starch behaved when boiled and mixed with local wheat flour, the entire landscape of European dining changed forever. The semolina was out, and the potato was strictly in.
Modern State of Gnocchi
Today, as we navigate the culinary trends of 2026, there is a massive resurgence in ancestral cooking techniques. The modern iteration of this dish respects the traditional Italian methods but embraces slight modern tweaks—like using a dry-bake method instead of boiling to control hydration perfectly. High-end restaurants are infusing their doughs with black truffle, squid ink, or vibrant green spinach, but the undisputed champion remains the classic, unadulterated potato base.
The Chemistry of Starch and Gluten
If you want perfect results, you need to understand exactly what is happening on a microscopic level. When you bake a potato, the starch granules inside swell and eventually burst. This process is called gelatinization. When you introduce wheat flour to this fluffy, starchy mass, you are introducing gluten—a network of proteins that provides structure. The tricky part? You want just enough gluten to hold the dumpling together in boiling water, but if you develop too much gluten by over-mixing or kneading, the dough becomes tough and chewy.
Temperature Control During Preparation
Temperature control is your best friend. If you mash a cold potato, the starches undergo a process called retrogradation, which means they recrystallize and become waxy and stubborn. You have to mash them hot. But if you add your flour and egg while the potato is practically boiling, you will pre-gelatinize the flour and scramble the egg, resulting in a sticky disaster. Here are the hard scientific facts you need to memorize:
- Water boils at 212°F (100°C), but a potato is perfectly baked when its internal temperature reaches 205°F to 210°F.
- Retrograded starch (cooled potatoes) requires 30% more mechanical force to mash, which damages the cellular structure and releases excess moisture.
- Gluten development accelerates dramatically in warm environments, which is why minimal handling of the dough is chemically required for a tender bite.
- Egg yolks contain lecithin, an emulsifier that coats the starch molecules and physically prevents excessive gluten formation.
Step 1: Choosing the Perfect Starchy Foundation
Your journey begins at the market. Ignore the shiny, smooth-skinned red or yellow potatoes. You are looking for the ugliest, dustiest, thick-skinned baking potatoes you can find. Russets are the gold standard because their cellular structure is incredibly dry and fluffy when cooked. Buy about two pounds for a standard batch.
Step 2: The Dry Bake Method
Preheat your oven to 400°F (200°C). Pierce the skins of the potatoes with a fork to allow steam to escape. Place them directly on the oven rack and bake them for roughly an hour, until a knife slides through the center with absolutely zero resistance. Do not boil them. Boiling introduces water, and as we discussed, water is the ultimate enemy of a light, airy dough.
Step 3: Ricing for Ultimate Fluffiness
The second those potatoes are cool enough to handle (use an oven mitt if you have to), slice them in half and scoop out the flesh. Push the hot flesh through a potato ricer or a food mill spread out onto a large wooden cutting board. A traditional potato masher will leave lumps and compress the starch too much. The ricer creates tiny, individual strands of potato that allow steam to evaporate rapidly.
Step 4: The Egg and Flour Integration
Once the riced potato has stopped actively steaming but is still warm to the touch, sprinkle about 1 cup of “00” flour or all-purpose flour evenly over the top. Beat one whole egg in a small bowl, make a well in the center of your flour/potato mountain, and pour the egg in. Sprinkle a generous pinch of sea salt over the entire mixture.
Step 5: The Gentle Folding Technique
Using a bench scraper or a wide spatula, gently fold the mixture onto itself. Chop the dough loosely, scooping the edges into the center. Do not press down hard. Do not knead it like bread dough. You merely want to bring the ingredients together until they form a cohesive, slightly tacky ball. If it feels overly sticky, dust it with another tablespoon of flour, but hold back as much as possible.
Step 6: Rolling the Ropes and Cutting
Cut the ball of dough into four equal sections. Gently roll one section out with your hands into a long snake or rope, about the thickness of your thumb. Using your bench scraper or a sharp knife, cut the rope into one-inch pillows. Move the cut pieces to a baking sheet generously dusted with semolina flour so they do not stick to the pan or to each other.
Step 7: Shaping with the Rigagnocchi
This is the fun part. Take each little pillow and roll it gently over a gnocchi board (rigagnocchi) or the back of a fork using your thumb. You want to create deep ridges on one side and a slight indentation on the other. These ridges are not just for decoration—they act as little scoops that catch and hold your pasta sauce, ensuring maximum flavor in every single bite.
Myths vs. Reality
There is so much misinformation out there regarding this classic dish. Let us clear up the nonsense right now so you can cook with confidence.
Myth: You need a massive amount of flour to make the dough firm enough to boil.
Reality: Flour is the absolute enemy of lightness. The more flour you add, the denser and heavier the final product will be. You only want to use the bare minimum required to bind the dough.
Myth: Boiling the potatoes is the quickest and best way to prep them.
Reality: Baking is universally superior. Boiling waterlogs the potatoes, forcing you to add way more flour to compensate for the excess moisture.
Myth: You absolutely must knead the dough thoroughly until it is completely smooth.
Reality: Kneading develops strong gluten networks, which is great for pizza but terrible for dumplings. You should only mix the dough until it barely comes together.
Can I freeze the dough?
Yes, absolutely. Freeze them directly on the floured baking sheet first so they do not stick together. Once they are rock solid, transfer them to a freezer bag. Boil them straight from frozen; do not thaw them first.
What is the best potato variety?
Russets or King Edwards. You need an extremely high-starch, low-moisture potato to get that fluffy, cloud-like texture.
Why did my dumplings turn to mush in the water?
Usually, this means you did not add enough flour to bind the dough, or your cooking water was boiling far too violently, which literally rips the delicate dumplings apart. A gentle simmer is key.
Do I absolutely need a potato ricer?
While you can technically use a box grater on baked potatoes, a ricer is genuinely the best tool for the job. It prevents the starches from being overworked and turning gummy.
Can I make these gluten-free?
Yes! Swap the regular wheat flour for a high-quality, 1-to-1 gluten-free baking blend. Because there is no gluten to overwork, they often turn out incredibly tender.
What sauce pairs best with this dish?
The ridges catch sauce beautifully, so browned butter and sage, a rich Gorgonzola cream sauce, or a slow-simmered beef ragù are absolutely spectacular choices.
Should I use eggs or skip them completely?
Traditional purists often skip the egg entirely, relying solely on potato and flour. However, adding one egg provides an excellent safety net by binding the dough and ensuring it doesn’t disintegrate in the water.
How long do I boil them?
Drop them into gently salted, boiling water. They will sink to the bottom. The exact moment they float to the surface (usually 2 to 3 minutes), let them bob for about 15 seconds, then immediately scoop them out with a slotted spoon.
Making incredible, restaurant-quality dumplings in your own kitchen is entirely achievable when you respect the science and the process. Now that you know exactly how moisture, starch, and heat interact, you are completely ready to tackle this project. Grab a bag of russets, clear off your counter, and start creating something amazing. Do not forget to share your homemade creations with your friends and family—they will be blown away!



Leave a Reply