
The Ultimate Guide to the Perfect Colomba Cake
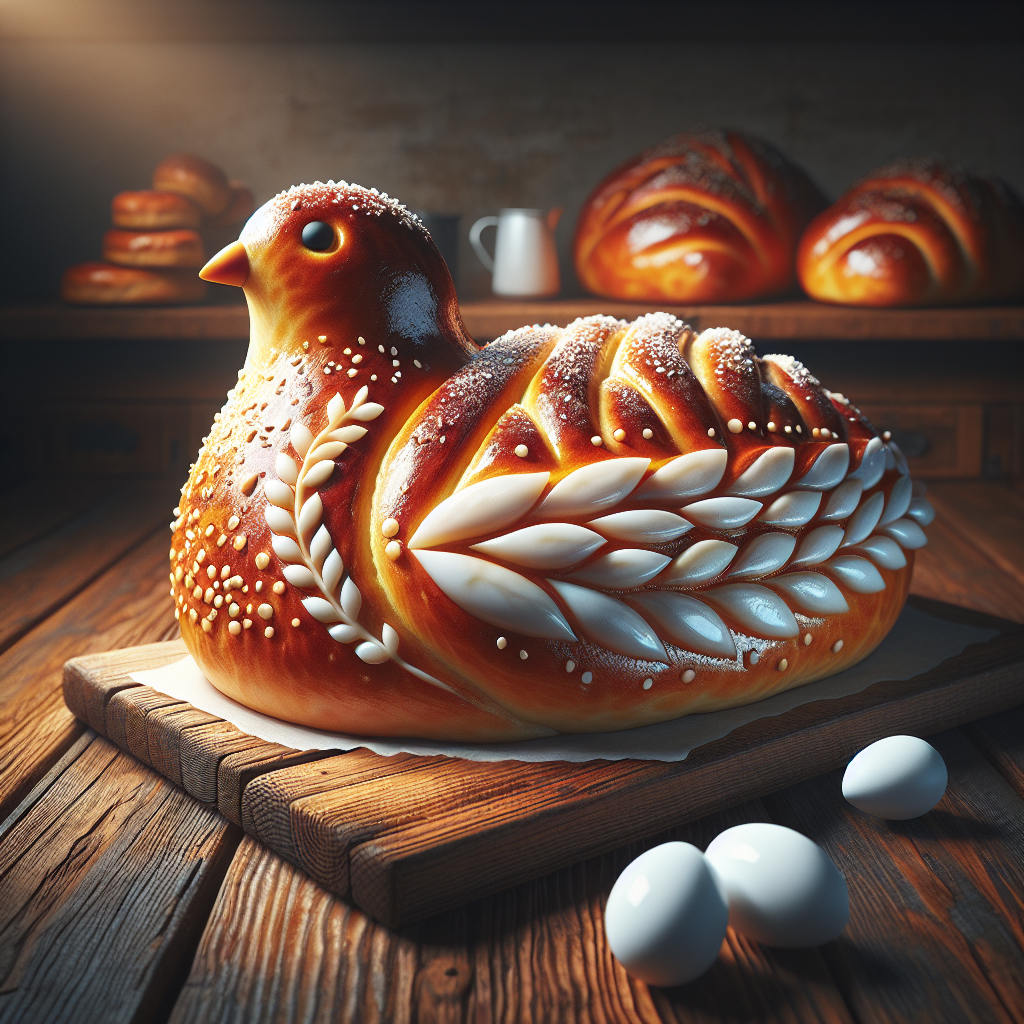
Have you ever wondered why the traditional colomba cake steals the show on every festive table it graces? It is not just a standard sweet loaf; it is a miraculously fluffy, fragrant masterpiece shaped like a flying dove. I vividly remember the very first time I attempted to bake one in my small, sunlit kitchen in Kyiv. The crisp spring air was blowing through the window, but inside, the intoxicating scent of candied orange peel, scraping vanilla beans, and toasted almonds made it feel like a warm, sunny morning in Milan. Ukrainian bakers possess a deep love for rich holiday breads, much like our traditional paska, but this Italian dove bread presents an entirely different texture and vibe. It is incredibly rich yet impossibly airy, maintaining a delicate balance that commands respect from anyone who loves the craft of dough making.
I promised myself I would master the intricate process of creating this specific bread. Since that first day, I have constantly tweaked the hydration levels, adjusted the yeast activity, and experimented with temperature controls. Achieving the perfect result takes genuine patience, but the final product practically melts in your mouth and leaves a lingering aroma of citrus and butter. You absolutely do not need an expensive, professional bakery setup to get this right. We are going to break down the entire baking sequence, removing the guesswork. Trust me, once you slice into that crunchy, sugar-crusted top and reveal the soft, golden, wildly open crumb underneath, you will never even think about buying a commercially packaged store-bought version again. What makes this bake so magical and why does it command such a cult following? Let us look closely at the mechanics.
Baking a genuine masterpiece of this caliber is a masterclass in managing time, temperature, and ingredients. The undeniable magic relies heavily on a stiff sourdough starter, widely known in traditional Italian baking circles as lievito madre. This robust natural yeast provides the dough with its signature tearable texture and a significantly prolonged shelf life. Think about how a standard, commercially yeasted loaf usually dries out and becomes crumbly in just a couple of days. By contrast, a properly fermented dove bread stays remarkably soft, supple, and fresh for several weeks without any artificial preservatives. That is the first massive advantage. The second major benefit is the unbelievable depth of flavor. You develop a naturally complex, buttery richness that is deeply infused with real vanilla bean and sharp citrus oils, creating a sensory profile that synthetic extracts simply cannot replicate.
| Festive Bread Type | Primary Leavening Agent | Signature Flavor Profile & Add-ins |
|---|---|---|
| Colomba | Stiff Lievito Madre (Sourdough) | Candied orange, vanilla, crunchy almond and pearl sugar glaze |
| Panettone | Stiff Lievito Madre (Sourdough) | Raisins, mixed candied citrus, deeply buttery crumb |
| Traditional Paska | Commercial Yeast or Sourdough | Rich egg yolks, sometimes raisins, sweet vanilla aroma |
To achieve that legendary, cloud-like bakery-style fluffiness, you must fundamentally understand the structural pillars that hold the dough together. Merely mixing the ingredients is a recipe for a dense brick. Here are the core techniques you absolutely need to focus on:
- Immaculate Gluten Development: The dough absolutely must pass the windowpane test to ensure it has enough structural integrity to hold vast amounts of butter and egg yolks without collapsing during the bake.
- Strict Temperature Control: Fermenting the dough at precisely 26 to 28 degrees Celsius ensures optimal yeast activity and prevents the butter from melting out of the matrix into a greasy mess.
- The Signature Almond Glaze: A precisely balanced mixture of raw egg whites, fine almond flour, and sugar creates the iconic, crunchy protective crust that seals moisture inside while offering a perfect textural contrast to the soft interior.
Mastering these three specific elements virtually guarantees your success. Getting the hang of the glaze alone changes everything about the bake. As it cooks, the sugar crackles and forms an impenetrable shell over the rising dough. That shell traps steam inside, ensuring maximum oven spring. Plus, it looks absolutely stunning when placed in the center of a holiday dining table.
The Ancient Origins
The story behind this sweet bread dates back much further than most casual bakers realize. Historic legend suggests that the dove-shaped bread originally emerged in the Lombardy region, specifically within the city of Pavia, somewhere around the 6th century. King Alboin of the Lombards aggressively besieged the city. After a long and exhausting standoff, the desperate locals supposedly presented him with sweet breads expertly shaped like doves as a symbol of peace and surrender. The gesture allegedly softened the conqueror’s heart and saved the city from total destruction. Whether this is an entirely true historical account or simply a romantic tale passed down through generations of bakers, the shape of the dove remains a universally recognized symbol of peace, rebirth, and renewal during the spring season.
The Milanese Evolution
While the medieval legends are incredibly fascinating, the modern version of the bake we recognize and love today took its current shape in Milan during the early 1930s. A highly clever marketing director working for the Motta company, which was already famous across the country for its towering Christmas panettone, wanted to find a way to utilize the factory’s expensive mixing machinery during the idle spring months. They ingeniously took the rich, highly enriched, buttery panettone dough, removed the customary raisins, shaped the mass into a flying bird using specialized paper molds, and generously topped it with an amaretto-style glaze. It became an instant, massive commercial success. By utilizing the exact same lievito madre and prolonged fermentation processes as their winter cakes, they managed to manufacture a brand new national tradition seemingly overnight, completely altering the landscape of Italian spring baking.
The Modern State of Artisanal Baking
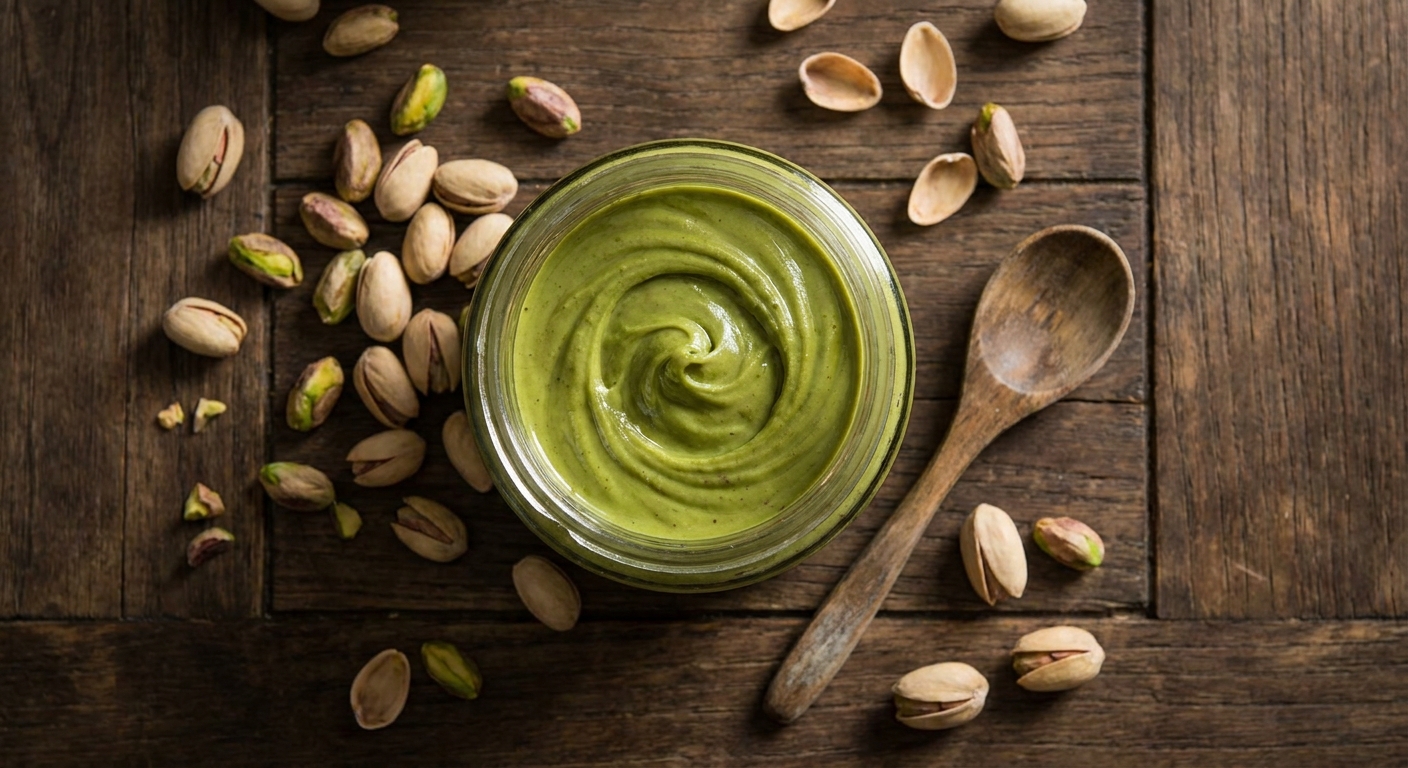
Fast forward to the year 2026, and the independent artisanal baking scene has completely reclaimed the recipe from the clutches of mass commercial production. Highly skilled craft bakers across Europe, North America, and right here in Ukraine are aggressively pushing the boundaries of what this bread can be. They are utilizing locally sourced organic stone-ground flours, wild fermented starters cultivated from local fruits, and highly exotic flavor additions like candied yuzu, ruby chocolate, and pistachio paste. Despite all these visually stunning and trendy variations, the core respect for the traditional double-fermentation process remains entirely intact. The modern home baker fully understands that rushing the dough inevitably ruins the delicate crumb structure. The massive revival of slow-food principles means that an increasing number of dedicated individuals are learning the historic methods, bringing bakery-quality creations directly out of their own domestic ovens.
The Chemistry of Osmotolerant Fermentation
Baking a highly enriched dough is, at its core, a deeply fascinating and complex science experiment occurring right on your kitchen counter. The dough is heavily loaded with vast amounts of fat from the butter and sucrose from the sugar. In a typical lean bread recipe, sugar acts as a simple food source for the yeast. However, in these extreme quantities, the sugar actually exerts high osmotic pressure on the microorganisms. This means it literally draws water out of the yeast cells, threatening to dehydrate and kill them. This is precisely why we rely on a highly active, heavily trained lievito madre. The natural bacteria in the stiff sourdough starter produce specific ratios of lactic and acetic acids. These acids act as brilliant natural preservatives, extending the shelf life of the cake while simultaneously breaking down complex starches into easily digestible simple sugars. It is exactly why you do not feel uncomfortably bloated after eating a massive slice.
The Physics of the Crumb Structure
How does such an incredibly heavy dough manage to rise so high and stay so impossibly light? It all comes down to the underlying physics of the gluten network and how the fat is distributed within it. When we meticulously knead the dough, we force the glutenin and gliadin proteins to align and form an exceptionally strong, elastic, microscopic web. Then, we very slowly incorporate the softened butter, creating a stable emulsion. If the butter is even slightly too warm, it immediately coats the flour proteins, completely preventing proper gluten formation and resulting in a dense, tragic brick.
- Temperature Ceilings: Optimal dough temperature must absolutely remain below 26 degrees Celsius during the intense mixing phase to prevent catastrophic butter separation.
- Acidity Balance: The pH level of your sourdough starter should ideally hover around 4.1 to ensure adequate lifting power without introducing excessive, unwanted sourness.
- Gravity Defiance: Hanging the freshly baked cake completely upside down immediately after pulling it from the oven is non-negotiable; gravity actively prevents the delicate, steam-filled gluten structure from instantly collapsing on itself as it cools.
Understanding these fundamental mechanics firmly transitions you from being a mere recipe-follower into a true dough engineer. You suddenly gain the confidence to tweak hydration levels dynamically based on your local ambient humidity and flour absorption rates. It is highly precise, demanding work, but incredibly rewarding when you see that dough dome up flawlessly over the edges of the paper mold.
Making this bread at home is a serious, multi-day commitment that requires planning. Here is your robust 7-Day Plan to guarantee a wildly successful, artisanal result in your own kitchen.
Day 1: Sourdough Assessment and Reactivation
Begin by strictly evaluating the current health of your sourdough starter. It needs to be incredibly healthy, active, and smelling sweet, not sharp like vinegar. Take it out of the back of the fridge, discard exactly half of the volume, and feed it with a precise 1:1:1 ratio of strong bread flour and lukewarm water. Keep it in a warm, draft-free spot to wake up the dormant yeast cultures.
Day 2: The Stiff Starter Conversion
Now you must convert your standard liquid starter into a stiff, dough-like lievito madre. Mix your bubbling active starter with double the amount of strong flour and just enough water to pull together a stiff dough ball (roughly 45% hydration). Knead it aggressively on the counter, roll it up tight, score the top, and let it ferment in a tall jar. This binding process encourages the specific yeast strains needed for sweet breads.
Day 3: The Intense Triple Feeding Regimen
This is the crucial training day for your yeast. You must feed the stiff starter exactly three times today, ideally spaced out every four hours. You must rigorously maintain the ambient temperature at a cozy 28 degrees Celsius. This repetitive feeding flushes out the sour lactic acid and massively boosts the explosive lifting power of the natural yeast.
Day 4: The First Dough Mix (Primo Impasto)
In the late evening, you are finally ready to mix the first dough. Combine your fully powered-up lievito madre with flour, water, sugar, egg yolks, and butter. Knead the mixture until it becomes completely smooth and passes a strong windowpane test. Cover it tightly and let this bulk ferment overnight for 10 to 12 hours. It must completely triple in volume before you proceed.
Day 5: The Second Dough Mix (Secondo Impasto)
Take the airy, tripled first dough and return it to the mixer. Carefully add the remaining ingredients in stages: more strong flour, aromatic honey, vanilla paste, candied orange peel, butter, and extra yolks. Divide and shape the dough gently to avoid degassing it, then place it carefully into the traditional paper molds. Let it proof in a warm, humid environment for another 6 to 8 hours until it reaches the edge of the paper.
Day 6: Glazing, Baking, and Hanging
Whip up the signature almond glaze until thick and glossy. Pipe it very gently over the incredibly fragile, risen dough, taking care not to deflate it. Dust heavily with pearl sugar and scatter whole almonds across the top. Bake in a preheated oven at 170 degrees Celsius until the very center core of the dough registers exactly 94 degrees Celsius on a probe thermometer. Immediately skewer the base with long metal pins and hang it completely upside down overnight.
Day 7: Resting, Maturing, and Tasting
Do not be tempted to cut into it immediately! Allow the bread to rest upright for a full 24 hours inside a tightly sealed plastic bag. This absolutely essential resting period distributes the complex flavors and moisture evenly throughout the crumb. Finally, after a week of dedication, slice cleanly, serve alongside a strong espresso, and enjoy the magical fruits of your intensive labor.
Myth: You can easily substitute standard commercial dry yeast for the sourdough starter and achieve the exact same bakery-level result in a fraction of the time.
Reality: Commercial dry yeast will indeed make the dough rise much faster, but it completely lacks the complex enzymatic activity needed to create the traditional, highly desirable shreddable texture and the deep, complex flavor profile. A commercially yeasted version will ultimately just taste and feel like a regular, slightly dry sweet bun.
Myth: This bake is basically just panettone dough dumped and baked in a completely different shaped mold.
Reality: While the two doughs are very close structural cousins, traditional dove bread contains absolutely no raisins whatsoever and is always topped with a rich, crunchy almond and egg white macaronade glaze. This topping fundamentally alters both the baking dynamics and the final flavor.
Myth: You do not actually need to hang the bread upside down after pulling it from the oven; it is just a pretentious baking tradition.
Reality: Hanging it is physically and structurally mandatory. The crumb is so incredibly rich in heavy fat, yolks, and sugar that if you leave it resting upright while piping hot, it will invariably collapse under its own weight as it cools down, completely ruining the airy, open crumb you spent days building.
Can I successfully freeze the fully baked cake?
Yes, you can absolutely freeze it. Wrap the fully cooled loaf incredibly tightly in multiple layers of plastic wrap and freeze it for up to three months. Thaw it slowly at room temperature before eating.
Where can I easily buy the specialty dove-shaped molds?
You can readily find the specific corrugated paper molds online at dedicated specialty baking supply stores or across all major e-commerce platforms, especially as spring approaches.
What exact kind of flour is required for success?
You must use a very strong, highly refined bread flour, ideally an Italian Manitoba flour, with an absolute minimum of 14% protein content to support all the butter.
Can I skip adding the candied orange peel?
You technically can skip it if you hate the texture, but the peel provides essential ambient moisture to the crumb and delivers the signature, highly aromatic citrus profile.
Why did my almond glaze burn in the oven?
Your oven temperature might be slightly too high, or you positioned the baking rack too close to the top heating element. Always tent the loaf loosely with aluminum foil if it begins to brown far too quickly.
How long can the raw dough last safely in the fridge?
Retarding the dough is chemically possible, but given the heavy enrichment, it is strongly advised that it is baked within 24 hours of the final mix to prevent the yeast from exhausting itself.
What exactly is pearl sugar and where do I get it?
Pearl sugar is dense, heavily clumped white sugar that resists melting entirely during high-temperature baking, providing a distinctly sweet crunch. It is widely available online or in specialty European grocers.
There is absolutely no denying that mastering this incredibly complex bake serves as a genuine badge of honor for any ambitious home baker. The multi-day process absolutely demands your utmost patience and attention to detail, but the heavenly, intoxicating aroma filling your entire kitchen and the unbelievably soft, cotton-like texture of the final loaf are worth every single step. Grab your best strong flour, begin feeding your dormant starter, and start planning your epic bake today! Do not hesitate to leave a detailed comment below if you encounter any issues or have questions about the hydration process.

Leave a Reply