

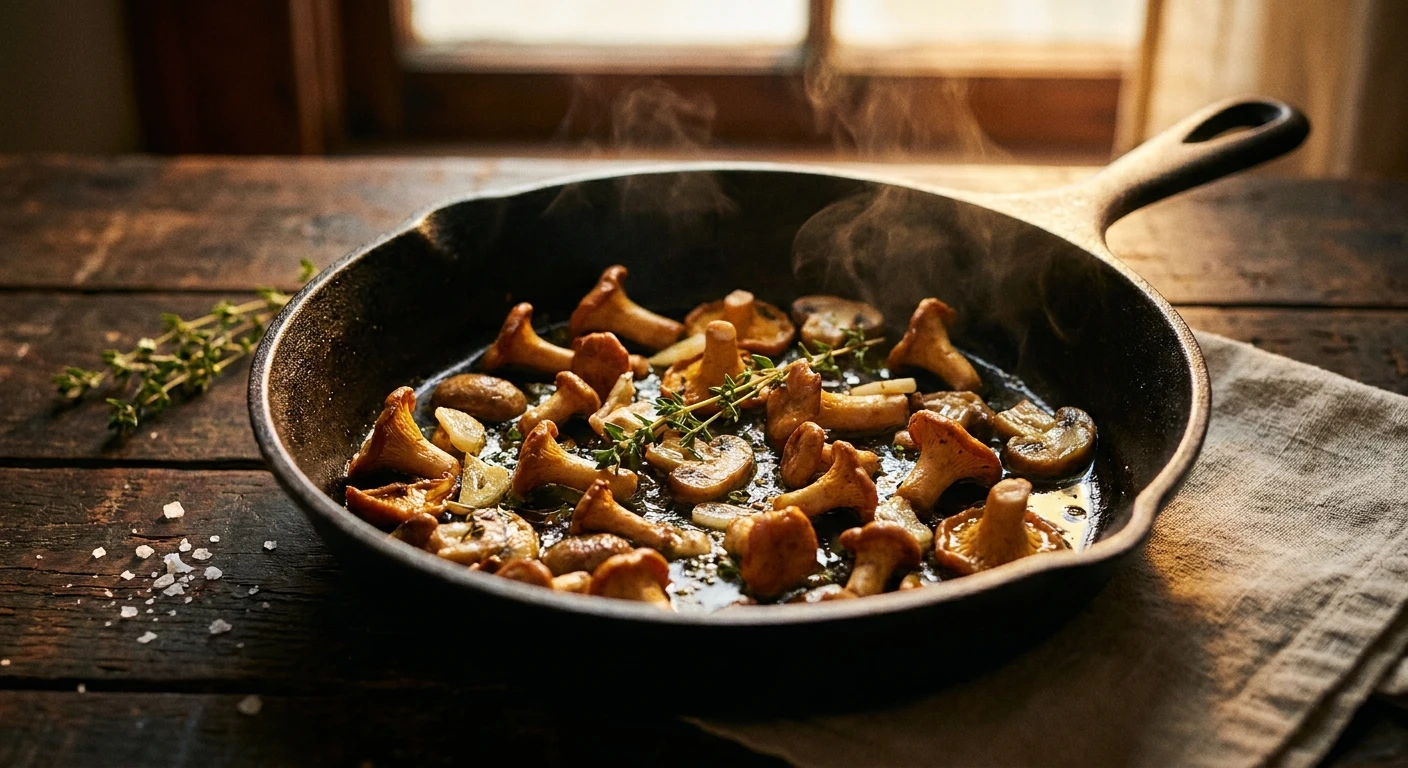
Mastering the Perfect champignon sauté at Home
Ever tried to make a proper champignon sauté and ended up with a sad, soggy mess in your pan? You are definitely not alone. Nailing that gorgeous, golden-brown crust on a simple mushroom feels like a culinary rite of passage. Growing up in Kyiv, I spent my autumns watching my grandmother meticulously sort through wild mushrooms. When winter hit and the forest bounty ran out, we relied on standard store-bought button mushrooms. Even with those humble ingredients, she could whip up a skillet of joy that smelled like butter, garlic, and absolute heaven. The secret was all in the technique, a method that translates perfectly to any kitchen setup you have.
Most home cooks treat mushrooms like standard vegetables, tossing them into a lukewarm pan and hoping for the best. What actually happens is that the fungi release all their water and essentially boil themselves into a rubbery oblivion. Getting a crispy, deeply flavored crust requires high heat, patience, and knowing exactly when to step away from the spatula. We are going to fix those common mistakes right now. By tweaking just a couple of habits, you will turn an ordinary grocery store ingredient into a star dish that steals the spotlight from whatever protein it sits next to.
Read also: Classic Old Fashioned Swiss Steak Recipe; Ultimate Rigatoni Boscaiola Recipe Guide.
There is something incredibly satisfying about hearing that aggressive sizzle when the mushrooms hit the hot fat. It is the sound of flavor building. Let’s get right to the core of what makes this technique work.
Why Your Technique Matters So Much
Mushrooms are essentially little sponges made of water and a unique structural fiber. If you do not handle them correctly, they will release all their liquid too quickly, dropping the pan’s temperature and ruining your chances of caramelization. Mastering this method yields massive benefits for your weekly meal rotation. For instance, a beautifully executed pan of mushrooms becomes the ultimate topping for thick sourdough toast rubbed with raw garlic. Alternatively, it serves as an incredibly rich, savory side dish for a weekend steak dinner, cutting through the richness of the meat with its earthy depth.
To help you visualize how different types of common mushrooms respond to heat, check out this quick reference guide:
| Mushroom Variety | Ideal Heat Level | Estimated Cooking Time |
|---|---|---|
| White Button | Medium-High | 5-7 minutes |
| Cremini / Baby Bella | High | 6-8 minutes |
| Sliced Portobello | High | 8-10 minutes |
If you want to guarantee success every single time you fire up the stove, you have to follow three non-negotiable rules. Break these, and you are back in soggy-town.
- Keep them bone dry: Never wash your mushrooms under running water right before cooking. Use a damp paper towel or a soft brush to wipe away any dirt.
- Give them space: Do not crowd the pan. If the mushrooms are touching or piled on top of each other, they will trap steam. Cook in batches if necessary.
- Hold the salt until the end: Salt draws out moisture through osmosis. Adding it too early forces the water out before a crust can form.
These core principles are the foundation of everything we will do next. Once you internalize these rules, you will never look at a carton of mushrooms the same way again.
The French Origins
The word “sauté” comes directly from the French verb “sauter,” which means “to jump.” This perfectly describes what the ingredients should be doing in the pan: jumping around in a small amount of very hot fat. In classical French cooking, preparing a proper skillet of mushrooms was a fundamental skill taught to every young chef. Auguste Escoffier, the legendary architect of traditional French cuisine, documented rigorous methods for browning fungi to maximize their savory potential. The French understood early on that butter provided the best flavor, but because butter burns easily at high temperatures, they often used clarified butter or a mix of butter and oil to achieve the necessary heat.
Evolution Across Europe
As the technique spread across Europe, different regions adapted the method to fit their local palates and available fats. In Italy, olive oil replaced butter, and finishing the dish with a splash of white wine or balsamic vinegar became standard. In Eastern Europe, including Ukraine and Poland, cooks often incorporated sour cream at the very end, creating a rich, tangy pan sauce right in the skillet. Despite these regional variations, the core philosophy remained exactly the same: high heat, quick cooking, and aggressive browning to develop deep, umami-rich flavors.
The Modern State of Sautéed Mushrooms
Fast forward to the current culinary landscape, and the humble mushroom has been elevated to hero status. With the massive rise in plant-based eating, chefs lean heavily on proper searing techniques to mimic the savory satisfaction typically provided by meat. We see high-end restaurants treating oyster mushrooms and standard buttons with the same reverence usually reserved for prime cuts of beef. The equipment has evolved, too. Heavy carbon steel skillets and thick cast-iron pans are now kitchen staples, holding onto heat far better than the flimsy aluminum pans of the past. The goal remains consistent: extracting maximum flavor through precise thermal management.
The Maillard Reaction Explained
To really crush this recipe, you need to understand a little bit of food science. The Maillard reaction is the chemical process responsible for that glorious brown crust and deep, savory flavor. It is a reaction between amino acids (proteins) and reducing sugars that occurs when food hits temperatures above 285°F (140°C). Because mushrooms are roughly 90% water, reaching that temperature is physically impossible as long as liquid is pooling in the pan. Water boils at 212°F (100°C), meaning your mushrooms will literally cap out at that temperature until the water evaporates. This is exactly why a screaming hot pan and a dry cooking environment are absolutely critical.
Moisture Management and Chitin
Unlike plants, which have cell walls made of cellulose, mushrooms have cell walls made of chitin. Chitin is the exact same tough polymer found in the exoskeletons of crabs and shrimp. This structural difference is why mushrooms never really turn into mush, even if you cook them for an hour—they just get chewier. The trick is to apply enough heat to soften the chitin without turning the texture to rubber. Now that we are fully settled into 2026, induction stoves are in almost every modern kitchen. This technology provides incredible, instantaneous heat control, allowing you to blast the pan initially to vaporize surface water, then dial it back with laser precision to finish cooking without burning the delicate garlic.
- Mushrooms consist of 80-90% water, requiring massive heat to counteract temperature drops in the pan.
- Chitin cell walls are highly heat-stable, meaning you cannot easily “overcook” a mushroom into mush.
- The Maillard browning reaction cannot physically occur if there is liquid water in the skillet.
- Butter contains milk solids that burn at 300°F (150°C), which is why mixing it with a higher-smoke-point oil is ideal for the initial sear.
Step 1 – Sourcing the Best Fungi
Your dish is only as good as your raw ingredients. Look for mushrooms that are firm to the touch, with smooth, unblemished caps. The gills underneath should ideally be tightly closed, which indicates freshness and a lower moisture content. Avoid anything that feels slimy or looks visibly wrinkled, as these are past their prime and will not sear properly.
Step 2 – The Dry Clean Method
Resist the urge to dump them in a colander and spray them down. Instead, take a barely damp paper towel and gently wipe the tops to remove any residual compost or dirt. If you cook often, investing in a cheap, soft-bristled mushroom brush will save you tons of time. Keeping that external surface dry is your first line of defense against soggy results.
Step 3 – The Perfect Slicing Thickness
Do not slice them too thin. Paper-thin slices will shrivel up into practically nothing once the water cooks out. Aim for generous, quarter-inch slices, or even cut medium-sized mushrooms into quarters. Leaving them a bit chunky preserves a fantastic, meaty texture that feels substantial when you bite into it.
Step 4 – Heating the Skillet
Place a heavy skillet—preferably cast iron, carbon steel, or high-quality stainless steel—on medium-high heat. Let the dry pan get truly hot before adding a tablespoon of neutral oil (like avocado or grapeseed). You want the oil to shimmer and glide easily across the surface. Do not use plain butter yet; it will absolutely burn at the temperatures we need right now.
Step 5 – The First Toss
Add the mushrooms in a single layer. If you hear a loud, aggressive sizzle, you are doing it right. Now, step back. Do not touch them. Let them sit completely undisturbed for at least two to three minutes. This uninterrupted contact with the hot metal is what builds that phenomenal brown crust on the bottom side.
Step 6 – Adding the Aromatics
Once you see a deep brown color forming on the edges, toss them around to expose the other sides to the heat. At this point, the pan will be a bit drier, and the temperature will have stabilized. Now is the perfect time to drop the heat slightly and toss in a knob of fresh butter, finely minced garlic, and some fresh thyme leaves. The butter will foam up, roasting the garlic instantly.
Step 7 – The Final Seasoning
Turn off the heat entirely. Now—and only now—do you hit them with a generous pinch of flaky sea salt and freshly cracked black pepper. Toss everything together in the residual heat so the seasoned butter coats every single piece. Serve them immediately while they are still piping hot and intensely fragrant.
There are quite a few misunderstandings floating around about how to treat fungi in the kitchen. Let’s clear the air and permanently debunk the worst advice you might hear from well-meaning friends.
Myth: You must soak mushrooms in water to clean them properly.
Reality: Mushrooms act like organic sponges. Soaking them causes them to absorb excess water, making it scientifically impossible to get a good sear. Always dry-wipe them instead.
Myth: You should salt your food as soon as it hits the pan to build flavor.
Reality: While this is true for onions and meats, salting mushrooms early triggers osmosis, rapidly pulling all the internal water into the pan. This causes them to boil in their own juices. Always salt at the very end.
Myth: You can pile as many mushrooms into the pan as you want because they shrink anyway.
Reality: Overcrowding traps the steam that escapes during the cooking process. Instead of frying in oil, they steam in a humid cloud, resulting in a rubbery, pale gray disaster.
Which oil is best for this recipe?
You want an oil with a high smoke point for the initial sear. Avocado oil, grapeseed oil, or light olive oil are excellent choices. They can handle the intense heat without turning bitter or filling your kitchen with smoke.
Can I use only butter?
Plain butter will burn at the high temperatures required to brown the mushrooms properly. If you strictly want a butter flavor, use clarified butter (ghee) for the searing phase, as the burnable milk solids have been removed.
Do I have to add garlic?
Not at all. While garlic is a classic pairing, you can omit it entirely or substitute it with shallots. Shallots provide a sweeter, more delicate onion flavor that pairs beautifully with earthy fungi.
How long do leftovers last in the fridge?
Store any leftovers in an airtight container in the refrigerator for up to three days. Keep in mind that they will lose their crispy edges once refrigerated, but the flavor will actually deepen overnight.
Can I freeze the cooked dish?
Yes, but with a warning. Freezing alters the cellular structure, making them much softer when thawed. They are great to freeze if you plan to drop them into soups, stews, or pasta sauces later, but not ideal for eating on their own.
What wine pairs well with this?
Earthy flavors beg for a wine with similar characteristics. A light-to-medium-bodied Pinot Noir is an absolute knockout choice. If you prefer white wine, an unoaked Chardonnay works wonderfully.
Why are my mushrooms still rubbery?
Rubbery textures happen when the heat was too low, the pan was crowded, or they were salted too early. Basically, they steamed instead of fried. Next time, turn up the heat and cook in smaller batches.
Getting that perfect crust is truly a game of patience and high heat. Once you trust the process and step away from the pan, the magic happens entirely on its own. Grab your favorite heavy skillet tonight, buy some fresh fungi, and put these steps to the test. Let me know in the comments how your masterpiece turned out!



Leave a Reply