
Mastering the Art of the Perfect Bigne
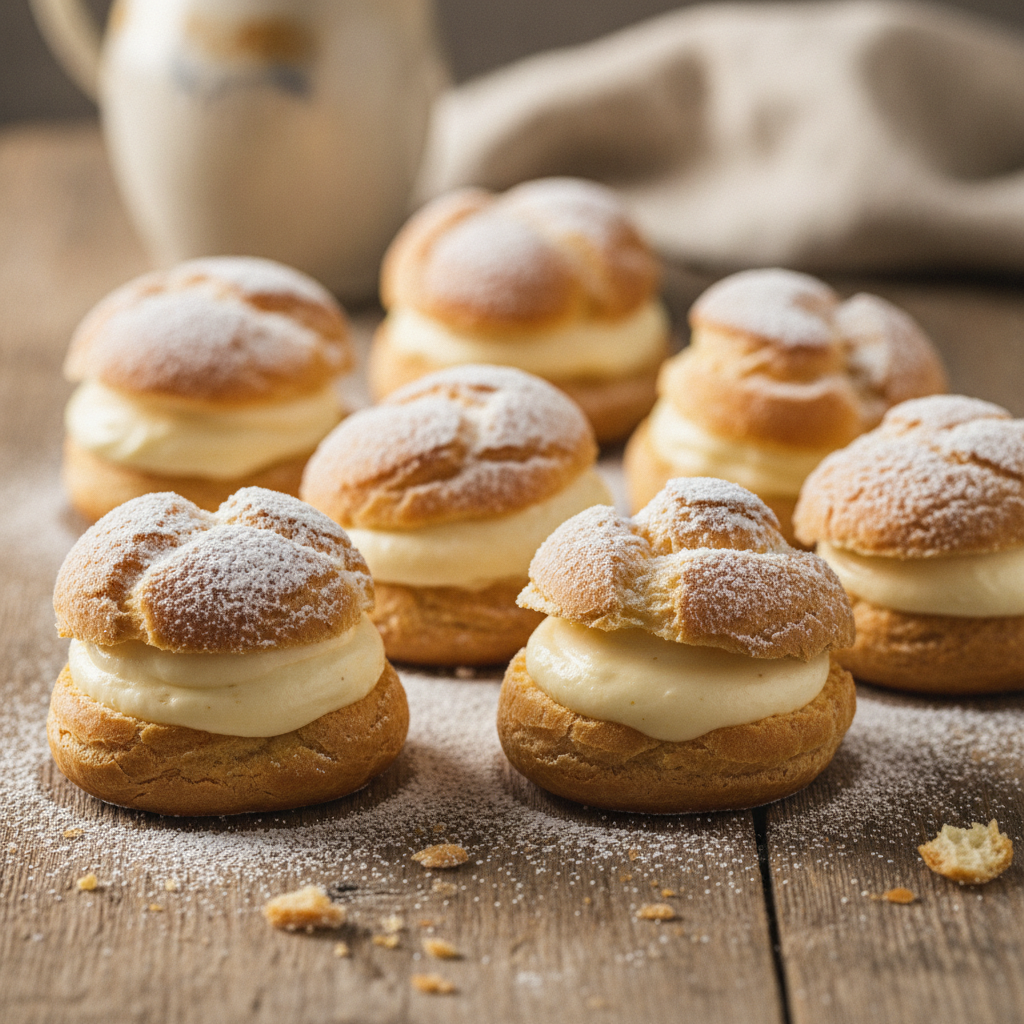
Do you remember the first time you bit into a flawless bigne, feeling the delicate, crisp pastry shatter slightly before the lush, cool cream completely filled your mouth? It is honestly one of those profound culinary moments that sticks with you forever. Making these iconic Italian cream puffs at home might seem incredibly intimidating at first glance, but I promise you, it is mostly about understanding how the dough behaves and practicing a little bit of patience. Crafting this specific pastry isn’t just standard weekend baking; it is a genuine act of love and scientific precision.
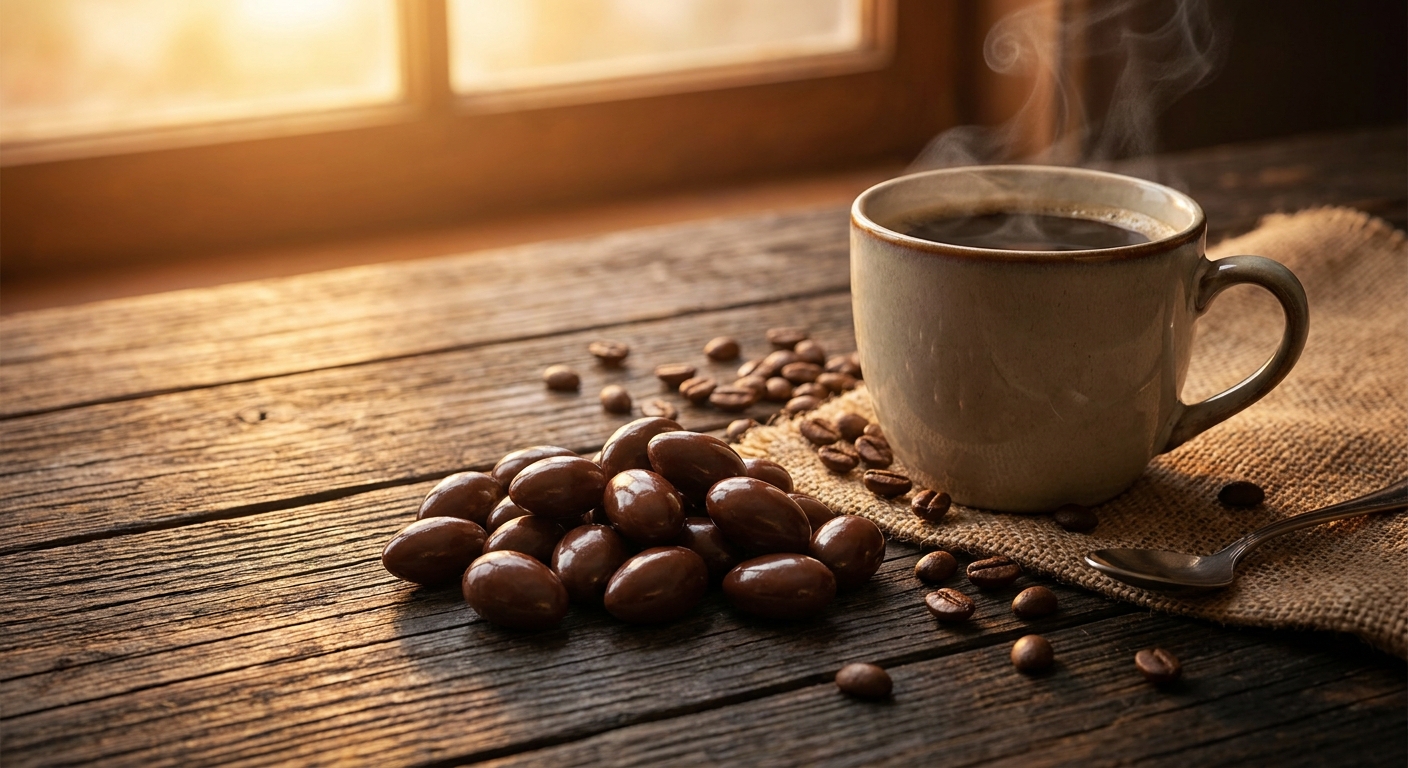
I vividly remember sitting in a tiny, dimly lit café in Lviv earlier in 2026, watching heavy snow blanket the cobblestones outside. A local pastry chef, someone I deeply respect, brought over a fresh batch of these pastries to my table. Faint steam was still rising from the freshly baked shells. It was a true masterpiece that easily rivaled anything I had ever tasted during my trips to Rome or Florence. I practically cornered him for his secret, expecting some wildly complex, highly guarded technique. He just laughed warmly, dusted a cloud of flour off his apron, and told me it all comes down to respecting the choux paste and managing your oven’s heat. Ever since that snowy afternoon, I have been totally obsessed with cracking the code for the ultimate home-baked batch. Grab a cup of coffee, and I will share everything I have learned so you can replicate this magic in your own kitchen.
Why You Should Bake Your Own Pastry Shells
You might genuinely wonder why you should spend an afternoon sweating over a stovetop to make a pastry when you can easily just buy something sweet at the local bakery. The real, undeniable value lies in absolute customization and unparalleled freshness. When you bake these yourself, you completely control both the textural contrast and the exact flavor profile. Nothing beats the crunch of a shell that was baked just hours ago.
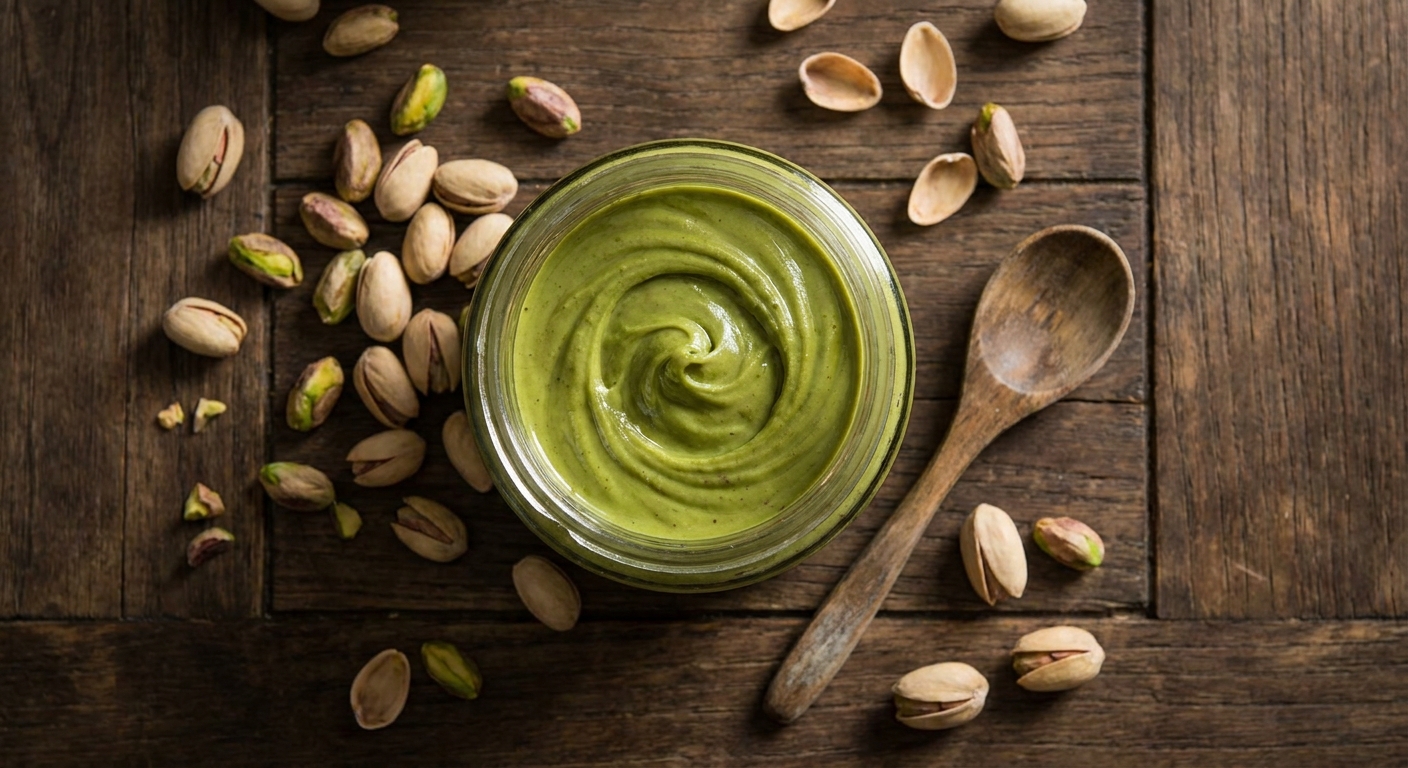
For example, you can opt for a vibrant, bright pistachio cream that bursts with deep nutty richness, or you can go the entirely classic route with a dark, velvety chocolate ganache that instantly melts on your tongue. The sheer versatility of this dessert makes the effort totally worth it. Trust me, when you bring a massive platter of these out at a dinner party, the reaction from your friends is priceless. Here is a quick breakdown of how you can mix and match fillings depending on your mood or the specific event.
| Filling Choice | Flavor Profile | Perfect Occasion |
|---|---|---|
| Classic Vanilla Pastry Cream | Sweet, creamy, deeply comforting with heavy vanilla bean notes | Sunday family lunches or casual weekend gatherings |
| Zesty Lemon Curd | Sharp, bright, highly refreshing, cutting straight through the rich pastry | Summer garden parties or warm afternoon teas |
| Rich Hazelnut Praline | Deeply nutty, dark, decadent, offering a truly luxurious mouthfeel | Sophisticated evening dinner parties or festive holiday celebrations |
To get to that glorious filling stage, you have to master the base. It is a highly specific process that requires your full attention. Here are the core phases of building the structure:
- Prepare the liquid base: Melt your butter completely with water and salt until it reaches a vigorous rolling boil, ensuring the fat is evenly distributed throughout the liquid.
- Cook the flour intensely: Dump the sifted flour in all at once and stir furiously until the dough pulls away cleanly from the sides of the pan, forming a smooth, cohesive ball.
- Incorporate the eggs slowly: Let the hot mixture cool slightly before beating in the eggs one by one until you reach a glossy, perfectly pipeable consistency that holds a soft peak.
- Bake with trapped steam: Start your oven at a very high temperature to create the initial explosive puff, then gently lower the heat to dry out the shells completely from the inside out.
The Fascinating Journey of Choux
The story behind this specific pastry is actually pretty wild when you look closely at the historical records. It is a tale of royal courts, migrating chefs, and centuries of relentless refinement.
The Early Origins
The deepest roots of this delicious pastry trace all the way back to the royal courts of the Renaissance. It all kicked off when Catherine de’ Medici moved from Italy to France, bringing her entire entourage of personal chefs along with her. These Italian culinary masters began experimenting with a very early version of a hot water crust pastry. They were attempting to create something incredibly light, airy, and entirely hollow inside. This early, experimental dough was the absolute grandfather of what we now recognize as traditional choux. The Italians essentially laid the crucial groundwork, pushing the absolute boundaries of what simple flour, water, and fat could achieve without relying on any chemical leavening agents.
Evolution Through the Centuries
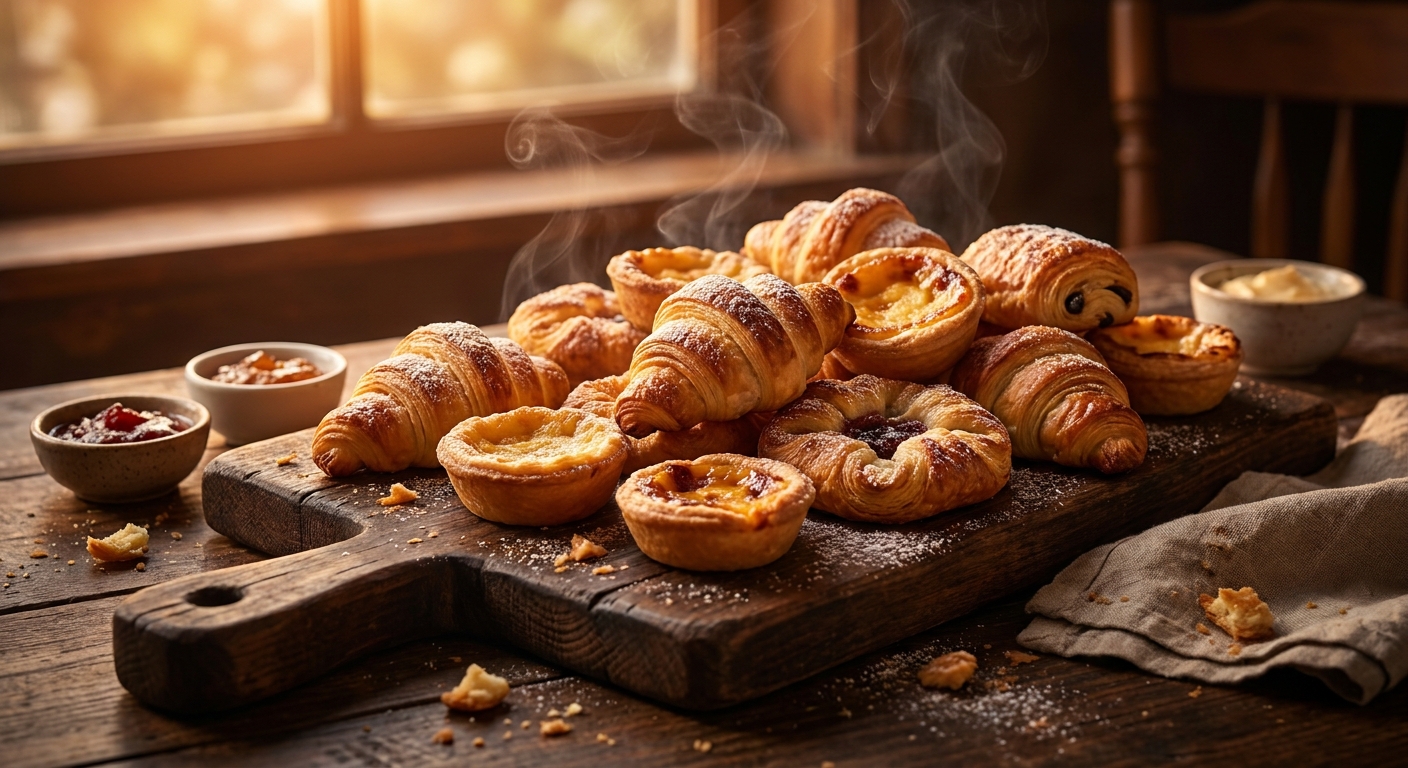
As the decades quickly passed, the recipe evolved dramatically. Ambitious pastry chefs realized that by carefully tweaking the precise moisture content and heavily adjusting their baking temperatures, they could maximize the internal steam generation. This trapped steam was the invisible engine that forced the dense dough to balloon outward. By the 18th and 19th centuries, this pastry became an absolute staple in European bakeries. The French refined the technique further to create elongated éclairs and stacked croquembouche, while the Italians fiercely perfected the spherical, cream-filled gems we absolutely adore today, heavily featuring them around specific regional religious holidays like St. Joseph’s Day.
The Modern State of the Pastry
Today, the pastry stands as an undisputed icon of global culinary arts. You can effortlessly find them resting elegantly behind the pristine glass counters of high-end patisseries everywhere from the busy streets of Milan to the trendy districts of Tokyo. Modern, innovative chefs have started pushing the rigid boundaries of tradition, topping the raw shells with brightly colored craquelin for an extra, shatteringly crisp layer of crunch. They are filling them with wildly inventive, non-traditional flavors like matcha, yuzu, black sesame, or deeply caramelized salted butter. Yet, even with all these gorgeous contemporary twists, the fundamental stovetop technique remains exactly the same as it was hundreds of years ago.
The Kitchen Science Behind the Puff
Let me just geek out for a quick second because the science happening inside your oven is brilliant. Baking these is basically a fun physics experiment you get to eat afterwards.
The Magic of Mechanical Leavening
Unlike standard sandwich bread, which heavily relies on living yeast, or fluffy birthday cakes, which use chemical powders, this pastry rises entirely through physical physics, specifically a process called mechanical leavening. When you pop that piped, wet dough into a blazing hot oven, the extremely high water content trapped inside the batter rapidly boils and turns directly into steam. Because the intense ambient heat simultaneously begins to set the proteins in the egg and the gluten strands in the flour, the outer shell quickly forms a flexible but strong barrier. The rapidly expanding steam pushes aggressively against this outer barrier, forcing the pastry to inflate like a tiny, edible hot air balloon before it eventually dries out and crisps up permanently. It is literal kitchen magic.
Understanding Starch Gelatinization
The other absolutely crucial technical phase happens right on your stovetop, long before the eggs even enter the picture. When you vigorously cook the raw flour, water, and butter mixture, you are actively facilitating something food scientists call starch gelatinization. If you mess this up, the whole recipe fails.
- Starch Swelling: The direct heat causes the tightly packed flour granules to rapidly absorb the boiling hot liquid and swell immensely.
- Structure Building: This vital gelatinization process creates a thick, highly structured paste capable of holding a massive amount of internal moisture.
- Egg Integration: Cooking the flour properly ensures the resulting dough can successfully absorb the heavy eggs later without turning into a sloppy, soupy mess.
- Moisture Retention: The trapped, locked-in moisture from this exact stovetop process is exactly what provides the explosive steam needed later in the oven.
- Protein Coagulation: The heat begins to denature the proteins, which provides the rigid backbone required so the pastry does not instantly collapse when cooling.
Your Foolproof 7-Step Action Plan
Are you totally ready to tackle this yourself? I know it sounds like a lot of science, but the actual physical steps are wonderfully straightforward. Here is my completely foolproof, step-by-step execution guide to absolutely nailing the perfect batch every single time.
Step 1: Precise Ingredient Scaling
Grab your digital kitchen scale. Precision is totally non-negotiable here. Measure out your water, butter, flour, and eggs to the exact gram. Eyeballing cups or using old, dented measuring spoons will almost certainly lead to highly inconsistent moisture levels, ruining your ratios.
Step 2: The Stovetop Melt
Combine your perfectly weighed water, cubed butter, a generous pinch of fine salt, and a tiny bit of caster sugar in a heavy-bottomed stainless steel saucepan. Heat it gently on medium-low until the butter is completely melted, then instantly crank the heat to bring the whole liquid to a vigorous, rolling boil.
Step 3: The Flour Dump
The second you see those aggressive bubbles, take the pan completely off the heat. Dump all your pre-sifted flour in at exactly the same time. Grab a sturdy wooden spoon and beat the mixture furiously. Do not stop stirring; it will look lumpy and terrible for about ten seconds before miraculously coming together.
Step 4: Cooking the Panade
Put the saucepan right back on medium heat. Keep stirring, constantly smashing the dough against the hot sides of the pan for about two to three minutes. You specifically want to cook out the raw, dusty flour taste and dry the mixture until a distinct, slightly white starchy film forms on the bottom of the pan.
Step 5: Cooling and Egg Addition
Transfer the steaming hot dough to a stand mixer bowl (or a wide mixing bowl) and let it cool for a few minutes so you don’t accidentally scramble your expensive eggs. Beat the eggs lightly in a separate jug, then stream them in slowly, waiting until each addition is fully incorporated. Stop exactly when the glossy dough forms a distinct, heavy “V” shape falling slowly off your paddle attachment.
Step 6: Piping with Precision
Load the warm dough into a sturdy piping bag fitted with a large round tip. Pipe perfectly uniform mounds directly onto a heavy parchment-lined baking sheet, leaving plenty of breathing room between them for explosive expansion. Gently tap down any pointy, annoying peaks with a wet finger so they do not instantly burn in the oven.
Step 7: The Staged Bake
Bake at a high temperature (around 400°F) for the first 15 to 20 minutes to aggressively generate the maximum amount of steam. Then, critically, without opening the oven door even a crack, drop the heat down to 325°F and bake until they are a deep, rich golden brown and sound entirely hollow when lightly tapped on the bottom.
Separating Myths from Reality
There is a lot of terrible advice floating around the internet regarding choux pastry. Let’s clear the air and debunk some of the most persistent, annoying myths so you don’t waste your precious ingredients.
Myth: You absolutely need strong chemical leavening, like baking powder, to make them puff up aggressively.
Reality: The explosive rise is 100% powered entirely by the raw steam generated from the high water content hitting the intensely hot oven air. Adding baking powder will totally ruin the delicate, lacy internal structure.
Myth: You can briefly open the oven door just to quickly check on their progress.
Reality: Opening the heavy door during the crucial first 25 minutes rapidly drops the ambient temperature and halts the steam expansion entirely, causing your beautiful shells to collapse instantly into dense pucks. Keep it firmly shut!
Myth: Any type of generic grocery store flour works exactly the same.
Reality: Bread flour provides much stronger, rigid gluten networks for a noticeably sturdier shell, while all-purpose gives a slightly more tender bite. Weak cake flour completely lacks the vital protein needed to hold the massive structure.
Myth: The final dough should be quite runny for super easy piping.
Reality: Runny, liquid dough means you added entirely too much egg. It should be pleasantly firm enough to hold its piped shape perfectly, yet incredibly glossy and totally smooth.
Frequently Asked Questions & Final Thoughts
Why did my pastries fall completely flat?
Usually, this tragic outcome happens either because you eagerly opened the oven door too early, letting the heat escape, or the raw dough was entirely too wet before baking due to excess eggs.
Can I freeze the baked shells for later?
Absolutely! You can freeze the completely unfilled, cooled shells in an airtight plastic container for up to a full month. Simply crisp them up in a warm oven for five minutes before finally using them.
How do I truly know when the stovetop panade is cooked?
Look very closely for a thin, distinct starchy film forming directly on the bottom of your saucepan, and ensure the cohesive dough ball pulls away cleanly and easily from the metal sides.
What is the absolute best filling to use?
Traditional, rich pastry cream (crema pasticcera) is the absolute undeniable classic, but lightly sweetened whipped ricotta or a dark, intense chocolate ganache are incredibly delicious alternatives.
Why are my finished shells entirely soft instead of delightfully crisp?
They highly likely needed a few more crucial minutes at the lower, secondary temperature to fully dry out the interior walls. Moisture is the enemy of a crisp shell.
Can I make the dough entirely ahead of time?
Yes, you can actually store the raw, piped dough mounds directly in the freezer on a tray, bag them up, and then bake them straight from frozen by just adding a few extra minutes to the timer.
Do I absolutely need an expensive stand mixer?
Not at all! A simple large mixing bowl and a highly sturdy wooden spoon work just fine if you have the arm strength to beat the heavy dough vigorously.
Baking trends in 2026 are all about returning to authentic, artisanal roots, and nothing captures that spirit quite like mastering this classic. Making a flawless bigne is an incredibly rewarding journey of precise technique and massive flavor. The feeling of a crisp, perfectly baked shell giving way to luxurious, deeply flavored cream is an experience simply unlike any other. Do not let the historical process intimidate you; grab your scale, prep your ingredients, and start baking today!
Leave a Reply