

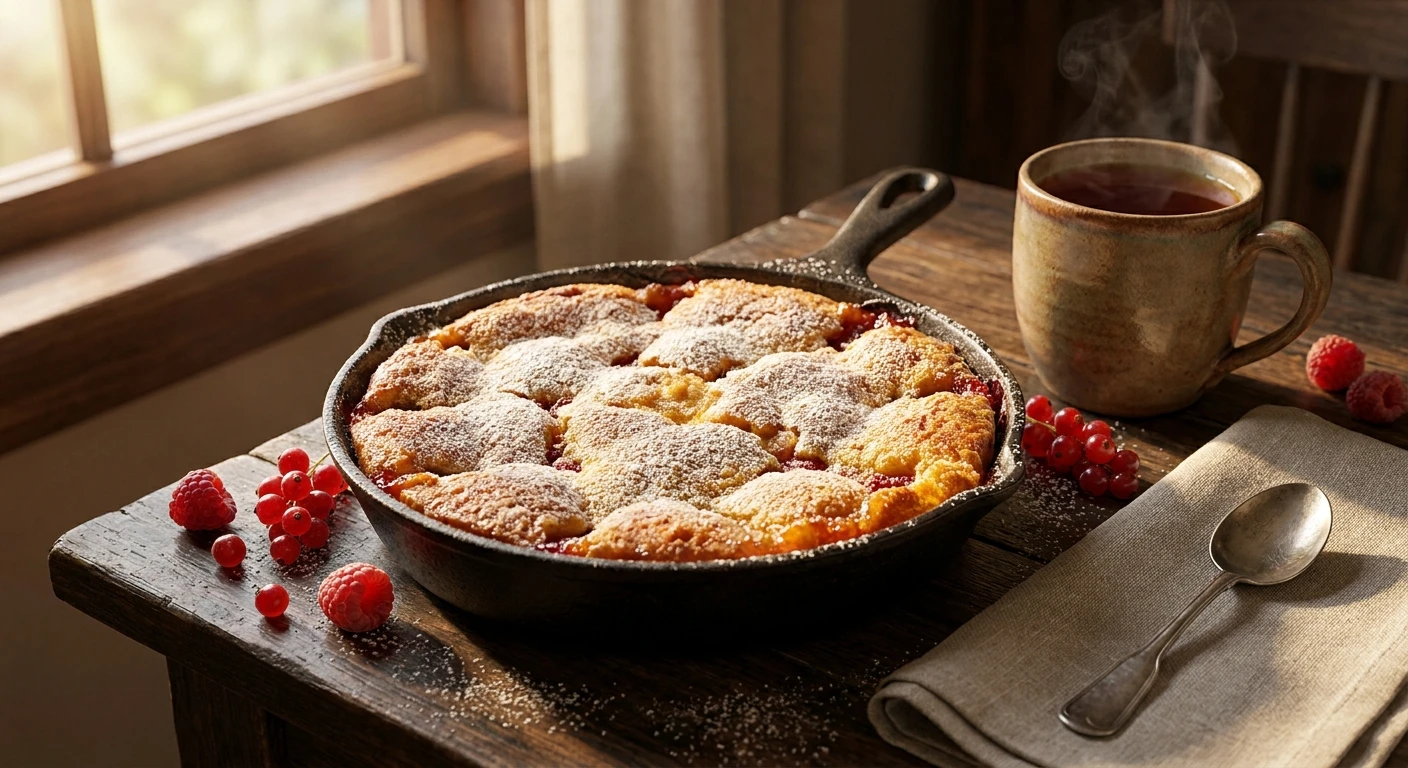
Why You Need to Try This water cake Today
Let me tell you a secret about baking that absolutely blew my mind the first time I made a water cake. Honestly, guys, you do not need a fridge full of fancy, expensive ingredients to make a genuinely delicious dessert. Sometimes, the most basic pantry staples merge together to create a magical treat that saves the day when you least expect it. My grandmother in Kyiv used to bake this when I was a kid. Back then, especially during those harsh, snowy winters when going to the grocery store was entirely out of the question due to power cuts, she would pull off a baking miracle. She did not have fresh milk, butter, or even eggs on hand. But she had flour, sugar, cocoa powder, and just warm tap H2O.
We would sit around the kitchen table, wrapped in thick blankets, eating warm slices of this completely vegan chocolate marvel by candlelight. It was so incredibly moist, rich, and light. Fast forward to 2026, and this minimalist recipe is taking over my kitchen once again. If you want something quick, budget-friendly, and surprisingly decadent, this is exactly what you need to bake right now. Trust me, it tastes way better than anything you can buy at a local store, and it brings a special kind of warmth to your home.
The Real Magic Behind the Ingredients
Why exactly is this dessert gaining so much traction across baking communities? Well, let me break it down for you. The sheer beauty of this bake lies in its accessibility and allergy-friendly nature. You get all the comfort of a rich, satisfying sponge without the heaviness of dairy. For example, if you have a friend who is lactose intolerant, this dessert is a total lifesaver for birthday parties. Another perfect example: when you are on a strict grocery budget but still crave a midnight sugar hit, this recipe delivers maximum satisfaction for mere pennies.
Here is a quick comparison to see how it stacks up against traditional baking methods:
| Feature | Traditional Sponge | Our Minimalist Bake |
|---|---|---|
| Main Liquid | Milk or Buttermilk | Warm Tap H2O |
| Fat Source | Chilled Butter | Neutral Vegetable Oil |
| Egg Status | 2-4 Whole Eggs | Completely Egg-Free |
The benefits extend far beyond just saving cash. It is lighter on your digestion, incredibly fast to prep, and basically foolproof. If you follow the right steps, you cannot mess this up. Here is exactly how to guarantee a perfect bake every single time:
- Always sift your dry ingredients twice to ensure maximum fluffiness and prevent nasty cocoa lumps from forming in your batter.
- Use warm liquid, never cold, because it helps activate the baking powder instantly and allows the cocoa to bloom much better.
- Do not overmix the batter; fold it gently just until the flour streaks disappear so the gluten does not make the crumb tough and chewy.
You really need to stick to these three golden rules. Baking without structural binders like eggs means you rely heavily on the chemical reaction between your baking soda and vinegar. When those elements hit the warm liquid, they create thousands of tiny bubbles. If you mix too hard, you smash all those precious bubbles, resulting in a dense, sad brick instead of a fluffy sponge. The value proposition here is undeniable. You spend less time shopping, less money at the checkout, and less time stressing over complicated techniques. You just mix, pour, and bake.
A Look Back at the History
Origins of the Recipe
Have you ever wondered who first thought of replacing milk with plain tap H2O? It sounds a bit crazy at first glance. The concept actually dates back to the Great Depression era in the United States. When the economy crashed, staple baking items became luxury goods almost overnight. Clever home cooks refused to give up their sweet treats. They invented what was then called “Depression Cake” or “Wacky Cake.” By substituting expensive dairy and eggs with basic vegetable oil and acidic components like vinegar, they created a reaction that leavened the dough perfectly without costing a fortune.
The Evolution Through Hardships
During World War II, strict rationing forced even more families to adopt this clever method across Europe. People had tiny allowances for butter and sugar. The recipe traveled, adapted, and survived. In some regions, they added leftover coffee instead of plain liquid to enhance the deep chocolate flavor. In other places, spices like cinnamon and cloves were thrown into the mix to mask the lack of rich fats. My own family adopted a variation of this during the post-Soviet food shortages in Ukraine. Baking became a quiet act of resilience. You took literal basic elements, and you made joy out of them. It proved that human creativity thrives even under immense pressure.
The Modern State of Minimalist Baking
Now, look at where we are today. We are not baking this out of strict necessity anymore, but out of conscious choice. The vegan community heavily popularized this specific method over the last decade. As plant-based diets became mainstream, people realized they did not need complicated commercial egg replacers or expensive nut milks. Minimalist baking is a massive trend right now. Trendy cafes market these as “accidentally vegan” delights. It is absolutely wild how a humble survival recipe from the 1930s naturally evolved into a highly sought-after menu item in expensive, high-end coffee shops around the globe.
The Chemistry of Eggless Baking
Understanding the Rise
Okay, we need to talk about the science because it is honestly fascinating. How exactly does a batter hold together without eggs? Eggs normally provide structure, moisture, and leavening power. The proteins in eggs coagulate when heated in the oven, creating a sturdy web that traps air. When we completely remove eggs from the equation, we have to hack the chemical process. We do this by pairing an acid, like white vinegar or lemon juice, with a strong base, which is our baking soda. When these two meet in the bowl, they immediately produce carbon dioxide gas. This gas gets trapped in the delicate gluten network formed by the flour, forcing the dough to rise rapidly. You are basically creating a miniature, highly controlled science volcano in your baking tin.
Emulsions and Fat Distribution
Then there is the issue of fat. Traditional recipes rely on butter, which is a natural emulsion of fat and milk solids. In our minimalist approach, we use pure liquid fat, like neutral vegetable oil. Because oil is one hundred percent fat, it actually coats the flour proteins far more effectively than butter does. This successfully prevents excessive gluten formation. What does that mean for you? It means your dessert stays unbelievably soft and moist for days longer than a standard butter sponge. Here are a few quick scientific facts about this process:
- Vinegar instantly lowers the pH of the batter, which sets the crumb much faster and prevents the center from collapsing.
- Warm liquids speed up the hydration of starches, resulting in a smoother, much more cohesive batter structure.
- Using cocoa powder actually acts as an additional drying agent, which perfectly balances out the liquid vegetable oil.
- The total absence of milk solids means the browning process happens differently, giving you a remarkably softer crust.
Understanding these simple scientific principles makes you a significantly better baker. You aren’t just blindly following a list of instructions; you are orchestrating a precise, beautiful chemical reaction right in your own kitchen.
Your Foolproof Step-by-Step Guide
Step 1: Gather Your Pantry Staples
First, grab your flour, sugar, cocoa powder, baking soda, salt, oil, white vinegar, and vanilla extract. Check your expiration dates! Ensure your baking soda is completely fresh—this is absolutely non-negotiable for a good rise, as we are relying on it entirely.
Step 2: Prep the Baking Environment
Preheat your oven to 350°F (175°C). Do not skip the preheating phase! Chemical leaveners act extremely fast. Grease an 8-inch square pan and line it with parchment paper so you can easily lift the finished product out later without it tearing.
Step 3: Sift and Whisk the Dry Mix
Over a large mixing bowl, sift the flour, sugar, cocoa powder, baking soda, and a pinch of salt. Sifting aerates the mixture and breaks up those pesky, stubborn cocoa clumps. Whisk everything thoroughly until it is uniform in color.
Step 4: Create the Liquid Wells
This is the fun part. Use a spoon to make three distinct depressions, or wells, in your dry ingredients. Make two small ones and one larger one. Pour the vanilla into a small well, the vinegar into the other small well, and the vegetable oil into the large well.
Step 5: Pour and Activate
Pour warm tap liquid directly over everything. Instantly, you will see the vinegar and baking soda react with a satisfying fizzing sound. Grab a rubber spatula and fold the mixture together. Do this quickly but gently. Stop mixing the exact second you no longer see dry flour pockets.
Step 6: Bake to Perfection
Pour the active, bubbly batter immediately into your prepared pan. Bake on the middle oven rack for about 25 to 30 minutes. Test it with a wooden toothpick; it should come out clean or with just a few moist crumbs clinging to it.
Step 7: Cool and Frost
Let it cool completely in the pan before lifting it out. If you slice it while it is still hot, it will crumble to pieces. Dust it lightly with powdered sugar or spread a simple dairy-free chocolate ganache right on top. Serve and enjoy!
Separating Fact from Fiction
Myth: Eggless baked goods always taste dense, heavy, and rubbery.
Reality: Because of the intense vinegar and baking soda reaction, this specific method is actually much lighter and significantly fluffier than most standard boxed mixes.
Myth: You can totally taste the vinegar in the final product.
Reality: The vinegar completely bakes off during the chemical reaction. Its only purpose is to create gas bubbles, leaving absolutely zero sour flavor behind in the crumb.
Myth: This technique only works with heavy chocolate flavors.
Reality: You can easily swap the cocoa powder for extra flour and add lemon zest or almond extract to create a stunning, delicate vanilla or citrus version.
Myth: Omitting milk makes the dessert taste incredibly bland and diluted.
Reality: Unlike milk, which can actually mute flavors due to its heavy dairy fats, using pure hydration allows the deep notes of cocoa and vanilla to shine through intensely.
Frequently Asked Questions & Final Thoughts
Can I use cold liquid instead?
No, warm liquid helps bloom the cocoa powder and activates the leavening agents significantly faster, giving you a better texture.
What type of oil is best?
Canola, sunflower, or melted coconut oil work perfectly. Avoid strong-flavored extra virgin olive oils unless you want a savory undertone.
Does this freeze well?
Yes! Wrap it tightly in multiple layers of plastic wrap and freeze for up to three months. Thaw at room temperature.
Can I make it gluten-free?
Absolutely. Substitute the regular all-purpose flour with a high-quality 1-to-1 gluten-free baking blend that contains xanthan gum.
Why did my sponge sink in the middle?
Usually, this happens if the oven door is opened too early during the baking process, or if the baking soda used was expired.
Can I use apple cider vinegar?
Yes, apple cider vinegar is a fantastic 1:1 substitute for regular white vinegar and works just as effectively for the chemical reaction.
How should I store the leftovers?
Keep it in an airtight container at room temperature for up to four days. It stays incredibly moist thanks to the oil.
Do I need a stand mixer?
Not at all. A simple wire whisk and a basic mixing bowl are literally all you need to bring this together.
There you have it, friends. Baking a fantastic treat does not require complex shopping lists, stressful techniques, or hours standing in the kitchen. This brilliant water cake is proof that simplicity often yields the most magnificent, comforting results. Grab your whisk, head straight to your kitchen, and try this amazing recipe today. Do not forget to share this with your friends and leave a comment below letting me know how yours turned out!



Leave a Reply