
The Perfect Maritozzi Recipe You Need Right Now
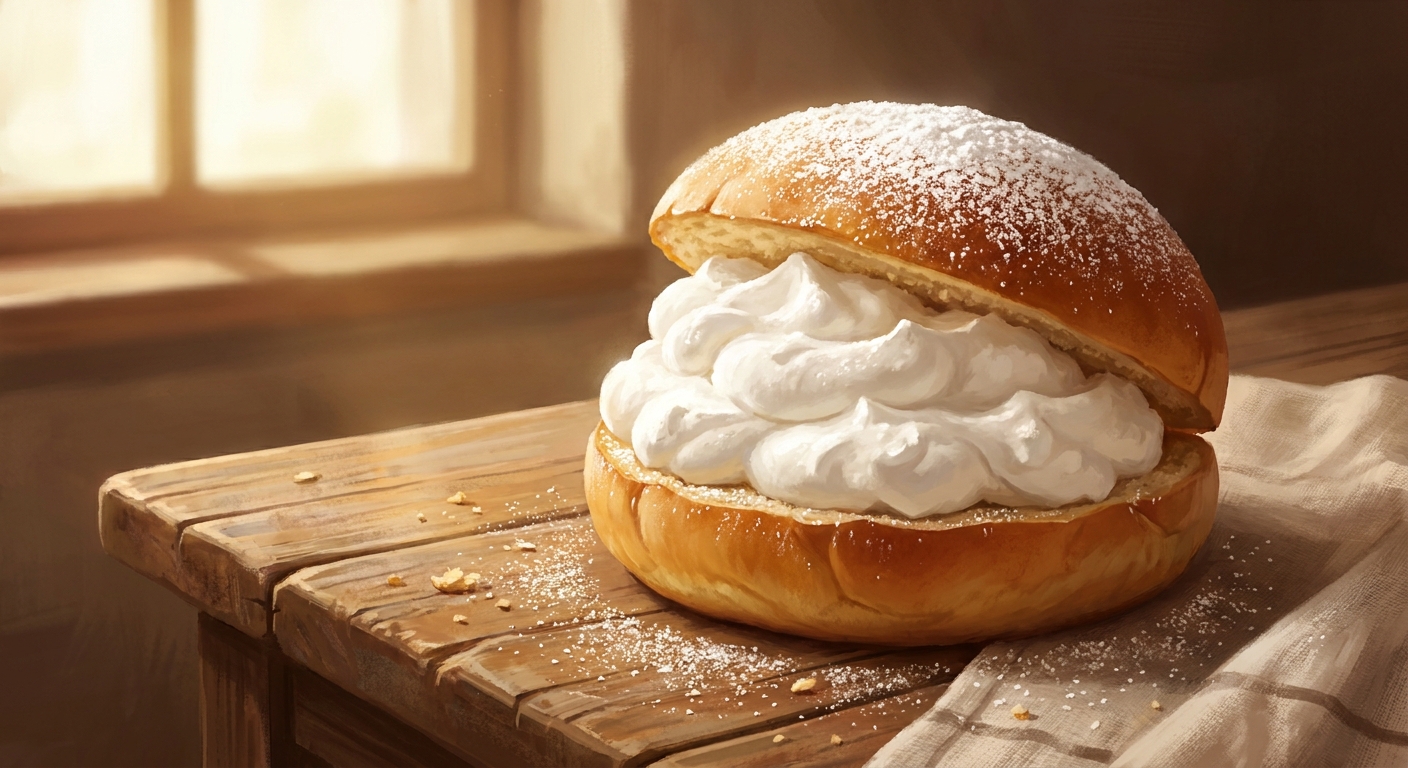
You seriously need this maritozzi recipe in your kitchen rotation if you crave ridiculously soft, cream-filled pastry clouds that basically melt in your mouth. Let me tell you how I first fell in love with these Roman treats. I was sitting in a cozy, fiercely independent coffee shop right here in the heart of Kyiv on a rainy Tuesday. The barista handed me a small ceramic plate holding what looked like a golden brioche bun, sliced open and overflowing with an absurd, glorious amount of sweet whipped cream. One bite of that contrasting soft, slightly citrus-scented dough and the rich, airy filling, and my baking obsession was immediately ignited. I knew I had to figure out how to recreate that exact experience in my own kitchen.
Fast forward to 2026, and baking these Italian classics has become my absolute favorite weekend ritual. My goal is simple: I want to share the precise, tested techniques that guarantee your dough rises beautifully and holds that massive pocket of cream without collapsing. If you have ever felt intimidated by making enriched doughs from scratch, do not stress about it. I am going to walk you through every single phase of the process, friend-to-friend. By the time we are done, you will have a tray of bakery-worthy buns that look and taste phenomenal.
Why You Should Master This Roman Classic Today
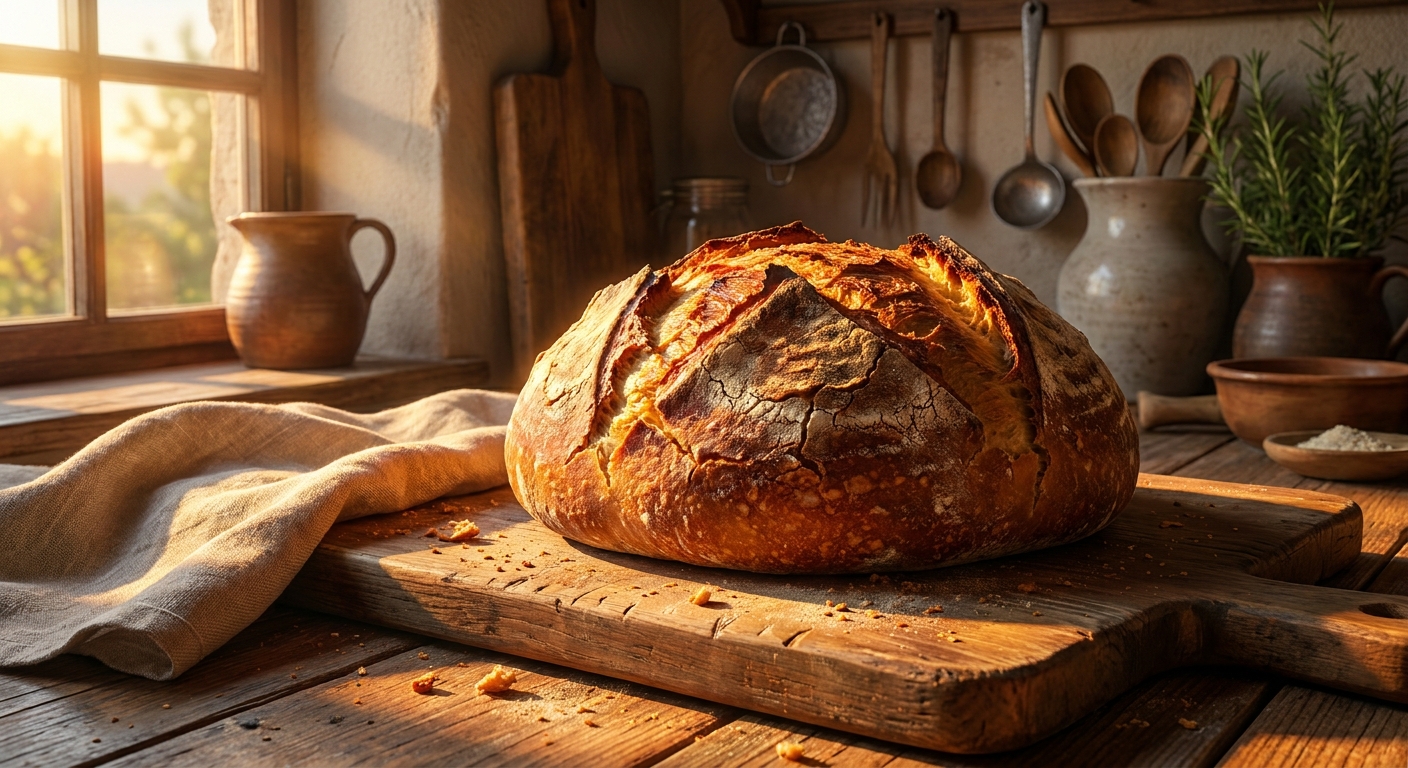
Understanding the mechanics of an enriched dough is the secret to pulling off this pastry. Unlike a lean baguette that only uses flour, water, salt, and yeast, this dough introduces eggs, sugar, milk, and butter. These enriching ingredients tenderize the crumb, giving the buns that signature cotton-candy-like texture. But you cannot just throw everything into a bowl and hope for the best. The fats in the butter and egg yolks actively coat the flour proteins, which can prevent gluten from forming if you add them at the wrong time. We build the dough’s strength first, and then we introduce the fat. This process is exactly what separates an okay homemade roll from a spectacular bakery-level masterpiece.
How does it compare to other famous pastries? Let’s look at the breakdown:
| Pastry Type | Dough Characteristic | Signature Filling / Use |
|---|---|---|
| Maritozzi | Light, airy, slightly sweet, citrus-infused enriched yeast dough | Massive amounts of freshly whipped, lightly sweetened cream |
| Brioche | Extremely rich, heavily buttered, tender crumb with a dark crust | Often eaten plain, or used for luxurious sandwiches and burgers |
| Croissant | Laminated, flaky, multi-layered dough heavily reliant on cold butter | Chocolate, almond paste, or enjoyed plain with coffee |
There are a few massive benefits to adding this bake to your repertoire. First, they are the ultimate celebration pastry. Show up to a brunch with a platter of these, and watch people lose their minds. Second, they make incredible, thoughtful homemade gifts. To get that perfectly fluffy texture, you just need to follow these core secrets:
- Temperature Control: Keep your butter soft but cool, and make sure your milk is warm but not hot enough to kill the yeast (aim for about 35°C).
- Gradual Butter Incorporation: Add your butter piece by piece. Wait until one chunk is fully absorbed by the dough before adding the next.
- The Windowpane Test: Never stop kneading until you can stretch a piece of dough so thin that light passes through it without tearing.
- Patience with Proofing: Enriched doughs rise slower than lean doughs. Let the dough double in size based on visual cues, not just the clock.
Origins of the Roman Bun
To fully appreciate what you are baking, we need to trace the roots of this incredible pastry back to ancient Rome. Long before they were the ultimate café treat, sweet buns were a practical food. Roman wives would prepare hearty, slightly sweetened loaves for their husbands who were heading out to do intense manual labor in the fields. These early versions were much denser and packed with honey and raisins to provide a massive energy boost. The word itself comes from ‘marito’, the Italian word for husband, which points directly to this historical tradition of young men gifting these sweet breads to their fiancées.
Evolution Through the Centuries
During the Middle Ages, the recipe morphed significantly. The Catholic Church had strict fasting rules during Lent, which prohibited the consumption of heavily enriched, fatty foods. However, the church made a special exception for a specific type of sweet bun made with olive oil, raisins, pine nuts, and candied orange peel. These became affectionately known as ‘er santo maritozzo’ (the holy maritozzo). It was the only sweet comfort people were allowed to eat during the fasting period, which cemented its status as an absolute staple of Roman culinary culture. Young grooms would even hide gold rings inside the buns to propose to their future brides.
Modern State of the Pastry
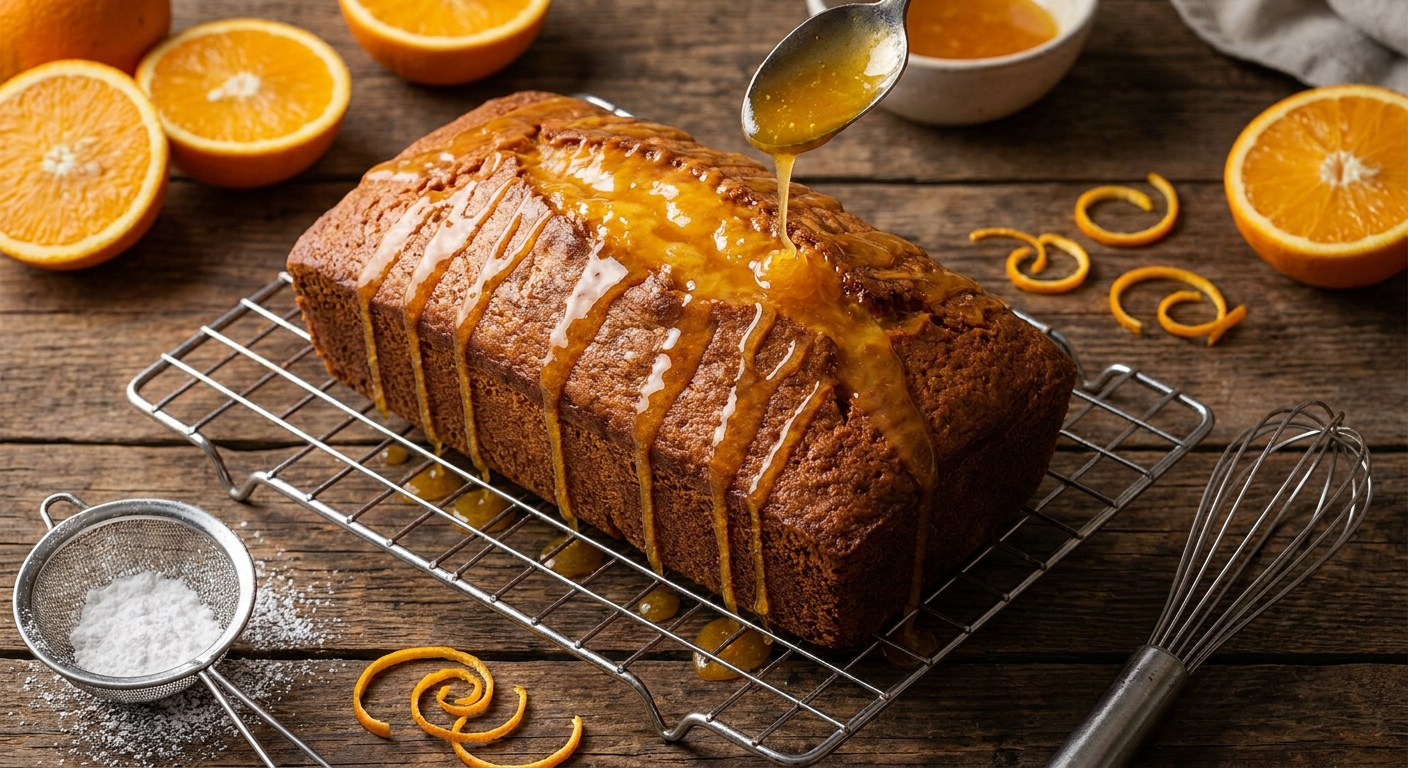
The version we are making today is the spectacular modern iteration that dominates the streets of Rome. As butter became more widely accessible, it replaced the olive oil, leading to a significantly softer, brioche-like texture. Furthermore, the inclusion of candied peel shifted from being mixed into the dough to being replaced entirely by fresh citrus zest for a brighter flavor. The most iconic change, however, was the introduction of the ‘panna montata’—the towering filling of freshly whipped cream. Today, practically every Roman starts their morning with a cappuccino and one of these cream-stuffed marvels.
The Gluten Development Process
Let’s talk about the actual science happening in your mixing bowl. Flour contains two critical proteins: glutenin and gliadin. When you hydrate these proteins with milk and begin kneading, they link together to form a highly elastic network called gluten. This network acts like a microscopic balloon, trapping the carbon dioxide gases produced by the yeast. If your gluten network is weak, the gas escapes, and your buns will turn out dense and flat like hockey pucks. Because we are adding heavy fats (butter and egg yolks) that naturally shorten gluten strands, we must develop the gluten aggressively before those fats are fully introduced. That is why the windowpane test is completely non-negotiable.
Emulsion and Yeast Fermentation
Another major scientific factor is yeast behavior in an enriched environment. Sugar is hygroscopic, meaning it loves to steal water. In a dough with high sugar content, the sugar pulls moisture away from the yeast, slowing down fermentation. This is why these doughs take significantly longer to rise.
- Osmotolerant Yeast: If you bake enriched breads often, using an osmotolerant yeast (like SAF Gold) works wonders because it requires less water to function.
- Hydration Levels: This dough sits around 60% hydration, which makes it slightly tacky. Do not add extra flour, or you will ruin the soft crumb.
- Thermal Death Point: Yeast dies at exactly 60°C. If your milk is too hot when you activate the yeast, you will essentially murder your leavening agent before you even start.
- The Maillard Reaction: The beautiful dark golden-brown crust comes from the Maillard reaction, triggered by the egg wash proteins and natural sugars caramelizing at temperatures above 140°C.
Step 1: Activating the Yeast
Start by warming 120ml of whole milk to exactly 35°C. Stir in one tablespoon of your measured granulated sugar and 7 grams of active dry yeast. Let this mixture sit on your counter for about 10 minutes. You are looking for a bubbly, frothy raft to form on the surface. If it does not foam up, your yeast is dead or your milk was too hot. Throw it out and start over. This step is your insurance policy.
Step 2: Building the Dough Structure
In the bowl of a stand mixer fitted with a dough hook, combine 350g of bread flour (the higher protein content is crucial here), 50g of sugar, a pinch of salt, the zest of one whole lemon, and the zest of half an orange. Pour in the foamy yeast mixture, along with two large, room-temperature eggs. Mix on low speed for about 3 minutes until a shaggy dough forms. Turn the speed up to medium and let it knead for 8 to 10 minutes. The dough should start slapping the sides of the bowl and look visibly smooth.
Step 3: The Butter Emulsion Phase
Now comes the fun part. Take 70g of unsalted butter that is completely softened to room temperature. With the mixer running on low, add the butter about one tablespoon at a time. The dough will instantly look like it is falling apart and turning into a greasy mess. Do not panic. Just keep the mixer running. Once all the butter is in, crank the speed to medium-high and let it go for another 5 to 7 minutes. Watch as the dough miraculously pulls itself back together, becoming glossy, incredibly stretchy, and clearing the sides of the bowl entirely.
Step 4: The Crucial First Proof
Take the dough out and shape it into a tight, smooth ball. Place it into a lightly oiled bowl, cover it tightly with plastic wrap, and set it in a warm, draft-free spot in your kitchen. Because of the butter and sugar, this bulk fermentation will take anywhere from 1.5 to 2.5 hours. You are waiting for the dough to completely double in volume. You can gently poke the dough with your finger; if the indentation fills back in very slowly, it is ready to move on.
Step 5: Scaling and Shaping
Punch the dough down gently to release the excess gas. Turn it out onto a clean, un-floured surface. Using a bench scraper, divide the dough into equal portions of exactly 60 grams each. Cupping your hand over each piece of dough, roll it aggressively against the counter to create a perfectly tight, round boule. Once round, gently roll the boule back and forth under your palm just slightly to elongate it into a subtle oval shape, which is the traditional Roman style. Place them on a parchment-lined baking sheet, leaving at least two inches between each bun.
Step 6: Second Proof and Baking
Cover the shaped buns loosely with a damp kitchen towel and let them rise for another 45 to 60 minutes until they are incredibly puffy and marshmallow-like. Preheat your oven to 180°C (350°F). Very gently brush each bun with a beaten egg wash, being careful not to deflate them. Bake for 14 to 16 minutes until they are a deep, gorgeous golden brown. Pull them out and let them cool completely on a wire rack. I repeat: let them cool completely. If they are even slightly warm, they will melt the cream.
Step 7: The Signature Cream Fill
While the buns cool, whip 400ml of extremely cold heavy whipping cream with 3 tablespoons of powdered sugar and a dash of vanilla extract. Whip until stiff peaks form; you want the cream strong enough to hold its shape. Take a cooled bun and slice it vertically right down the center, being careful not to cut all the way through the bottom. Gently pry it open like a book. Pipe or generously spoon the whipped cream into the gap, filling it completely. Take a straight spatula and scrape the excess cream flush against the edges of the bun to create that iconic, clean stripe of white cream. Dust heavily with powdered sugar.
Myths vs. Reality of Baking Enriched Doughs
Myth: You absolutely need a professional bakery oven with steam injection to make good pastry.
Reality: A standard home oven works perfectly fine. The egg wash provides all the moisture and browning you need for the crust without extra steam.
Myth: Enriched doughs require three full days of complex overnight cold resting.
Reality: While a cold retard in the fridge can develop deeper flavor, this straightforward same-day recipe produces unbelievably soft and delicious results in just a few hours.
Myth: Any type of cream will work for the filling.
Reality: You strictly need heavy whipping cream with at least 33-36% fat. Lighter creams will break down, weep water, and turn your beautiful buns into a soggy mess within an hour.
Myth: You should serve them warm right out of the oven.
Reality: Slicing warm bread turns the crumb gummy, and hot bread will instantly melt your freshly whipped cream into liquid puddles. Patience is key.
Frequently Asked Questions
Can I use instant yeast instead of active dry?
Yes, absolutely. If using instant yeast, you can skip the milk-warming activation step and mix the yeast directly into your dry flour. Just make sure your milk is still slightly warm to help the dough rise.
Why did my dough not rise at all?
The most common culprit is that your milk was too hot and killed the yeast. Alternatively, your kitchen might just be too cold. Try placing the bowl inside your oven with just the oven light turned on for a gentle, warm environment.
Can I bake these buns ahead of time?
You can bake the buns the day before. Store them in an airtight container at room temperature. However, do not slice and fill them with cream until just a few hours before you plan to serve them.
What kind of flour is strictly best?
Bread flour is the absolute best choice. The higher protein content (around 12-14%) is necessary to build a gluten network strong enough to support the heavy butter and eggs without collapsing.
Can I freeze the baked buns?
Yes! Bake the buns, let them cool completely, and freeze them in ziplock bags without the cream. When you are ready, thaw them at room temperature for a few hours, then slice and fill them.
Do I strictly need an electric stand mixer?
You can make this by hand, but be prepared for a serious workout. Incorporating butter into wet dough by hand is extremely messy and requires about 20-25 minutes of vigorous slapping and folding on the counter.
Is it possible to make these dairy-free?
You can swap the whole milk for oat milk and the butter for a high-quality vegan block butter. For the filling, whip up a full-fat coconut cream or use a commercial dairy-free whipping cream alternative.
Listen, there is nothing quite like the immense satisfaction of pulling a tray of gorgeous, golden pastries out of your own oven. Grab your flour, check your yeast, and start baking. You are going to blow everyone away with this incredible Italian treat. Happy baking!

Leave a Reply