

Why Lievito Madre Changes Everything About Baking
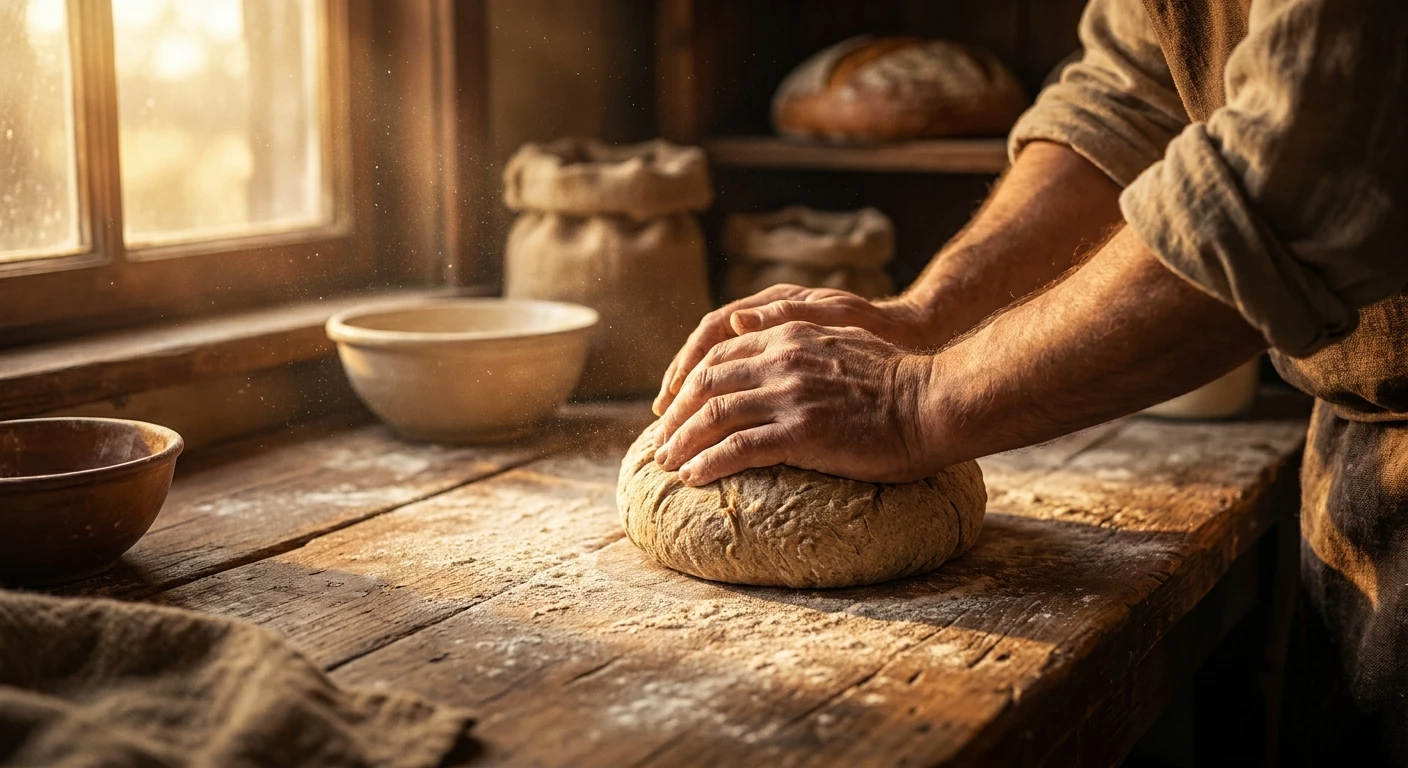
If you want to bake bread that tastes like it came from an authentic Italian bakery, mastering lievito madre is your absolute first step. This stiff, sweet sourdough starter is the beating heart of traditional artisan baking. I remember sitting in a small, dimly lit kitchen in Kyiv back in winter, watching my grandmother bake. She did not call it by its fancy Italian name, but her stiff sourdough starter functioned exactly the same way. The aroma of fermenting flour and water wrapped around us like a warm blanket against the freezing cold outside. That memory sparked my absolute obsession with natural leavening. Now, baking with this specific stiff starter isn’t just a hobby; it is a living connection to tradition.
Most home bakers start their journey with a liquid starter—equal parts flour and water. That is a great entry point, but moving to a stiff mother dough opens up an entirely new universe of flavor and texture. My goal here is to show you exactly how to cultivate, maintain, and bake with this glorious dough, skipping the fluff and getting straight to the flour-dusted facts. Grab a coffee, sit back, and let’s talk about the dough that will ruin store-bought bread for you forever.
The Core Benefits of a Stiff Mother Dough
Let me tell you straight away, standard liquid sourdough starters are great for rustic country loaves, but the stiff Italian version brings entirely different benefits to the table. By keeping the hydration low—usually around 40 to 50 percent—you fundamentally change the microbial balance inside the culture. This specific low-hydration environment suppresses aggressive acetic acid production while actively encouraging mild lactic acid. The result? A much sweeter, milder flavor profile that works absolute miracles for enriched doughs like Panettone, Pandoro, or even a soft sandwich loaf.
You get unmatched oven spring and a soft, shreddable crumb that stays fresh for days. Think about baking a classic Neapolitan pizza crust; the stiff starter gives it that incredible airy cornicione (the puffy edge) without overpowering the delicate mozzarella and sweet tomato flavors. Or consider a rich, buttery brioche. Using this specific leaven prevents the sharp, vinegar-like tang that usually ruins a delicate sweet pastry.
| Feature | Liquid Sourdough | Stiff Italian Starter |
|---|---|---|
| Hydration Level | 100% (Equal water and flour) | 45-50% (Much drier dough) |
| Flavor Profile | Sharply sour, acidic, tangy | Mild, sweet, milky, yogurt-like |
| Best Used For | Rustic country loaves, rye bread | Panettone, brioche, pizza, sweet breads |
| Maintenance Effort | Low to Medium | Medium to High (Requires kneading) |
Here is why you need to make the switch immediately:
- Better structural integrity: The stiff dough builds a stronger, highly developed gluten network right from the jar, making your final dough much stronger.
- Milder acidity: It is perfect for sweet baking because lactic acid completely dominates the environment.
- Slower degradation: It forgives you if you forget to feed it for an extra day, unlike highly active, fast-fermenting liquid starters that turn into a soupy mess.
- Enhanced shelf life: Breads made with a stiff mother dough naturally resist staling longer due to the specific conditioning effects of lactic acid.
History and Origins of the Mother Dough
The Ancient Origins
Baking with natural yeast dates back thousands of years, long before commercial baker’s yeast was ever isolated in a laboratory. Ancient Egyptians, Romans, and Greeks all relied on wild airborne yeast and bacteria to raise their daily bread. In Italy, the practice of maintaining a stiff piece of dough—the mother—became deeply ingrained in regional culinary arts. Unlike the wet batters used in other parts of Europe, Italian bakers favored a kneadable dough. Families handed down their mother doughs across generations, treating them as living heirlooms. These robust doughs survived wars, long migrations, and devastating famines, kept alive by simply holding back a small piece of dough from the daily bake.
Evolution of the Italian Mother Dough
As baking techniques refined, especially in Northern Italy, the need for a very specific type of leaven emerged. Bakers wanted to create highly enriched celebration breads that required massive amounts of butter, sugar, and egg yolks. A standard sour starter would destroy the fragile gluten and make the cake taste unpleasantly acidic. By dropping the water content, they figured out how to manipulate the yeast and bacteria to their advantage. The stiff starter evolved into a highly specialized tool, meticulously maintained with frequent, precise feedings. Master bakers developed techniques like wrapping the dough in heavy cloth and binding it tightly with rope to create intense anaerobic pressure, further pushing the flavor profile toward sweet lactic notes.
The Modern State of Artisan Baking
Fast forward to the year 2026, and the obsession with natural fermentation has hit a massive global peak. Home bakers and professional pastry chefs alike treat this stiff dough as the holy grail of baking. Modern science has mapped the exact strains of wild yeast and bacteria present in these jars, validating what those old-world bakers knew instinctively through trial and error. We now have specialized temperature-controlled incubators and pH meters just for maintaining the mother, but the actual soul of the process remains entirely rustic, hands-on, and grounded in tradition.
The Scientific Deep Dive
The Microbiology of Stiff Starters
Let us look at what is actually happening inside that jar on a microscopic level. When you mix flour and a small amount of water, you awaken dormant enzymes, specifically amylase, which are naturally present in the wheat kernel. These enzymes act like little scissors, breaking down complex starches into simple sugars like maltose. The wild yeast (typically Saccharomyces cerevisiae or Candida milleri) consumes these sugars and produces carbon dioxide gas as a byproduct. This gas gets trapped in the tight gluten matrix, causing the stiff dough to rise and puff up. But the real magic—the flavor and texture—happens thanks to the lactic acid bacteria.
Manipulating the Acid Balance
The hydration level of your dough acts as a control dial for which type of bacteria thrives. In a liquid environment, heterofermentative bacteria produce a harsh mix of lactic acid and acetic acid (that sharp vinegar-like sourness). In a stiff environment, homofermentative bacteria dominate the culture, producing almost entirely lactic acid. Lactic acid is milder, smoother, and acts as a natural dough conditioner. It relaxes the gluten strands just enough to allow for massive expansion in the oven without tearing the crust.
- Optimal pH levels: A healthy stiff starter typically hovers around a pH of 4.1 to 4.3. Any lower, and it becomes too acidic, destroying your gluten network.
- Yeast to bacteria ratio: The golden ratio in natural leavening is roughly 1 yeast cell to 100 lactic acid bacteria cells.
- Temperature sensitivity: Lactic acid production peaks at warmer temperatures (around 28°C or 82°F), whereas acetic acid highly favors cooler environments.
- Osmotolerance: The yeasts cultivated in stiff starters become highly resistant to osmotic stress, making them perfectly suited for heavily sugared doughs that would normally kill standard commercial yeast.
The Actionable 7-Day Plan to Build Your Own
Ready to build your own robust mother dough from scratch? I will not lie, it takes a bit of patience, but it is incredibly rewarding. Here is a straightforward, no-nonsense 7-day protocol to get your culture active, strong, and ready for your very first artisan bake.
Day 1: The Initial Mix
Start by mixing 50g of strong, unbleached bread flour with 25g of lukewarm water. Use your fingers to pinch and knead it into a tight, somewhat dry small ball. It will feel very stiff, but keep kneading until no dry flour remains. Place it in a narrow, clean glass jar, press it down firmly, and leave it at a warm room temperature (around 24°C) for a full 24 hours.
Day 2: The Waiting Game
Do absolutely nothing today. The dough might look completely dead, or it might have a few tiny bubbles forming on the sides. You might even start to smell a strange, almost funky, cheesy odor. Do not panic. This is just the initial bacterial battle playing out as the good microbes fight off the bad ones. Leave it completely alone for another 24 hours.
Day 3: The First Feeding
Take 25g of the dough from the center (discard the rest or compost it). Mix it with 25g of strong bread flour and 12g of water. Knead vigorously on your counter until it forms a smooth, elastic ball. Roll it tightly, score a deep cross on top with a sharp knife or razor, and put it back in a clean jar. The cross helps you monitor the expansion.
Day 4: Establishing the Rhythm
Repeat the exact same process and ratio from Day 3. You should start noticing a slightly sweeter, yogurt-like aroma replacing that initial funky smell. The dough will feel noticeably softer, puffier, and much more elastic when you handle it. It is coming to life.
Day 5: Twice a Day Feedings
The wild yeast is getting very hungry now because the population is booming. Start feeding it every 12 hours to maintain momentum. Use the same ratio: 1 part starter, 1 part flour, 0.45 parts water. Keep the temperature slightly warmer now, around 26°C if possible, to really encourage those sweet lactic notes.
Day 6: The Bagnetto (Water Bath)
It is time for a traditional Italian maintenance technique called the bagnetto. Slice your starter into thick pieces and soak it in water sweetened with a tiny pinch of sugar for 20 minutes. This neutralizes excess acidity. Squeeze out the excess water, weigh the dough, and feed it with equal parts flour and 45% water. Knead well.
Day 7: Ready for Baking
By now, your starter should be extremely vigorous. It should triple in volume within 4 hours when kept at 28°C. When you smell it, it should remind you of sweet milk, honey, and green apples. It is now fully active, perfectly balanced, and ready to leaven your favorite bread or pastry recipe.
Myths vs. Reality of Natural Fermentation
There is an astonishing amount of misinformation floating around the internet about maintaining natural yeast. Let us clear the air and debunk some common misconceptions.
Myth: You need grapes, grated apples, or raw honey to start a culture successfully.
Reality: High-quality flour and water are literally all you need. The wild yeast and beneficial bacteria are already present on the wheat bran and floating in the air. Adding fruit just introduces foreign sugars and different microbes that eventually die off anyway once the environment becomes acidic.
Myth: A stiff starter requires special, imported Italian Manitoba flour to survive.
Reality: While Italian Manitoba flour is excellent because of its strength, any high-protein, unbleached bread flour works perfectly well. The high protein content (around 13-14%) is what truly matters for structural integrity.
Myth: If it smells extremely sharp, like nail polish remover, it is completely dead and must be thrown away.
Reality: That harsh acetone smell just means your starter is incredibly hungry and has exhausted its entire food supply. Give it a few regular, warm feedings, and it will bounce back to health perfectly.
Myth: You have to bake every single day to justify keeping it alive.
Reality: You can easily store it in the fridge for a week or two without feeding it. Just give it a couple of warm refreshments to wake it up before you plan to bake again.
Frequently Asked Questions
Why is my starter not rising?
Usually, this is a temperature issue. Yeast is very sluggish in the cold. Ensure your jar is kept in a warm spot, ideally around 26-28°C.
How do I store it long-term?
Feed it normally, let it sit at room temperature for an hour to kickstart the fermentation process, then tightly seal it and keep it in the refrigerator for up to two weeks.
Can I convert a liquid starter to a stiff one?
Yes, absolutely. Just take a small amount of your liquid starter and feed it with the stiff ratio (1 part starter : 1 part flour : 0.45 parts water) for three or four days until the texture and acidity stabilize.
What is the purpose of scoring a cross on top?
Scoring serves two purposes: it helps you visually monitor how much the dough expands, and it releases tension in the tight dough ball, allowing it to bloom easily.
Do I really need to tie it up in heavy cloth?
No, keeping it loosely covered in a tall jar is perfectly fine for casual home bakers. Binding in cloth is an advanced technique used specifically for highly enriched Panettone doughs to force a specific fermentation profile.
Why does my starter have a dark, hard crust on top?
It simply dried out because it was exposed to the air. Make sure your jar is sealed properly, or simply peel away and discard the dry crust before feeding the soft, fermented center.
How much starter do I actually use in a bread recipe?
Generally, you should use about 20% to 30% of the total flour weight in your recipe, depending on how fast you want the bread to rise.
Wrapping Up Your Baking Journey
Crafting incredible, mouth-watering baked goods does not require industrial shortcuts or chemical additives. By understanding and nurturing your own culture, you elevate your home baking to professional artisan heights. The daily effort is minimal compared to the massive flavor payoff you get in return. Grab some good flour, mix it with water, and start your natural fermentation journey right now. Stop relying on the grocery store and take control of your bread. Try mixing your first batch today, and let me know how your first beautiful, crusty loaf turns out!



Leave a Reply