

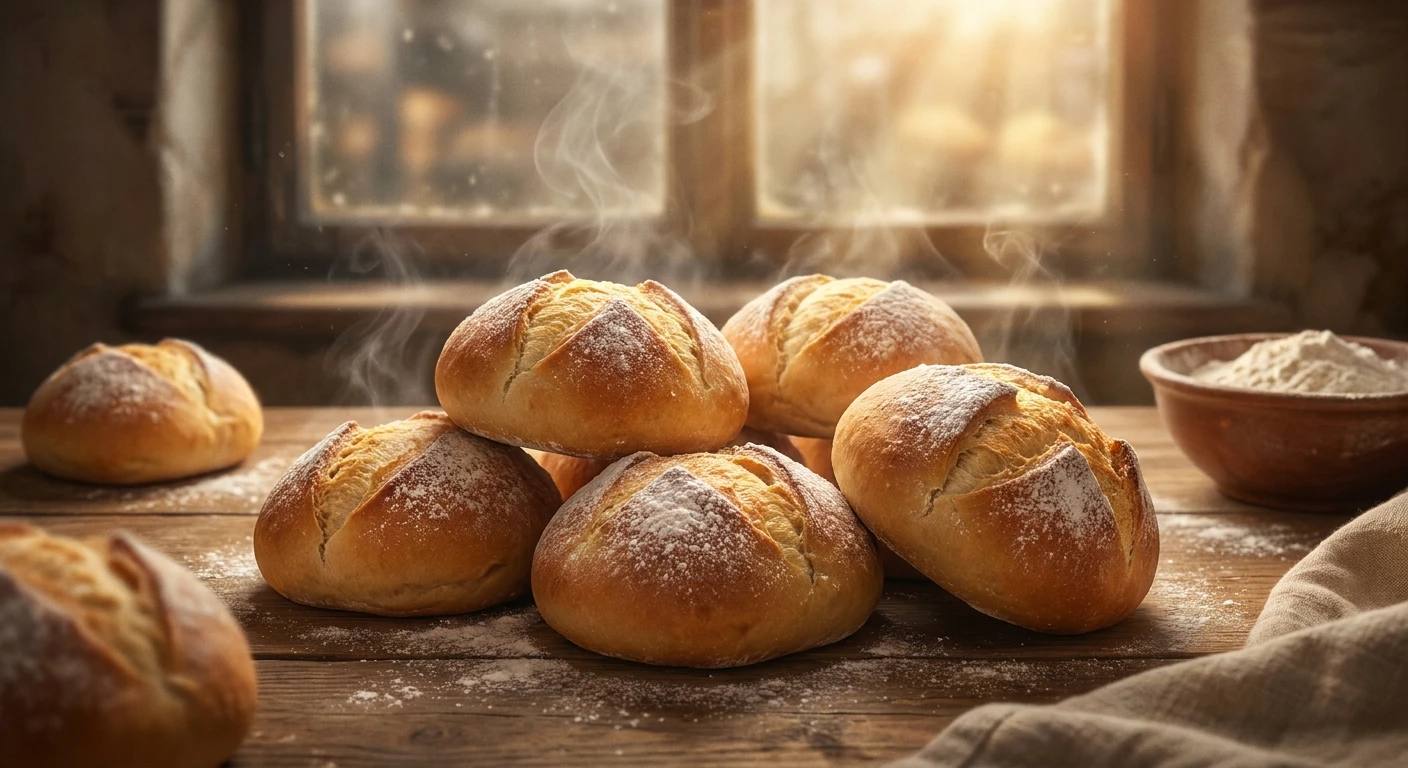
Why Authentic italian buns Are Taking Over Our Kitchens
You haven’t lived until you’ve pulled a tray of perfectly golden, aromatic italian buns straight from a blazing hot oven. I remember sitting in a tiny Kyiv cafe last winter, needing a moment of absolute peace from the freezing winds outside. The barista handed me a thick, steaming espresso alongside a freshly baked, cream-filled brioche-style bun. It was an absolute revelation. Here in Ukraine, we know our way around dough—garlicky pampushky and hearty palianytsia are the blood in our veins, right? But there was something undeniably magical about that feather-light, citrus-scented crumb that just melted on my tongue. I knew I had to figure out how to recreate that exact experience in my own kitchen.
Listen, it is 2026, and we are way past settling for dry, store-bought cardboard bread that falls apart when you try to slice it. Making these fluffy delights at home is entirely doable, and I am here to share exactly how you can master the craft. You do not need a culinary degree or a commercial bakery setup. You just need a bit of patience, the right flour, and a willingness to get your hands messy. The sheer satisfaction of watching your dough rise and puff up into pillow-soft perfection is unmatched. Trust me, once you master this, your friends and family will never stop asking you to bake for them.
The Core Secrets to Cloud-Like Pastries
Getting that authentic texture is all about understanding what makes these pastries different from your standard dinner roll. The magic lies in the fat-to-flour ratio and the slow proofing times. When we talk about Italian bakery culture, we are usually talking about rich, vibrant flavors balanced by incredibly delicate textures.
You get two massive benefits when you commit to baking these yourself. First, you control the quality of the ingredients. A classic breakfast Maritozzo filled with freshly whipped cream is a million times better when made with real vanilla bean and high-fat butter. Second, you get versatility. A crusty Rosetta roll can elevate a simple salami sandwich into a gourmet meal. Think about the value proposition here: you are taking water, flour, and yeast, and turning it into something that bakeries charge premium prices for.
| Type of Bun | Texture Profile | Best Served With |
|---|---|---|
| Maritozzo | Incredibly soft, enriched, slightly sweet | Lightly sweetened whipped cream, espresso |
| Rosetta | Crusty exterior, hollow and airy interior | Prosciutto, provolone cheese, olive oil |
| Bomba | Fried, donut-like, chewy and rich | Pastry cream, Nutella, powdered sugar |
To pull this off, you absolutely must have your kitchen prepped. Here is what you need to focus on:
- High-Protein Flour: Standard all-purpose flour will not give you the structure needed for that tall, proud rise. You need a strong bread flour or a dedicated “00” flour with at least 12% protein.
- Patience for Proofing: Rushing the yeast is the biggest mistake you can make. Giving the dough time to develop flavor in the fridge overnight changes everything.
- Precise Temperature Control: Yeast is a living organism. If your milk or water is too hot, you kill it. If it is too cold, it sleeps. Aim for a lukewarm 35°C (95°F) for the perfect activation environment.
When you nail these three elements, you are already ninety percent of the way to bakery-level results.
History and Origins of the Craft
Ancient Origins of Mediterranean Bread
The story of these breads stretches back thousands of years. Long before we had perfectly calibrated stand mixers and instant yeast, ancient bakers relied on wild fermentation. The Romans were absolute fanatics about their bread, often stamping their loaves with specific bakery seals before firing them in massive communal wood ovens. They figured out early on that adding olive oil, honey, and sometimes animal fats to the dough created entirely new textures. The wealthy citizens of Rome demanded softer, richer breads, which laid the very first foundation for the enriched doughs we crave today.
Evolution Through the Renaissance
As history marched forward into the Renaissance, Italian city-states grew wealthy, and their culinary traditions exploded with creativity. Spices, sugar, and citrus from trade routes began making their way into the hands of local bakers. This era birthed the precursor to the sweet rolls we see today. The addition of eggs and butter transformed basic survival food into luxury items intended for holidays and celebrations. Bakers formed tight-knit guilds, fiercely protecting their specific regional recipes. A baker in Milan was making something completely different from a baker in Naples, which is why Italy has such a staggering variety of regional bread styles.
The Modern State of Bakery Culture
Walk into any bustling Italian bar today, and the pastry case tells a story of refined tradition. It is 2026, and while commercial production has certainly streamlined some things, artisanal bakers are stubbornly holding onto the old ways. They use natural sourdough starters (lievito madre) alongside modern refrigeration to slow-proof their doughs for up to 48 hours. This blend of ancient patience and modern temperature control produces flavors that are incredibly complex. They respect the heritage while utilizing modern ovens to achieve the perfect bake every single time.
The Science of the Perfect Crumb
The Chemistry of Hydration and Gluten
Baking is not just an art; it is hardcore chemistry. When you mix flour and water, two proteins—glutenin and gliadin—bind together to form gluten. This network is literally the scaffolding of your bread. If you use a high-hydration recipe (meaning a high ratio of liquid to flour), that gluten network has more room to expand, creating those beautiful, airy holes in the crumb. But enriched doughs, which contain fat from butter and eggs, present a challenge. Fat coats the flour proteins and inhibits gluten formation. This is exactly why you have to knead enriched doughs much longer than lean doughs. You have to mechanically force that gluten network to develop despite the butter trying to stop it. It is a beautiful microscopic battle happening right in your mixing bowl.
Fermentation Dynamics Explained Simply
Yeast does two main things: it eats sugars and burps out carbon dioxide gas, and it produces alcohol and organic acids. The gas gets trapped in the gluten scaffolding, making the dough rise. The acids provide that incredible, complex bakery flavor. If you ferment the dough rapidly at room temperature, you get lots of gas but very little flavor. If you slow it down by sticking the dough in the fridge, the gas production slows down, but the flavor-producing bacteria go into overdrive.
- Maillard Reaction: This is the chemical reaction between amino acids and reducing sugars that gives browned food its distinctive flavor. Egg washes supercharge this process on the crust.
- Starch Gelatinization: As the internal temperature of the dough hits about 60°C (140°F), starches absorb water and swell, setting the final structure of the crumb.
- Oven Spring: The final, rapid burst of yeast activity in the first few minutes of baking before the heat ultimately kills the yeast.
The 7-Day Mastery Plan
You want to master this? Do not try to do it all in one afternoon. Take a week to practice the elements. Treat this like a fun workshop in your own kitchen.
Day 1: Sourcing the Right Ingredients
Spend your first day hunting down the good stuff. Go to a specialty store or order online. You want unbleached bread flour, high-quality European-style butter (aim for 82% butterfat), fresh eggs, and real vanilla bean paste if you are making sweet rolls. Good ingredients do half the work for you.
Day 2: Building the Perfect Starter (Biga)
Many classic recipes use a pre-ferment called a biga. Mix a small amount of flour, water, and a tiny pinch of yeast. Leave it on your counter overnight. This little mixture will bubble up and develop an incredibly deep, complex flavor that you will incorporate into your main dough tomorrow.
Day 3: Mastering the Mixing Process
Today is about feeling the dough. Mix your biga with the rest of your flour, milk, sugar, and yeast. Hold off on the butter. Knead it until it is smooth and stretchy. Then, add the room-temperature butter one tablespoon at a time. The dough will look like a greasy disaster at first. Keep kneading. Trust the process until it comes back together into a glossy, beautiful ball.
Day 4: The Art of Bulk Fermentation
Put your dough in a lightly oiled bowl, cover it tightly, and put it in the fridge. Walk away. Do absolutely nothing for 24 hours. This cold fermentation is where the flavor compounds multiply, and the dough relaxes, making it much easier to shape later.
Day 5: Shaping Your Dough Like a Pro
Take the cold dough out and portion it using a digital scale so every piece is exactly the same weight. Cup your hand over each dough piece and roll it aggressively against the un-floured counter in a circular motion. You want to create surface tension so the bun rises up instead of flattening out like a pancake.
Day 6: The Final Proofing Stage
Place your shaped rolls on a parchment-lined baking sheet. Cover them gently with plastic wrap and let them sit in a warm spot. You are waiting for them to double in size and become incredibly wobbly and puffy. If you poke them gently, the indentation should spring back slowly. If it springs back instantly, they need more time.
Day 7: Baking to Golden Perfection
Brush them gently with an egg wash for that bakery-style shine. Bake them in a fully preheated oven. The smell will drive you absolutely crazy. Pull them out when they register about 88°C (190°F) internally. Let them cool completely on a wire rack before you slice into them. You earned this.
Myths vs. Reality in the Kitchen
Myth: You need a professional steam oven to get a good crust.
Reality: Throwing a few ice cubes into a hot cast-iron pan at the bottom of your home oven creates the exact same steam environment professional bakers use.
Myth: Making dough from scratch takes way too much active time.
Reality: The active hands-on time is maybe twenty minutes. The rest is just waiting while the yeast does all the heavy lifting.
Myth: You can substitute active dry yeast for instant yeast one-to-one without changes.
Reality: Active dry yeast usually needs to be bloomed in warm liquid first, whereas instant can be mixed straight into the dry flour. Adjust your method accordingly.
Myth: Italian grandmas only mix dough by hand.
Reality: Have you seen how tough that is? Plenty of modern nonnas have a stand mixer hidden in the pantry. Use the machine if you have it.
Frequently Asked Questions
Can I freeze the raw dough?
Yes, but freeze it right after shaping, before the final proof. When you want to bake, let them thaw and proof overnight in the fridge, then bring to room temp before baking.
What is the absolute best flour to use?
Look for Manitoba flour or a strong bread flour with at least 12% to 14% protein content. It handles the rich ingredients beautifully.
Why did my rolls turn out dense and heavy?
Usually, this means you did not let them proof long enough before baking, or you killed the yeast with liquid that was way too hot during the mixing phase.
Can I make these completely vegan?
Absolutely. Swap the milk for a high-fat oat or soy milk, use a quality vegan butter block, and replace the eggs with a commercial vegan egg replacer or aquafaba.
Do I really need a baking stone?
Not for soft, enriched buns. A heavy-duty aluminum baking sheet lined with parchment paper works perfectly for things like Maritozzi.
How should I store the leftovers?
Keep them in an airtight container at room temperature for up to two days. Do not put them in the fridge, as the starches will crystallize and make the bread stale faster.
Can I add chocolate chips or raisins?
Yes! Fold them in gently at the very end of your mixing process so you do not crush them or stain the dough.
Conclusion
Baking is one of the most rewarding things you can do with your free time. There is a deep, primal satisfaction in transforming basic pantry staples into towering, fluffy masterpieces. Now that you have the science, the history, and a rock-solid game plan, there are no excuses left. Go preheat that oven, dust your counter with flour, and start baking today. Your kitchen is about to smell absolutely incredible!



Leave a Reply