

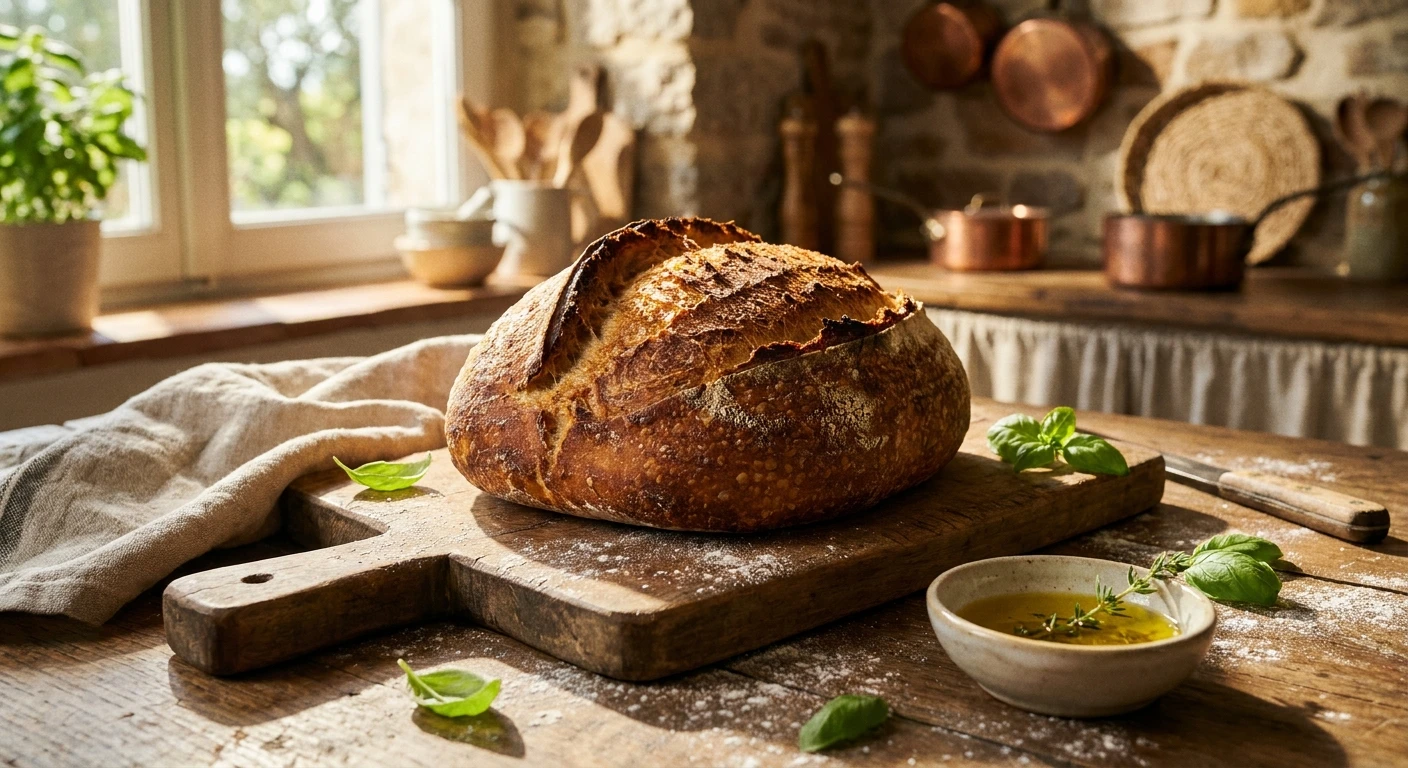
Why You Simply Must Try Baking an italian baguette This Weekend
Look, if you haven’t baked an authentic italian baguette in your kitchen yet, you are seriously missing out on a massive upgrade to your weekend dinners. I know, I know—when we think of long, crispy loaves, our minds immediately rush to Paris. But trust me on this, blending that classic shape with Mediterranean dough techniques creates something utterly spectacular.
Let me paint a picture for you. Last weekend, my friend Olena and I were hanging out in her apartment right here in Kyiv. We usually snack on local Ukrainian rye bread or traditional palyanytsia when we get together, but she wanted to show off her new baking obsession. She pulled this incredibly fragrant, golden, olive-oil glistening loaf straight out of her oven. The crust crackled audibly as it cooled on the wire rack. When she finally sliced into it, the crumb was super open, airy, and rich with that distinct, slightly tangy flavor of a well-fermented biga. It was love at first bite.
Now that we are deep into 2026, the global home-baking community has practically exploded with fusion recipes, and this specific hybrid bread is completely taking over. It gives you the elegant, tearable shape of a French stick, but with the rich, robust crumb of a ciabatta. Honestly, once you start baking these, you will never want to buy store-bought bread again. Let’s break down exactly how you can master this at home.
The Core Secrets: Why This Bread Beats the Rest
Okay, let’s get into the meat of it. Why go through the effort of making this specific hybrid instead of just picking up a standard loaf from the local bakery? The answer lies in the hydration and the fats. Traditional French dough is incredibly lean—just flour, water, salt, and yeast. But when you add a generous glug of extra virgin olive oil and push the hydration levels up past 75%, you completely change the game.
The value proposition here is simple: you get a bread that stays fresher for days longer thanks to the olive oil, and the crumb is strong enough to hold heavy toppings without falling apart. Here are a couple of my favorite examples of how to use it. First, it makes the absolute best bruschetta base you will ever try. The crust holds up to being rubbed with raw garlic and toasted, while the inside soaks up tomato juices perfectly. Second, it is a magnificent vehicle for dipping into rich, creamy pasta sauces where a flimsier bread would just disintegrate.
To really see how it stacks up, check out this quick comparison:
| Bread Type | Hydration Level | Fat Content | Texture Profile |
|---|---|---|---|
| Italian Baguette | 75% – 80% | Moderate (Olive Oil) | Crispy exterior, chewy and rich interior |
| French Stick | 65% – 70% | Zero (Lean dough) | Shatter-crisp crust, light and airy crumb |
| Traditional Ciabatta | 80% – 85% | High (Olive Oil) | Chewy crust, extremely open hole structure |
If you are ready to jump in, you will need a few crucial components. Do not skip these!
- A Biga Pre-ferment: This is a stiff pre-fermented dough that you make the night before. It develops the complex flavors and acidity that give the final loaf its character.
- High-Protein Flour: Because we are dealing with high hydration and oil, you need a strong bread flour (around 13-14% protein) to build a sturdy gluten network.
- Quality Extra Virgin Olive Oil: Do not cheap out here. The flavor of the oil heavily influences the final taste of the bread, so use something you would happily dip food into.
The Unexpected History and Origins
The Origins of the Shape
You might be wondering how a purely French shape ended up getting an Italian makeover. Historically, the long, thin shape was mandated by French law in the 1920s to ensure bakers didn’t have to start work before 4 AM—long, thin breads bake much faster than round boules. But as bakers traveled across European borders post-World War II, the sharing of techniques became inevitable. Artisans in Northern Italy admired the elegant shape that provided maximum crust area, but they refused to give up their beloved olive oil and biga starters.
Evolution Across Borders
Through the 1970s and 80s, the concept slowly evolved in border regions like Piedmont and Liguria. Bakers started experimenting by taking their standard ciabatta or focaccia doughs and attempting to shape them into long cylinders. It wasn’t easy! High-hydration doughs are notoriously sticky and hate being shaped into tight logs. But through trial and error, they found that by doing a series of gentle stretch-and-folds, they could build enough tension to maintain the shape without degassing the dough entirely.
The Modern State of Baking
Fast forward to 2026, and this bread style is having a massive moment on social media and in high-end artisan bakeries worldwide. It’s the perfect middle ground for home bakers who find traditional sourdough boules too dense, but standard lean doughs too flavorless. Today’s artisan bakers use precision temperature control and specialized proofing couches (baker’s linen) to coax out the absolute best texture, bridging the gap between two of Europe’s greatest bread-making traditions.
Scientific and Technical Deep Dive
Hydration Mechanics and Gluten Development
Let’s talk bread science for a minute. When you mix flour and water, two proteins—glutenin and gliadin—link together to form gluten. In a lean dough, this network forms relatively easily. However, when you introduce olive oil into the mix, the fat molecules coat the flour proteins, which actually inhibits gluten formation. This is why you must build your gluten network through autolyse (letting the flour and water sit before adding oil and salt) and aggressive stretching before the oil is fully integrated. If you just dump everything in a bowl at once, you will end up with a flat, dense brick.
Fermentation Temperatures and Yeast Activity
The magic of the biga lies in temperature control. Yeast acts differently depending on how warm its environment is. At cooler temperatures (around 15°C to 18°C), yeast produces carbon dioxide very slowly, but the lactic acid bacteria in the flour thrive, producing complex flavor compounds rather than just sour acetic acid. This cold, slow fermentation is what makes artisan bread taste so vastly superior to supermarket bread.
Here are some hard scientific facts about what happens in your oven:
- The Maillard Reaction: This occurs between 140°C and 165°C, where amino acids and reducing sugars react to create that deep, golden-brown crust and incredible aroma.
- Starch Gelatinization: Around 60°C, the starches in the dough absorb water and burst, setting the crumb structure so it doesn’t collapse when you slice it.
- Oven Spring: The rapid expansion of gas bubbles in the dough during the first 10 minutes of baking, heavily reliant on steam being present in the oven to keep the crust soft enough to expand.
- Evaporative Cooling: As long as moisture is escaping the bread, the internal temperature will never exceed 100°C, keeping the crumb moist while the crust crisps up.
Actionable Plan: Your 7-Day Masterclass
I know, taking a week to bake bread sounds crazy. But relax, most of this is hands-off time. This step-by-step menu will guarantee you get it perfect on your very first try.
Day 1: Gathering the Specialty Supplies
Don’t rush into this unprepared. Take today to hit the store or order online. You need a high-protein bread flour (ideally Italian Tipo 00 if you can find it, or a good Manitoba flour), extra virgin olive oil, fine sea salt, and some active dry yeast. Make sure you also have a clean spray bottle for steam, and some parchment paper. Preparation is half the battle in baking.
Day 2: Prepping Your Workspace and Math
Baking is math. We are aiming for a dough that is 75% hydration. If you are using 500 grams of flour total, you will need 375 grams of water. Write down your formula and stick it to your fridge. Clear your counters, find your largest mixing bowl, and make sure your digital scale has fresh batteries. Accuracy is everything.
Day 3: Mixing the Biga Pre-Ferment
Before you go to bed, mix 200g of your flour, 130g of water, and just a tiny pinch of yeast (like, 1/8th of a teaspoon). Mix it until it just comes together into a shaggy, slightly dry ball. Cover it tightly with plastic wrap and leave it on your counter overnight. As you sleep, the yeast will wake up and start fermenting, developing those deep, fruity aromas.
Day 4: Autolyse and Final Dough Mixing
The next afternoon, take the remaining 300g of flour and 245g of water and mix them just until no dry spots remain. Let this sit for an hour (autolyse). Then, tear your bubbly biga into chunks and squeeze it into the autolyse dough along with 10g of salt. Once incorporated, slowly drizzle in 30g of olive oil, squeezing the dough until the oil is completely absorbed. It will feel slimy at first—don’t panic, keep mixing.
Day 5: Bulk Fermentation and Stretch Folds
Now the dough needs to gain strength. Over the next three hours, perform a “stretch and fold” every 45 minutes. Grab the edge of the dough, pull it up high, and fold it over itself. Do this on all four sides. By the fourth fold, the dough should feel bouncy and alive. Pop it into the fridge overnight. Cold fermentation slows down the yeast and builds massive flavor.
Day 6: Shaping the Long Loaves
Take the cold dough out and divide it gently into two equal pieces. Be careful not to smash all the bubbles you worked so hard to create! Gently pat each piece into a rectangle, then roll it up tightly like a yoga mat, sealing the seam. Gently roll the ends out to taper them. Place them on a piece of heavily floured parchment paper, supporting the sides so they don’t flatten out. Let them proof at room temperature for about two hours until puffy.
Day 7: Baking with Maximum Steam
Preheat your oven as hot as it will go (usually 250°C) with a baking stone or heavy tray inside. Score the tops of your loaves with a razor blade at a sharp angle. Slide the loaves onto the hot stone. Immediately spray the walls of your oven generously with water and shut the door quickly to trap the steam. Bake for 15 minutes with steam, then lower the heat to 220°C, vent the steam, and bake for another 15 minutes until dark golden brown. Let them cool completely before slicing!
Myths & Reality
There is so much misinformation out there about baking hybrid breads. Let’s clear the air.
Myth: You absolutely cannot make artisan bread without an expensive, professional steam injection oven.
Reality: Total nonsense. You can easily replicate professional steam at home using a cheap spray bottle, or by tossing a handful of ice cubes into a preheated cast-iron skillet at the bottom of your oven right as you load the bread.
Myth: This is just a regular French bread with a fancy, trendy name slapped on it for marketing.
Reality: Not even close. The inclusion of a biga preferment and extra virgin olive oil chemically changes the crumb structure, the fat content, and the shelf-life of the bread. The flavor profile is completely different.
Myth: Adding olive oil ruins the crispiness of the crust and makes it soft.
Reality: While fats do tenderize the crumb, baking at a very high heat with proper initial steam ensures the crust gelatinizes and crisps up beautifully. It won’t shatter quite like a purely lean dough, but it will have a phenomenal, satisfying crunch.
FAQ & Conclusion
Can I use all-purpose flour instead of bread flour?
You can, but it is highly discouraged. All-purpose flour generally lacks the protein content needed to support the high hydration and the heavy biga. Your loaf will likely turn out much flatter.
How long does this bread stay fresh?
Thanks to the olive oil acting as a natural preservative, it will easily stay soft and delicious for 3 to 4 days if kept in a paper bag or bread box at room temperature.
Can I freeze the dough before baking?
It’s much better to freeze the bread after it is fully baked and cooled. Just wrap it tightly in foil. Reheat it directly from frozen in a hot oven for 10 minutes, and it will taste freshly baked.
Why did my bread turn out super flat?
This is usually due to one of two things: either your bulk fermentation went on for too long (over-proofing), or you didn’t build enough tension during the shaping phase.
Do I absolutely need a baking stone?
While a stone provides excellent bottom heat for maximum oven spring, you can substitute it with a heavy, upside-down baking sheet preheated in the oven.
What is the absolute best olive oil to use?
Look for a cold-pressed, extra virgin olive oil with a robust, peppery finish. The flavor will bake into the crumb, so quality absolutely matters here.
Is this bread completely vegan?
Yes! It contains only flour, water, yeast, salt, and olive oil, making it 100% plant-based and vegan-friendly.
There you have it. You are now armed with all the knowledge, history, and scientific know-how you need to conquer this incredible baking project. Honestly, once you pull that first golden, crackling loaf out of the oven and the smell of toasted flour and warm olive oil fills your kitchen, you will understand exactly why this technique is so highly praised. So, clear off your counter, get your flour ready, and start mixing your biga tonight. Happy baking, and don’t forget to share a slice with a friend!



Leave a Reply