
Mastering the Classic Ciambellone: Your Ultimate Baking Guide
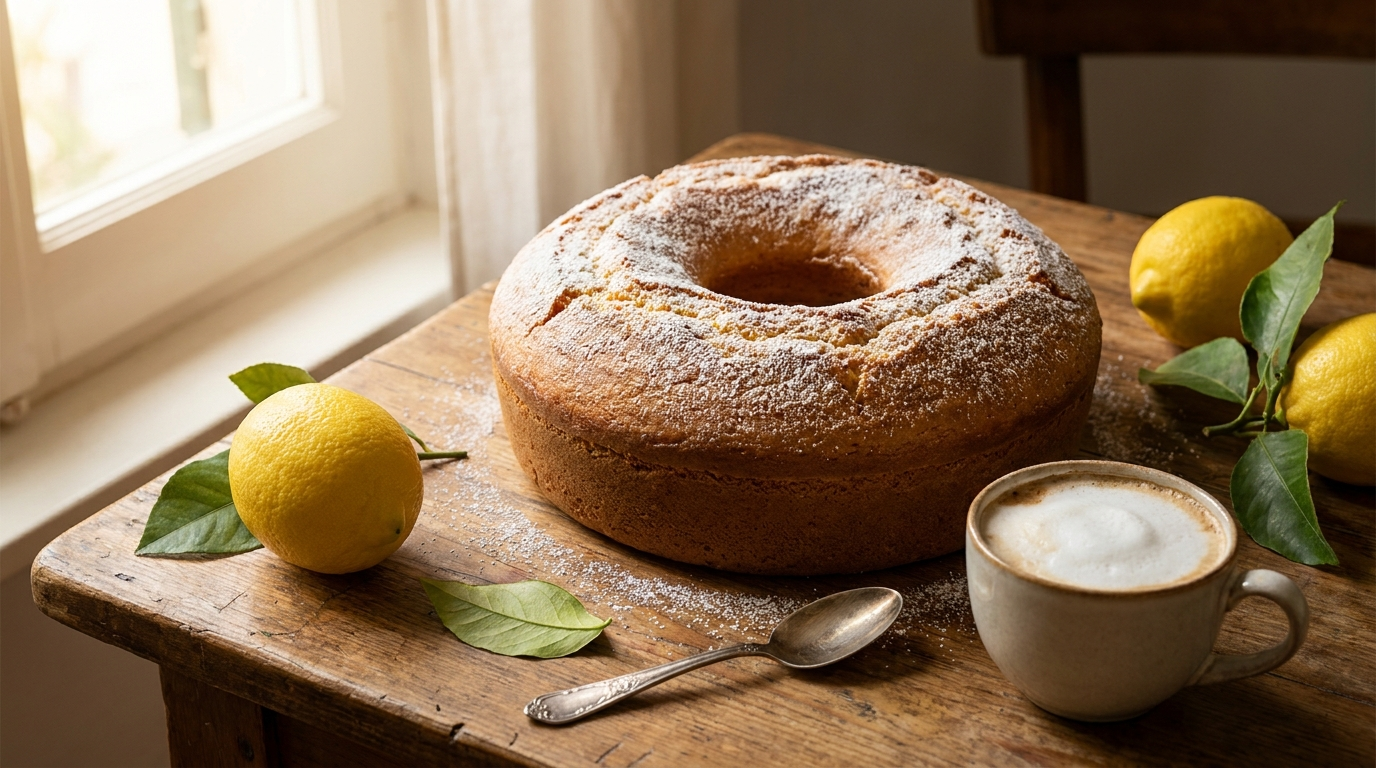
Have you ever asked yourself why the perfect ciambellone feels like a warm hug on a lazy Sunday morning? Well, grab a fresh cup of coffee and pull up a chair, because we are going to talk about exactly how to master this iconic Italian ring cake right in your own kitchen. There is something truly magical about the simplicity of rural Italian baking. It relies on humble pantry staples, yet produces a dessert that feels incredibly luxurious. This isn’t just a cake; it is a cultural institution that dictates the rhythm of morning breakfast tables from Milan to Palermo.
To give you a bit of personal context, I remember being a young kid back in my hometown in Ukraine, well before trendy artisan bakeries and fancy coffee shops were on every street corner. My neighbor, Aunt Olena, had just returned from a few years working as a caretaker in Rome. She brought back this weathered, olive-oil-stained handwritten recipe card for an authentic Italian ring cake. The very first time she baked it, the intoxicating smell of fresh lemon zest and warm vanilla completely took over our entire apartment block. I remember tasting a slice dipped in warm milk—it was an absolute revelation. That memory stuck with me forever, proving that great food transcends borders. Today, I am passing that exact magic on to you.
The Heart of the Italian Kitchen: Why You Need to Bake This Today
So, what exactly sets this cake apart from the hundreds of other recipes floating around the internet? To really grasp what we are making, you need to understand the texture, the crumb, and the overall eating experience. The secret lies in its robust structure. Unlike delicate sponges that fall apart the second they touch liquid, or heavy pound cakes that sit like a brick in your stomach, this bake walks a magnificent middle ground. It is specifically engineered to be dunked into hot beverages.
Take a look at how our beloved ring cake stacks up against other famous bakes:
| Feature | Ciambellone | Classic Pound Cake | Victorian Sponge Cake |
|---|---|---|---|
| Primary Fat | Vegetable or Olive Oil | Heavy Butter | Butter (creamed) |
| Texture | Spongy, resilient, airy | Dense, rich, tight crumb | Feather-light, delicate |
| Best Served With | Hot cappuccino or milk | Fresh berries and cream | Jam and buttercream |
| Longevity | Stays moist for 5-7 days | Dries out in 3-4 days | Best eaten on day one |
The true value of adding this recipe to your weekly routine comes down to a few major benefits. First, it offers unmatched dunkability. You can submerge a slice into a piping hot espresso for a solid three seconds, and it will hold its shape perfectly without turning your coffee into a mushy disaster. Second, it boasts extended freshness. Because it traditionally uses liquid oil instead of solid butter, the crumb remains incredibly moist on your counter for nearly a week.
If you want to achieve that perfect bakery-style result, there are three absolute secrets you need to follow:
- Room Temperature Everything: Your eggs and milk must not be cold. Cold ingredients cause the fats to seize up, ruining the emulsion and resulting in a dense, rubbery cake.
- The Sugar-Zest Massage: Before mixing anything, use your fingers to rub the fresh lemon zest directly into the granulated sugar until it resembles wet sand. This releases the essential citrus oils.
- The Low-and-Slow Bake: Rushing the baking process with high heat will burn the outside while leaving the dense batter raw in the middle. Patience is your best friend here.
The Rich Heritage of the Italian Ring Cake
Origins of the Famous Ring Shape
The history of this bake is deeply rooted in peasant traditions. Long before fancy non-stick bundt pans were available, rural bakers needed a way to ensure their large, heavy doughs baked evenly in unpredictable wood-fired ovens. By placing a clay cup or a metal tube in the center of the baking tin, they created a hole. This genius, rudimentary engineering allowed heat to penetrate the center of the batter simultaneously with the edges. The ring shape wasn’t invented for aesthetics; it was a pure, practical survival tactic to prevent wasting precious flour and eggs on a cake that would turn out raw in the middle.
Evolution Through the Decades
As Italy moved through the post-war economic boom in the 1950s and 1960s, ingredients that were once considered extreme luxuries—like refined white sugar, baking powder, and pure vanilla—became widely available to the average household. The dense, bread-like rustic cakes of the past slowly evolved into the fluffier, sweeter, and more delicate morning treats we recognize today. Grandmothers across the country began competing to see who could produce the highest, proudest rise on their morning cakes. The addition of “lievito pane degli angeli” (a specific Italian vanilla-scented baking powder) became a staple in every pantry.
Modern State of the Bake
Now that we are deep into 2026, the global baking community has fully embraced the beauty of this classic. We are seeing incredible variations popping up all over social media. Professional pastry chefs and home cooks alike are experimenting with sourdough discard versions, gluten-free oat flour blends, and infusing the batter with matcha, black sesame, or ruby chocolate. Yet, even with all these wild modern twists, the traditional lemon and olive oil version remains the reigning champion of breakfast cakes. People are craving simplicity and comfort more than ever, and this cake delivers exactly that.
The Science of Baking the Perfect Crumb
The Maillard Reaction in Baking
Let’s talk a little bit of science, because understanding what happens inside your oven will make you a significantly better baker. When you slide your pan into the heat, the surface of the batter rapidly increases in temperature. This triggers the Maillard reaction—a complex chemical process where amino acids and reducing sugars break down and recombine. This is exactly what creates that gorgeous, deeply golden-brown crust. Because this batter is relatively high in sugar and proteins (from the eggs), the reaction happens beautifully, creating a slightly crisp exterior that perfectly contrasts with the soft interior.
Fat Distribution and Crumb Structure
Why do we use oil instead of butter? It all comes down to lipid behavior at room temperature. Butter is a solid fat. When a butter-based cake cools down, the butter inside the crumb firms up, making the texture feel denser on day two or three. Vegetable or olive oil, however, remains liquid at room temperature. This means that an oil-based cake will retain a sensation of extreme moisture and softness for days.
Here are some fascinating scientific facts about the mechanics of this bake:
- Gluten Network Formation: By mixing the flour only until just combined, we intentionally limit gluten development, ensuring the texture remains tender rather than bread-like.
- Starch Gelatinization: As the internal temperature reaches about 150°F (65°C), the flour starches absorb the liquids and swell, setting the final structure of the cake.
- Aeration through Chemical Leavening: Baking powder reacts twice—first when it hits the wet ingredients, and second when it hits the heat of the oven, producing carbon dioxide bubbles that lift the heavy batter.
- Moisture Retention Metrics: The high ratio of liquid fat to flour actively coats the flour proteins, acting as a waterproofing agent that stops the cake from drying out over time.
Your 7-Day Ciambellone Masterclass Plan
If you want to treat this like a true culinary project, I have broken down the ultimate path to success into a fun, easy-to-follow 7-day plan. You do not actually need seven days to bake a cake, but spacing out the preparation, learning, and execution makes the process an absolute joy rather than a stressful chore.
Day 1: Sourcing the Best Ingredients
Your cake will only be as good as your worst ingredient. Spend today visiting a local market or a trusted grocery store. Pick up fresh, organic, un-waxed lemons because we are using the skin. Source high-quality, large eggs from free-roaming chickens. Finally, select a light, fruity olive oil or a very clean neutral oil like sunflower. Stay away from robust, peppery olive oils as they will completely overpower the delicate vanilla notes.
Day 2: Prepping Your Equipment
Check your baking tools. You will need a classic 10-inch (25 cm) ring pan or bundt pan. If your pan is old and scratched, it might be time to invest in a heavy-cast aluminum pan, which conducts heat beautifully. You will also need two large mixing bowls, a sturdy whisk, and a rubber spatula for folding. Ensure your oven thermometer is accurate; home ovens can easily be off by 20 degrees!
Day 3: Mastering the Zest and Sugar Rub
Take 200 grams of granulated sugar and the freshly grated zest of two large lemons. Spend a full three minutes rubbing them together with your fingertips. The sugar acts as an abrasive, tearing open the cells of the lemon skin and extracting all those highly aromatic, flavorful essential oils. The sugar will turn slightly yellow and smell like absolute heaven. Store this in an airtight container overnight.
Day 4: Creating the Emulsion
Time to practice the wet mix. In a large bowl, whisk 4 room-temperature eggs with your infused sugar until the mixture is incredibly pale, thick, and has tripled in volume. This should take about 5-7 minutes with an electric mixer. Then, with the mixer running on low, slowly stream in 130ml of oil and 100ml of whole milk. Pouring slowly ensures you do not break the delicate emulsion you just built.
Day 5: Folding the Dry Ingredients
Sift 300 grams of all-purpose flour, 16 grams of baking powder (or one packet of Italian lievito pane degli angeli), and a pinch of salt. Sifting is non-negotiable—it aerates the flour. Gently fold the dry ingredients into your wet emulsion using your rubber spatula. Move in wide, sweeping circles from the bottom of the bowl to the top, cutting through the middle. Stop the very second you no longer see dry flour streaks.
Day 6: The Baking Process
Preheat your oven to 350°F (175°C). Thoroughly grease your ring pan with butter and dust it with flour, tapping out the excess. Pour your gorgeous, thick batter into the pan, smoothing the top. Bake for roughly 40-45 minutes. Do not open the oven door for the first 30 minutes, or the sudden drop in temperature will cause the cake to collapse in the middle. Test with a wooden skewer—it should come out perfectly clean.
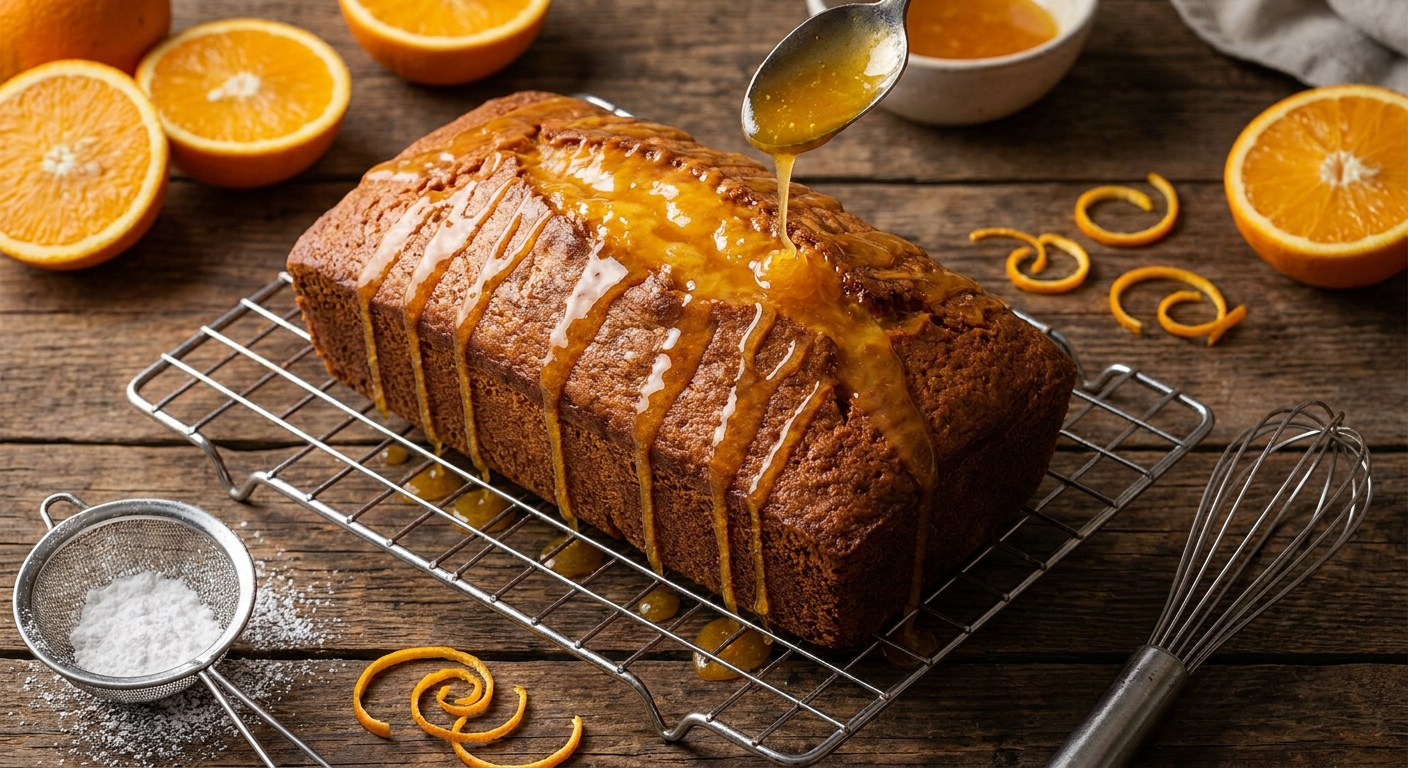
Day 7: Cooling, Glazing, and Storage
Let the cake rest in the pan for exactly 10 minutes. This gives it time to pull away from the edges. Invert it onto a wire rack to cool completely. Once it is entirely cool (do not rush this, or the sugar will melt), dust heavily with powdered sugar. Slice generously, serve with coffee, and store the leftovers under a glass cake dome at room temperature. You have just completed the masterclass!
Separating Fact from Fiction
There is a lot of misinformation out there about traditional Italian baking. Let’s clear up some of the most common misconceptions so you can bake with total confidence.
Myth: You absolutely must use expensive, imported Italian “00” flour to get a soft cake.
Reality: Standard all-purpose flour works perfectly fine. In fact, many Italian grandmothers prefer the slight structure that a standard AP flour provides for this specific breakfast bake.
Myth: A ring cake is essentially just a dry pound cake.
Reality: Absolutely not. Thanks to the high volume of liquid oil and milk in the batter, a proper Italian ring cake is incredibly springy, light, and deeply moist.
Myth: You need a heavy-duty, expensive stand mixer to make the batter.
Reality: A simple bowl and a strong hand-whisk have been doing the job for over a century. An electric hand mixer makes it easier, but it is entirely optional.
Myth: Home-baked cakes spoil very quickly and must be refrigerated.
Reality: Refrigerating an oil-based cake will actually make it stale faster by crystallizing the starches. Keep it wrapped at room temperature, and it will be brilliant for a week.
Frequently Asked Questions
Can I freeze this cake?
Yes, absolutely. Wrap individual slices tightly in plastic wrap, then place them in a freezer-safe bag. They will keep for up to three months. Just let a slice thaw at room temperature for an hour before eating.
Why did my cake sink in the middle?
This usually happens for one of three reasons: your oven temperature was too low, your baking powder was expired, or you opened the oven door too early, causing a sudden draft of cold air to shock the rising batter.
Can I use butter instead of oil?
You can, and the flavor will be rich and delicious, but keep in mind that the texture will be slightly denser, and the cake will dry out a couple of days faster than the oil-based version.
What size bundt pan do I need?
A standard 9-inch or 10-inch (22-25 cm) ring pan is the ideal size for a 3-to-4 egg recipe. If your pan is too large, the cake will be flat; if it is too small, the batter will overflow in the oven.
How do I prevent the cake from sticking to the pan?
Take your time prepping the pan. Smear a generous layer of softened butter into every single crevice, then coat it completely with flour. Tap the pan firmly upside down to remove any clumpy excess flour.
Can I add chocolate chips or nuts?
Definitely! Toss a handful of mini dark chocolate chips or chopped toasted almonds in a little bit of flour before folding them into the batter. The flour coating stops them from sinking entirely to the bottom.
Why is my crust too dark but the inside is raw?
Your oven is likely running too hot. The intense external heat sets and browns the outside before the heat can penetrate the center. Lower the temperature by 15-20 degrees and bake it for a little bit longer.
Final Thoughts
Baking a traditional ciambellone is about more than just mixing flour and sugar; it is about creating a moment of comfort, a reliable breakfast staple, and a reason to gather around the table. You now have the science, the history, and the ultimate step-by-step master plan to execute this flawlessly. Listen, there is no better time than right now. Hit the kitchen, preheat that oven, and bake your very first Italian ring cake today. Take a photo, pour a hot cup of coffee, and share your amazing results with us in the comments below. Happy baking!

Leave a Reply