

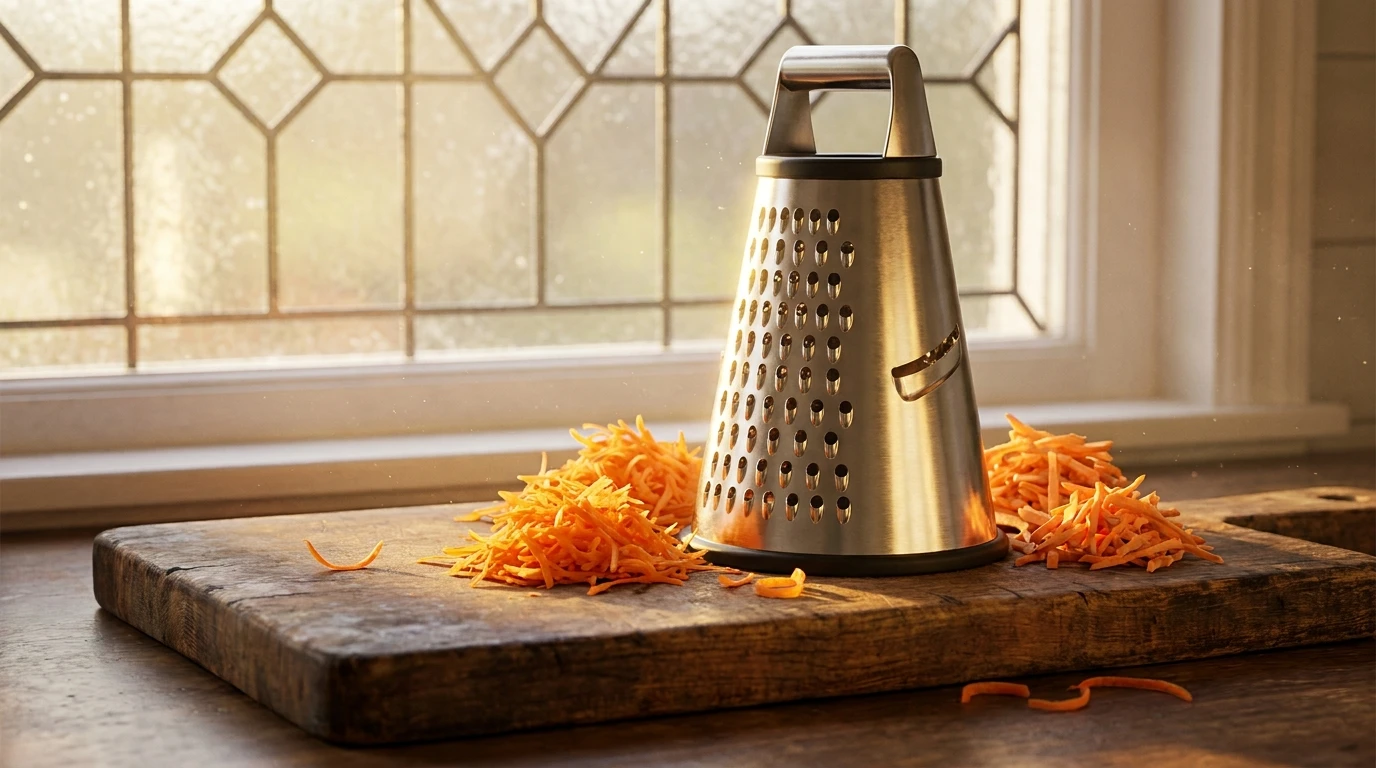
The Ultimate Guide to Choosing and Using a Carrot Grater
Finding a reliable carrot grater can completely change how you approach meal prep, shaving valuable minutes off your cooking time and giving you consistently textured vegetables every single day. You know exactly how frustrating it is to deal with dull blades, uneven shreds, and the sheer physical effort required to process dense root vegetables with subpar equipment. A proper grating tool is the quiet, unsung workhorse of any highly functional kitchen. Whether you are prepping a massive batch of fresh summer coleslaw, baking a classic, moisture-rich spiced cake, or just throwing together a quick, nutritious weekday salad, having the exact right equipment matters immensely.
We are going to look closely at what makes these everyday tools tick. The mechanics behind achieving the perfect, uniform shred are not just about sharp metal; they involve advanced ergonomics, precise blade angles, and fascinating material science. By understanding exactly how these kitchen gadgets function on a mechanical level, you can make vastly better choices for your culinary setup. You do not need a professional culinary degree to appreciate the massive difference between a smashed, watery vegetable pile and a cleanly cut, vibrant strand. The right tool ensures moisture stays securely inside the vegetable rather than pooling sadly on your cutting board. This precise cutting action preserves the texture, nutritional integrity, and structural makeup of the root vegetable, which ultimately improves the mouthfeel and flavor distribution of your final dish. This comprehensive guide covers everything from the structural integrity of different manufacturing materials to the precise daily maintenance routines that keep your blades razor-sharp for years. Let us get straight into the details and upgrade your food preparation game immediately.
Read also: How to Remove Membrane From Ribs Like a Pro Cook; Ultimate Guide to Thongs For Cooking: The Best Kitchen Tongs.
Understanding the Core Value of Dedicated Prep Tools
When you reach into your drawer and grab a high-quality carrot grater, you are holding a highly specialized piece of equipment specifically designed to maximize surface area with absolute minimal effort. The fundamental value proposition here revolves entirely around efficiency and consistency. Hand-chopping dense root vegetables into uniform matchsticks using a standard chef’s knife requires immense knife skills, intense concentration, and a significant time investment. A dedicated grating tool democratizes this process, allowing home cooks to achieve professional-level uniformity in a fraction of the time. Think about the classic four-sided box style, which offers multiple shred sizes and slicing options housed within one incredibly sturdy, stable frame. It is the ultimate multi-tasker. Then, consider the modern rotary style tool, which cleverly keeps your fingers far away from the dangerous cutting edges and powers through pounds of root vegetables with a simple, effortless crank mechanism.
| Grater Type | Primary Mechanism | Ideal Kitchen Application |
|---|---|---|
| Classic Box Grater | Four distinct stamped or etched sides for multiple shred sizes | All-purpose bulk preparation for large salads and heavy baking |
| Rotary Drum Grater | Hand-cranked spinning drum encased in a protective housing | High-volume, safe shredding that fully protects fingers from blades |
| Flat Handheld Grater | Single surface blade designed for space-saving efficiency | Quick, small-batch tasks directly over a mixing bowl or hot pan |
| Mandoline Slicer | Adjustable straight blade with sharp julienne teeth attachments | Precision matchsticks requiring identical thickness and strict uniformity |
To truly grasp the benefit of upgrading your setup, you have to look at how consistency impacts your final dish. Unevenly cut vegetables lead directly to unevenly cooked meals; a thick, chunky piece will remain unpleasantly raw and crunchy while a thin sliver turns into an unappetizing mush in the same pan. Here are the top practical benefits of utilizing a well-designed shredding tool:
- Highly consistent texture: Ensures completely even cooking times when baking complex cakes or sautéing dense vegetable medleys.
- Maximum natural flavor release: Clean, sharp cuts rupture significantly fewer cellular walls than dull chopping, keeping the essential juices intact within the food.
- Incredible versatility: Quickly transitions from processing hard root vegetables to handling block cheeses, firm fruits, and even whole spices without needing a bulky electric motor.
- Enhanced kitchen safety: A sharp, well-designed blade glides through dense, fibrous material effortlessly, which means drastically less force is required, substantially reducing the risk of your hand slipping.
If you have ever tried to manually julienne a massive pound of carrots for a large family gathering, you fully understand the sheer physical exhaustion and frustrating time drain involved. The mechanical advantage provided by a dedicated, specialized tool is totally undeniable. It takes a tedious thirty-minute chore and turns it into a rapid three-minute breeze, giving you your evening back.
Origins of the Kitchen Grater
The historical timeline of these tools is quite fascinating. Back in the 1540s, a visionary Frenchman named Francois Boullier invented the original cheese grater. His primary goal was to find a practical way to utilize hard, aged cheeses that had become too solid to slice effectively. The ingenious concept of forcefully dragging a hard ingredient across sharply punched metal quickly caught on and rapidly spread to the preparation of various vegetables. Before this invention, cooks had to rely entirely on heavy, cumbersome mortar and pestles or engage in laborious, dangerous knife work to break down tough roots. The introduction of punched metal sheets changed European kitchens forever.
Evolution of Materials and Design
As the Industrial Revolution gained incredible momentum, manufacturing processes shifted dramatically. Early versions of these tools were typically made from cheap stamped tin. While affordable, tin rusted incredibly quickly and dulled almost instantly when exposed to the acidic juices of raw vegetables. The massive breakthrough came with the widespread adoption of high-carbon stainless steel. This transition allowed factories to produce significantly thinner, much sharper cutting edges that vigorously resisted corrosion. In the 1990s, the culinary world saw another massive leap forward when photo-etching technology—originally utilized for creating precision woodworking rasps—was cleverly adapted for kitchen use. These acid-etched blades offered a level of sharpness previously thought impossible for home cooking tools.
The Modern State of Grating Technology
Currently, the market offers an astounding array of highly engineered options. Today’s premium tools feature ultra-ergonomic non-slip handles crafted from heavy-duty elastomers, laser-cut micro-blades, and modular, interchangeable attachments. Many modern designs incorporate smart, BPA-free plastic collection bins built directly into the base, complete with precise measurement markings. Engineers focus heavily on user safety, introducing advanced food guards and locking mechanisms that prevent accidental slips, ensuring that home cooks can process food rapidly without the constant fear of severe knuckle injuries.
The Physics of the Cut
The precise interaction between the dense, rigid fibrous structure of a root vegetable and a metal cutting edge is a brilliant masterclass in everyday physics. When a carrot grater blade strikes the surface of the vegetable, it operates strictly on the foundational principles of shear stress and friction coefficients. A dull blade merely crushes the intricate cellular matrix. This catastrophic crushing action results in a sad, watery mess and a rapid loss of structural integrity. Conversely, a microscopically sharp, precision-cut blade cleanly severs the tough cellulose fibers. This flawlessly clean severance actively minimizes the release of excess moisture, keeping the shredded pieces remarkably crisp, brightly colored, and texturally perfect.
Material Science of Blades
The exact type of metal used heavily dictates the lifespan and performance of your equipment. Most high-quality kitchen gadgets rely on specific stainless steel alloys, typically 304 or 430 food-grade ratings. These specific alloys strike the perfect balance between ultimate Rockwell hardness and robust corrosion resistance. Here are the core scientific facts driving modern blade efficiency:
- Shear force reduction: Advanced acid-etched blades require up to 40% less applied physical force compared to traditional stamped metal grids, saving extreme wear and tear on your wrists.
- Cellular preservation: Cleanly sliced plant cell walls release significantly fewer enzymatic browning agents than violently crushed cells, preventing your food from quickly turning dark and unappetizing.
- Tensile strength optimization: High-carbon stainless steel vigorously resists the microscopic abrasions normally caused by the incredibly tough lignin found natively in raw root vegetables.
- Friction coefficient management: Modern polished steel surfaces drastically reduce structural drag, completely preventing the vegetable from binding or sticking against the tool during rapid downward strokes.
Step 1: Selecting the Right Blade Size
Your very first move is strictly matching the tool’s hole size to your specific culinary goal. If you are baking a heavily spiced, moist cake, you need the finer holes to ensure the vegetable practically melts into the batter, releasing maximum moisture. If you are constructing a bold, crunchy Thai-inspired salad, you absolutely need the largest, coarsest shredding holes to produce thick, substantial matchsticks that hold up well against heavy, acidic vinaigrettes.
Step 2: Preparing the Vegetable
Proper preparation dictates the final result. Always wash the root thoroughly under cold running water. You must peel the outer skin, as it often harbors trapped dirt and carries a distinctly bitter, earthy flavor that can easily ruin delicate dishes. Crucially, leave the thickest top end completely intact. Do not cut off the broad top; it serves as a natural, highly secure handle that keeps your fingers safely away from the sharp metal.
Step 3: Establishing a Secure Base
Never attempt to process heavy vegetables on a slippery, wet countertop. You must establish a rock-solid foundation. Place a dedicated non-slip silicone mat or a lightly damp kitchen towel directly underneath your tool. If you are using a standard box style, firmly grip the top handle and press straight down into the cutting board to lock it entirely in place before you even begin the first stroke.
Step 4: The Proper Grip and Angle
Hold the vegetable at a precise 45-degree angle relative to the metal surface. This specific geometric angle is the absolute secret to achieving those long, elegant, beautiful strands rather than tiny, unappealing minced nubs. Grip the thick top end tightly, keeping your knuckles pulled back and your fingertips securely tucked away from the active cutting zone.
Step 5: Executing the Downward Stroke
The mechanics of the motion are critical. Only apply firm, even pressure strictly on the downward motion. The cutting teeth are designed to aggressively shear only in one single direction. Dragging the food forcefully back upward across the metal does absolutely nothing to cut the food; it merely dulls the delicate edges prematurely and radically increases the chances of an unexpected, dangerous jam.
Step 6: Safe Finish Techniques
Do not let greed cause an injury. When you rapidly approach the final two inches of the vegetable, absolutely stop. Do not try to force the last tiny nub through the blades using your bare hands. You can either safely chop that final piece with a standard knife, toss it into a dedicated stock bag for future soups, or utilize a specialized plastic food guard to push it safely through the remaining distance.
Step 7: Immediate Cleaning Protocol
You must clean the tool the exact second you finish. Root vegetables contain highly sticky starches and complex sugars that act exactly like concrete once they dry inside tiny metal crevices. Run the tool immediately under blasting hot water. Use a stiff-bristled kitchen brush, scrubbing exclusively in the exact direction of the blades so you do not completely destroy your brush bristles or cut your sponge in half.
Debunking Common Kitchen Equipment Myths
Myth: All standard kitchen graters can be cleaned safely in the dishwasher without any long-term issues.
Reality: Extreme dishwasher heat and harsh alkaline detergents rapidly degrade the microscopic cutting edges and can easily induce rust on lower-quality steel alloys. Gentle hand washing is highly recommended to preserve the edge forever.
Myth: Pushing significantly harder against the metal makes the processing task go much faster.
Reality: Excessive physical force just aggressively crushes the vegetable, ruins the texture, and drastically increases the risk of your hand slipping. Let the inherent sharpness of the properly engineered tool do the actual work.
Myth: A slightly dull blade is vastly safer for amateur home cooks than an incredibly sharp one.
Reality: Dull metal fundamentally requires you to apply substantially more pressure, which drastically increases the chances of a sudden, unexpected slip and a highly severe hand injury. Sharp tools are infinitely safer tools.
Myth: Vigorously rubbing the food up and down cuts the food twice as fast.
Reality: Most standard designs are strictly single-directional; aggressively dragging food upward only dulls the edge, crushes the vegetable fibers, and causes highly frustrating jamming.
Can I use a carrot grater for fibrous roots like ginger?
Yes, you certainly can, but ginger possesses an incredibly dense, stringy internal structure that easily clogs standard metal holes. You will achieve vastly better results using a specialized ceramic rasp or covering your standard tool with plastic wrap before processing.
What is the absolute best way to unclog jammed blades safely?
Never use your fingers. Always use a dedicated stiff-bristled kitchen brush under heavy running hot water, brushing strictly downward in the exact same direction as the sharp cutting teeth to easily dislodge trapped fibers.
Does peeling the carrot actually matter before shredding?
Yes, peeling fundamentally matters. It actively removes the deeply bitter, tough outer skin and any deeply ingrained agricultural dirt, resulting in a significantly cleaner, sweeter taste and a much brighter, more appealing visual color in your final meal.
Why do my freshly shredded root vegetables sometimes turn dark or black?
Rapid oxidation aggressively causes this darkening effect when the severed cell walls hit the ambient air. You can easily prevent this by quickly tossing the freshly processed pieces in a tiny splash of acidic citrus juice or sharp vinegar.
Can I somehow sharpen a dull kitchen grater at home?
Generally speaking, no, you cannot. Standard stamped or acid-etched blades cannot be easily resharpened at home without highly specialized industrial equipment. Once a typical household unit becomes noticeably dull, it is definitively time to replace it entirely.
Is a rotary crank model genuinely faster than a traditional box style?
Yes, absolutely. For heavy bulk processing tasks, the continuous, seamless crank mechanism is significantly faster and demands far less physical stamina, all while keeping your hands totally safe from the internal metal drum.
What exact manufacturing material is best for ultimate longevity?
High-carbon, precisely acid-etched stainless steel absolutely retains its sharp edge the longest. It rigorously fights off daily corrosion from acidic vegetable juices and easily resists the microscopic bending that ruins cheaper, stamped tin alternatives.
Conclusion and Next Steps
Wrapping everything up, taking the time to fully understand and selectively upgrade your daily prep tools makes routine home cooking infinitely more enjoyable and massively less stressful. Proper equipment totally eliminates the dreadful friction of daily meal preparation, allowing you to focus entirely on building incredible flavors. By maintaining your tools properly and employing correct physical techniques, you ensure superior culinary results every single time. If you found this comprehensive breakdown highly helpful, share this guide with a fellow home cook and start thoroughly experimenting with better, significantly faster prep techniques in your own kitchen today!



Leave a Reply