

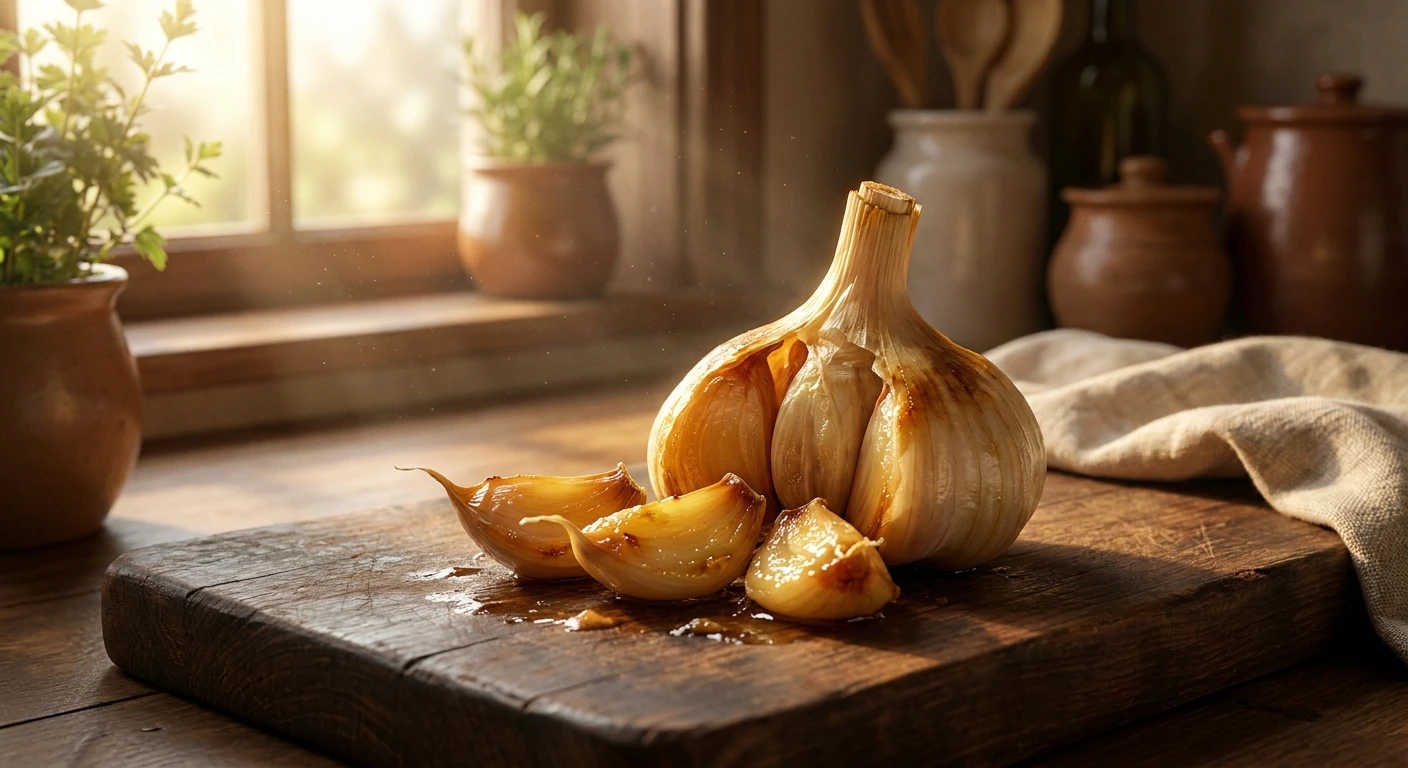
Mastering the roasted garlic air fryer method
Listen, if you haven’t tried the roasted garlic air fryer hack yet, you are seriously missing out on the easiest flavor upgrade ever. We all know that deep, sweet, savory magic that happens when a sharp, pungent bulb of garlic slowly caramelizes into a spreadable golden paste. My thesis is simple: using your countertop convection device for this classic ingredient beats the traditional oven by a mile, saving you massive amounts of time without sacrificing an ounce of that incredible buttery goodness.
Let me give you a little context. Back in Kyiv, my grandmother used to roast whole heads of garlic slowly in her massive gas oven just to mix with freshly baked pampushky. The smell filling the house was absolutely incredible, but waiting for it took well over an hour. Last week, I showed her how to get the exact same result in fifteen minutes flat. She was highly skeptical at first, shaking her head at my modern gadgets. But one taste of that warm, golden clove spread thick over a slice of dark rye bread, and she was entirely convinced. We’re living in 2026, and honestly, nobody has time to heat a massive oven just for a tiny bulb of garlic. You deserve that gourmet flavor on a Tuesday night without the ridiculous waiting period.
Read also: Crispy frozen green beans in air fryer; Best slow cooker butter chicken with jar sauce.
Why This Technique Completely Changes the Game
Let me break down exactly why you need to abandon the old oven method. When you use intense, circulating heat in a small, enclosed space, you are drastically cutting down the time it takes to break down the firm cellular structure of the cloves. The constant airflow creates a beautifully even roast that permeates all the way to the center of the bulb.
Think about the sheer value of having this stuff ready so quickly. For example, imagine you are grilling a thick, juicy ribeye steak. Smearing a freshly roasted, sweet clove right over the hot crust of the meat takes it to a steakhouse level instantly. Or, picture mixing a whole head of this soft, caramelized paste into a batch of fluffy mashed potatoes—the flavor becomes incredibly rich, slightly sweet, and intensely savory without that sharp bite of raw garlic.
Let’s look at the facts directly:
| Cooking Method | Average Time Required | Final Flavor and Texture Profile |
|---|---|---|
| Countertop Convection | 15 to 20 minutes | Perfectly soft, deeply caramelized, and spreadable |
| Traditional Oven | 45 to 60 minutes | Soft and sweet, but heavily time-consuming |
| Microwave Hack | 5 minutes | Mushy, completely lacks the deep roasted sweetness |
To really get the most out of this, you should keep three main benefits in mind:
- Incredible Energy Efficiency: You are not paying to heat up a giant metal box just to cook an ingredient the size of a tennis ball. This saves electricity and keeps your kitchen perfectly cool during the hot summer months.
- Consistent Heat Distribution: The fan forces hot air around the foil packet, meaning the bottom doesn’t burn while the top stays raw. It cooks uniformly from all sides.
- Zero Cleanup Hassle: Because you wrap the bulb tightly in a small piece of foil with a drizzle of olive oil, nothing drips. You just toss the foil afterward, and the basket remains totally spotless.
Origins of Roasting Garlic
If we look back centuries, the concept of mellowing out this pungent bulb isn’t new at all. Ancient cultures across the Mediterranean and Middle East knew that applying sustained heat totally altered its chemical profile. They used hot ashes from cooking fires to gently bake the whole heads. By burying them in the embers after a heavy meal, they would wake up to soft, sweet cloves that could be easily digested. It was a rustic, humble practice born out of necessity, long before we had perfectly temperature-controlled environments. People simply realized that heat turned something sharp and sometimes harsh into an absolute delicacy.
Evolution of the Oven Bake
Fast forward to the 20th century, and the culinary world standardized the method we all grew up with. Chefs started cutting off the top quarter of the bulb, drizzling it heavily with olive oil, wrapping it tightly in aluminum foil, and leaving it in a conventional oven at 400 degrees Fahrenheit for nearly an hour. It became a staple in upscale restaurants, often served alongside a warm baguette or artisan sourdough. While the results were undeniably fantastic, the method was highly inefficient for home cooks. Waiting an hour for a single condiment component just didn’t fit into the busy weeknight schedule of most families.
The Modern State of Countertop Cooking
Now, we are fully in the era of rapid air technology. The countertop convection craze has revolutionized how we approach these long-bake ingredients. By utilizing a powerful fan and a compact heating element, we can mimic the exact environment of a massive commercial oven but concentrate it entirely on the food. The high-velocity air speeds up the transfer of heat into the foil packet, initiating the cooking process almost immediately. It is the perfect marriage of ancient culinary wisdom and hyper-efficient modern engineering.
The Maillard Reaction Simplified
I want to briefly explain the science behind why this tastes so good, without making it sound like a chemistry textbook. When you expose the cut top of the bulb to high heat, a chemical process called the Maillard reaction occurs. This is the exact same reaction that gives a seared steak its crust or freshly baked bread its golden crust. The amino acids and reducing sugars present in the cloves start to reorganize and react with each other at high temperatures. This creates hundreds of entirely new flavor compounds. That is exactly why the sharp, stinging taste vanishes, replaced by something complex, nutty, and slightly sweet.
Convection Mechanics
The device works by circulating super-heated air at high speeds. In a regular oven, the air is mostly still unless you specifically have a convection setting, meaning there is a layer of cooler air insulating the food. The rapid fan blows away this insulating boundary layer. The heat penetrates the tight layers of the bulb much faster.
- The internal temperature of the cloves rapidly hits the threshold where complex carbohydrates begin to break down into simpler, sweeter sugars.
- Allicin, the compound responsible for the aggressive odor and bite of raw garlic, completely degrades under sustained heat, rendering it completely mild.
- The added olive oil acts as a heat conductor, pooling around the exposed cloves and effectively frying the very top edges for a slightly crispy, golden finish inside the foil.
- Because the environment is sealed within the foil, steam is generated from the natural moisture inside the bulb, which softens the flesh perfectly before it has a chance to dry out.
Your Ultimate 7-Day Flavor Upgrade Plan
Once you make a batch of this, you will want to put it on literally everything. Here is a week-long plan to help you maximize your freshly made golden paste.
Day 1: The Classic Squeeze on Toast
Keep things perfectly simple for your first try. Take a thick slice of fresh sourdough or rustic country bread, toast it until it is heavily crusted, and literally just squeeze a warm clove right out of its skin onto the bread. Spread it like butter with a knife, sprinkle a tiny pinch of flaky sea salt on top, and eat it immediately. It is pure, unadulterated comfort food that will make you rethink your entire breakfast routine.
Day 2: Upgraded Mashed Potatoes
Boil up some Yukon gold potatoes and get ready for a serious side dish upgrade. When you are mashing in your butter and heavy cream, squeeze in an entire head of the softened cloves. Mash them right in. They dissolve into the potatoes effortlessly, leaving behind a rich, deeply savory undertone that pairs perfectly with roasted chicken or a thick slice of meatloaf.
Day 3: Savory Salad Dressings
Take two soft cloves and drop them into a blender or a small food processor along with olive oil, freshly squeezed lemon juice, a dollop of Dijon mustard, and a splash of honey. Blend it up until it is completely smooth. You will end up with a creamy, emulsified vinaigrette that has zero harsh bite. It totally transforms a basic bowl of mixed greens into a restaurant-quality salad.
Day 4: Roasted Garlic Butter Prep
Grab a stick of high-quality, room-temperature salted butter. Squeeze in five or six soft cloves, add a handful of finely chopped fresh parsley, and mash everything together with a fork until thoroughly combined. Roll the compound butter up in a piece of parchment paper to form a log, and chill it in the fridge. Now you have the ultimate topping ready to melt over steaks, steamed vegetables, or baked potatoes at a moment’s notice.
Day 5: Pasta Sauce Enhancer
If you are making a simple marinara or an Alfredo sauce from scratch, stir a few mashed cloves right into the simmering liquid. The sweetness balances out the acidity of tomatoes perfectly, and it adds an incredible depth of flavor to heavy cream-based sauces. It literally tastes like you let the sauce simmer on the stove for eight hours, but it only took you twenty minutes.
Day 6: Soup Base Magic
Whether you are making a smooth butternut squash soup, a creamy tomato bisque, or a hearty potato leek, blending a few caramelized cloves into the base liquid is a total game changer. It adds a subtle, earthy richness that builds a complex flavor profile without overpowering the main ingredients.
Day 7: The Ultimate Dip Mix
For your weekend snack, grab some cream cheese or sour cream. Mix in the remaining soft cloves, some fresh chives, a little black pepper, and a dash of hot sauce. Grab a bag of thick, crunchy potato chips or some raw vegetables, and you have a phenomenal, totally addictive dip that takes literally two minutes to stir together.
Myths: Separating Fact from Fiction
Myth: Foil is strictly required for this to work properly.
Reality: While foil keeps everything neat and traps the steam, you can totally do this without it. Just place the trimmed bulb in a small oven-safe ramekin, drizzle with oil, and cover the ramekin with an oven-safe lid or another ramekin. It works just as beautifully and saves on disposable products.
Myth: It will leave your appliance smelling like pungent food forever.
Reality: Because the bulb is contained, and the allicin is mellowed by the heat, the smell is actually incredibly sweet and dissipates quickly. A quick wash of the basket with warm soapy water removes any lingering scent entirely.
Myth: The microwave is basically just as good if you are in a rush.
Reality: Absolutely not. Microwaves boil the internal water molecules, leaving the cloves mushy and lacking any of the deep, caramelized, roasted notes that make this technique so special. Do not compromise on this.
Myth: You need massive amounts of oil to prevent burning.
Reality: You only need a tiny drizzle—perhaps half a teaspoon. The natural moisture inside the tight papery skins does most of the heavy lifting to keep the cloves incredibly soft.
Can I use peeled cloves instead of a whole head?
Yes, absolutely. Just place the peeled cloves on a small piece of foil, toss them lightly in olive oil, wrap them tightly into a little pouch, and cook for about 10 to 12 minutes. Check them early so they do not burn.
What temperature is best for this method?
I always stick to 400 degrees Fahrenheit (or about 200 degrees Celsius). It provides enough intense heat to cook the inside rapidly while getting that nice golden color on the exposed tops.
How long does it last in the fridge?
If you store the squeezed paste or the whole cooked bulb in an airtight container in the refrigerator, it will easily stay fresh and delicious for up to a full week. Just make sure it is sealed tightly.
Can I freeze the roasted cloves?
You definitely can. The best way is to squeeze out all the paste, portion it into a silicone ice cube tray, and freeze. Pop out a cube whenever you need a flavor boost for soups or sauces.
Do I have to cut the top off?
Yes, you really should. Cutting about a quarter-inch off the top exposes the individual cloves, allowing the hot oil to seep inside and giving the heat direct access to start the caramelization process.
Is olive oil strictly mandatory?
Not necessarily. You can use avocado oil, melted butter, or even a neutral cooking spray if you prefer. Olive oil just provides that classic, traditional flavor profile that pairs perfectly with the sweet garlic.
Why did my garlic burn instead of turning soft?
Every appliance runs differently. Yours might run much hotter than average. If it burned, try dropping the temperature to 375 degrees next time or make sure the foil is pinched tightly shut so the delicate tops aren’t exposed to direct airflow.
Can I cook multiple heads at once?
Yes, you can cook as many as will fit in a single layer in your basket. The time will remain exactly the same whether you cook one head or six, making it perfect for meal prep.
To wrap this all up, you have the knowledge, the science, and a complete weekly plan to maximize this incredible ingredient. Mastering this technique takes barely any effort, but the results taste incredibly gourmet. Stop waiting an hour for the oven to do its job. Go grab a fresh bulb, slice the top off, and try this right now. Your future dinners will thank you!



Leave a Reply