
Why You Need These mini butter tarts Right Now
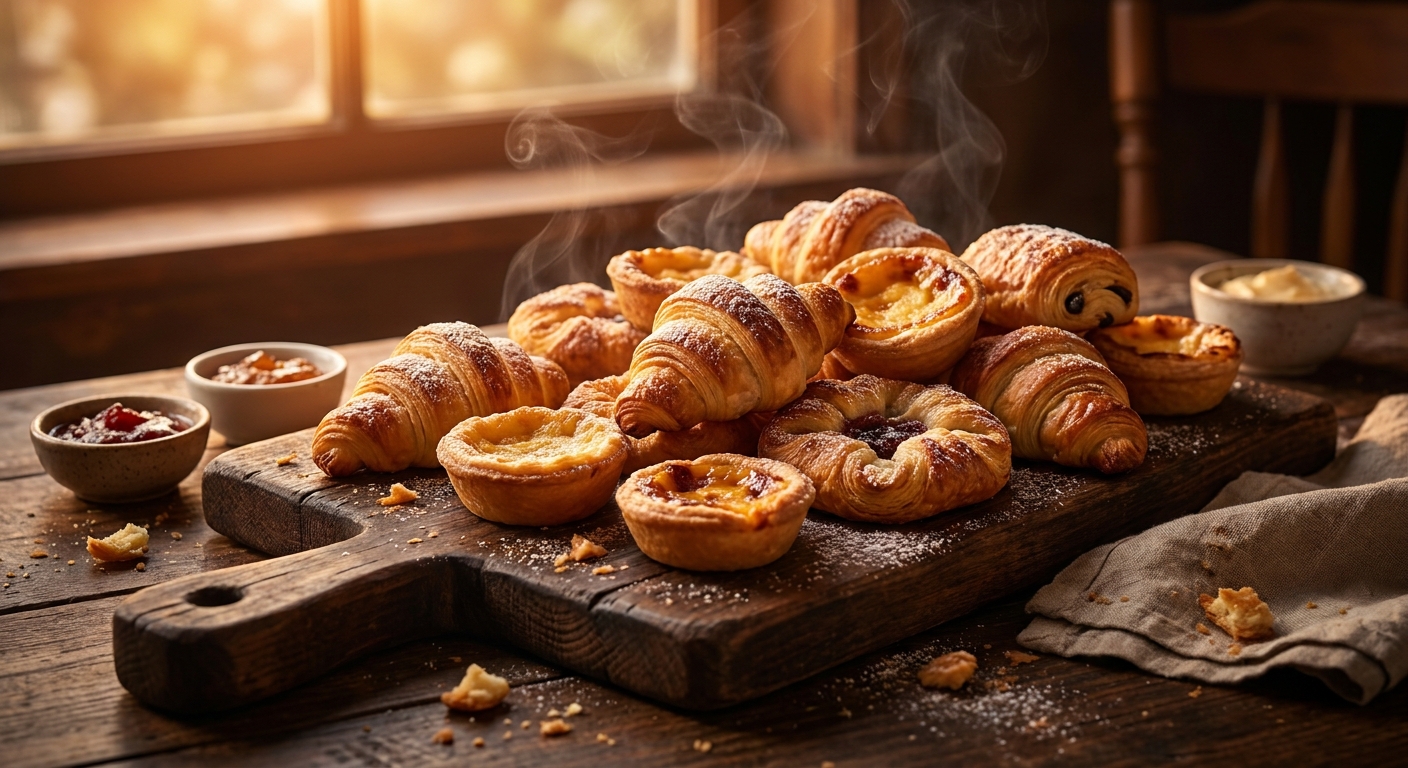
You know that feeling when you just need something incredibly sweet, gooey, and perfectly bite-sized alongside your morning coffee? That is exactly why I am completely obsessed with making mini butter tarts. I first tried them a few years ago when a Canadian expat friend brought a freshly baked batch over to my apartment in Kyiv during a freezing winter gathering. Honestly, my dessert standards haven’t been the same since. Forget massive, heavy pies that fall apart the second you try to take a bite. These tiny golden cups of joy hold together beautifully and deliver the absolute perfect ratio of flaky pastry to rich, caramelized filling.
If you have never baked them yourself, you are truly missing out on the easiest, most rewarding crowd-pleasing dessert ever. My main goal right now is to show you exactly how to master the art of the perfect miniature tart without stressing over complicated, old-school pastry techniques. We are keeping it completely simple, direct, and overwhelmingly delicious. By the time you finish reading my advice, you will know exactly why this bite-sized variation beats the traditional large tart every single time, how to get that signature runny or firm center depending on your exact preference, and what specific pantry ingredients make the magic happen. Grab a coffee, because we are getting right into the sticky, sweet details that will make your kitchen smell amazing.
The Mechanics of Miniaturized Pastry
Why go small? Shrinking a classic dessert isn’t just about making it look cute; it fundamentally changes the entire eating experience. The miniature format maximizes the caramelized edge of the filling, giving you a beautiful crunch before you hit the soft center.
Let me give you a couple of real-life value propositions. First, portion control. When you bake full-sized pastries, eating two feels like a massive heavy commitment. With the mini version, you can casually grab one or two alongside your afternoon espresso without falling into a deep sugar coma. Second, baking speed. Because they are baked in a mini-muffin tin, the heat penetrates the filling so much faster, cutting your baking time significantly.
Here is a breakdown of what makes the small version superior across different metrics:
| Feature | Traditional Tart | Miniature Tart |
|---|---|---|
| Pastry to Filling Ratio | Often overwhelmingly sweet | Perfectly balanced bites |
| Baking Time | 20-25 minutes | 12-15 minutes |
| Portability | Requires a plate and fork | One-bite easy snacking |
To really nail this recipe, you need to focus on a few core mechanics of pastry making and sugar caramelization. You don’t need to be a professional chef, but you do need to respect the process. Follow these core rules:
- Keep your butter freezing cold: The flakiness of your pastry relies entirely on little pockets of fat melting only once they hit the hot oven. Warm butter means dense, heavy crusts.
- Do not overmix the filling: If you whip the egg and sugar mixture too aggressively, you incorporate too much air. This causes the filling to puff up wildly in the oven and then collapse into a sad, sticky crater.
- Chill the dough before rolling: You have to let the gluten relax. If you roll it out immediately after mixing, the pastry will aggressively shrink back while baking, spilling that precious gooey filling all over your pan.
Getting these absolute basics down ensures that every single batch you make turns out flawlessly golden and structurally sound.
The Origins of the Classic Recipe
To truly appreciate what you are baking, we have to look back at where this iconic dessert started. The original butter tart is a deeply rooted Canadian staple, often traced back to the pioneer days of the late 19th and early 20th centuries. Early settlers relied on basic, shelf-stable ingredients like butter, sugar, syrup, and eggs to create rich calories for harsh winters. The very first published recipe appeared around 1900 in a hospital cookbook in Barrie, Ontario. It was a rustic, hearty dessert, meant to be baked in large, deep tins and shared among large families. The crusts were made with basic lard, and the filling was a simple mix of whatever sweeteners were available in the pantry.
The Evolution into Miniature Form
As decades passed and baking equipment modernized, home bakers started experimenting wildly. In the late 20th century, the mini muffin pan became a common kitchen tool, prompting clever cooks to adapt the traditional recipe. Shrinking the tart was a stroke of genius. It solved the age-old problem of the “runny tart disaster,” where a full-sized runny filling would spill all over your hands and clothes. The mini version offered a neat, self-contained bite. People started serving them at weddings, holiday parties, and upscale catering events because they looked significantly more elegant and were far easier to eat while mingling.
The Modern State of Baking
Fast forward to 2026, and the miniature variation has practically taken over the baking scene entirely. We are seeing artisanal bakeries dedicated strictly to these tiny treats. Modern variations have exploded, featuring incredible additions like toasted pecans, dark chocolate chips, sea salt flakes, and even infused maple syrups. Despite all these fancy modern upgrades, the core appeal remains exactly the same: a buttery, flaky shell holding a gooey, caramelized sugar center. They remain an absolute staple for anyone who loves high-impact, low-effort baking at home.
The Maillard Reaction and Caramelization
When you slide that pan into the oven, a lot of intense chemistry happens in a very short amount of time. Two primary chemical processes give these tarts their incredible flavor profile: the Maillard reaction and sugar caramelization. The Maillard reaction is a chemical reaction between amino acids (from the eggs and butter) and reducing sugars. This is what turns your pale pastry into a beautiful, golden-brown crust with a complex, slightly nutty flavor. At the exact same time, the brown sugar and syrup in the center undergo intense caramelization. Unlike the Maillard reaction, caramelization is strictly the pyrolysis (heating) of sugar. When the temperature hits about 320 degrees Fahrenheit (160 degrees Celsius), the sugar molecules break down and reform into new flavor compounds, creating that distinct butterscotch note we all crave.
Pastry Hydration and Gluten Network
The crust is where most people fail miserably, but understanding the science makes it completely foolproof. Pastry is essentially a delicate network of gluten proteins interspersed with solid fat. When you add ice water to your flour, two proteins—glutenin and gliadin—bind together to form gluten. You want just enough water to hold the dough together, but not so much that the gluten becomes strong and unpleasantly chewy.
Here are some fascinating scientific facts about your tart chemistry:
- Fat vaporization: The water content inside your cold butter turns to steam at 212°F (100°C), physically lifting the layers of flour to create a flaky texture.
- Sugar as a tenderizer: The brown sugar in the filling actually competes with the proteins for moisture, which is why the filling stays soft and gooey instead of turning into a hard candy block.
- Egg protein coagulation: The single egg in the filling acts as the primary structural binder. As the egg proteins denature and coagulate around 160°F (71°C), they form a loose gel network that thickens the sugary liquid.
By managing your temperatures—keeping the dough extremely cold and the oven extremely hot—you manipulate this chemistry to get the perfect texture every single time.
Your Foolproof Baking Master Plan
I know baking from scratch can feel chaotic, so I have broken down the entire process into a strict, step-by-step master plan. Follow this exact sequence, and your kitchen will turn into a high-end bakery in no time.
Step 1: Prep Your Equipment
Grab your favorite mini muffin tin and lightly grease it with a tiny bit of soft butter. Even if it is a high-quality non-stick pan, a little extra fat ensures the sugary filling won’t cement your baked goods to the metal forever. Preheat your oven to 375°F (190°C) right now so it is fully hot.
Step 2: Cut the Fat into the Flour
In a large mixing bowl, combine your flour and a hearty pinch of salt. Take your ice-cold, cubed butter and cut it directly into the flour using a pastry blender or your fingertips. Stop when the mixture looks like coarse breadcrumbs with pea-sized chunks of butter still highly visible.
Step 3: Hydrate and Chill
Drizzle ice water over the flour mixture, exactly one tablespoon at a time. Gently toss it until a shaggy dough starts to form. Press it firmly into a flat disc, wrap it tightly in plastic wrap, and throw it in the fridge for at least thirty minutes to let the gluten relax.
Step 4: Whisk the Liquid Gold
While the dough chills in the fridge, make the filling. Whisk together melted butter, dark brown sugar, a heavy splash of vanilla extract, and one room-temperature egg. Stir until just combined. Do not overbeat it; you want it smooth and liquid, not airy or frothy.
Step 5: Roll and Cut
Take your chilled dough and roll it out on a lightly floured kitchen surface until it is about an eighth of an inch thick. Use a round cookie cutter (about two and a half inches wide) to punch out small, perfect circles. Gently press each circle into your prepared muffin tin.
Step 6: Fill the Cups
Spoon your liquid filling directly into the pastry shells. The absolute golden rule here is to only fill them about two-thirds full. If you fill them to the very brim, they will rapidly boil over in the oven and fuse onto the pan.
Step 7: Bake and Rest
Bake them for roughly 12 to 14 minutes. You want the pastry edges to be deeply golden brown and the filling to be bubbly but slightly jiggly in the center. Let them cool in the pan for exactly five minutes before carefully twisting them out onto a wire rack to finish cooling.
Clearing Up Pastry Misconceptions
People love to overcomplicate simple baking. Let’s clear up some terrible advice floating around the internet so you don’t accidentally ruin your good ingredients.
Myth: You must use store-bought corn syrup to get a properly gooey center.
Reality: Not at all! Pure maple syrup or even just a slightly higher ratio of brown sugar to egg will give you a beautifully rich, runny texture without relying on heavily processed corn syrup.
Myth: You absolutely need an expensive stand mixer to make a flaky pie crust.
Reality: Stand mixers actually increase the risk of overworking the gluten network. Your hands or a simple manual pastry blender are infinitely better tools for keeping the butter chunks intact.
Myth: Raisins are a mandatory ingredient for an authentic taste.
Reality: This is a highly debated topic, but strictly speaking, raisins are completely optional. Many baking purists prefer a plain, unadulterated sugar filling to let the rich butterscotch flavor shine.
Myth: You can bake the tart dough immediately after mixing it.
Reality: Skipping the resting phase practically guarantees your pastry will shrink down in the oven. Always chill your dough to relax the gluten.
Frequently Asked Questions & Wrap-Up
Can I freeze these baked treats?
Yes, they freeze exceptionally well for up to three full months. Just thaw them slowly at room temperature when you are ready.
Why did my filling overflow the cups?
You likely filled the pastry shells more than two-thirds full, or you whipped far too much air into the egg mixture.
Can I use a store-bought pie crust?
Absolutely. If you are extremely short on time, a high-quality, all-butter store-bought crust works perfectly fine.
What if my pastry firmly sticks to the pan?
Run a very thin butter knife around the edge of each cup while they are still slightly warm to pop them out safely.
Do I need to blind-bake the mini crusts first?
No, the small size bakes through quickly enough that blind baking is completely unnecessary here.
Can I add dark chocolate chips?
Yes! Drop three or four semi-sweet chocolate chips directly into the shell before pouring in the liquid filling.
How long do they last at room temperature?
Stored in an airtight plastic or glass container, they will stay fresh, soft, and delicious for about three to four days.
To wrap things up, making these tiny pastries is incredibly satisfying and surprisingly straightforward once you know the core chemistry and steps. You get all the rich, caramelized joy of a classic pie without any of the messy slicing or collapsing crusts. Go grab some cold butter from your fridge, fire up that oven, and bake a batch right now. Trust me, you will love them!
Leave a Reply