

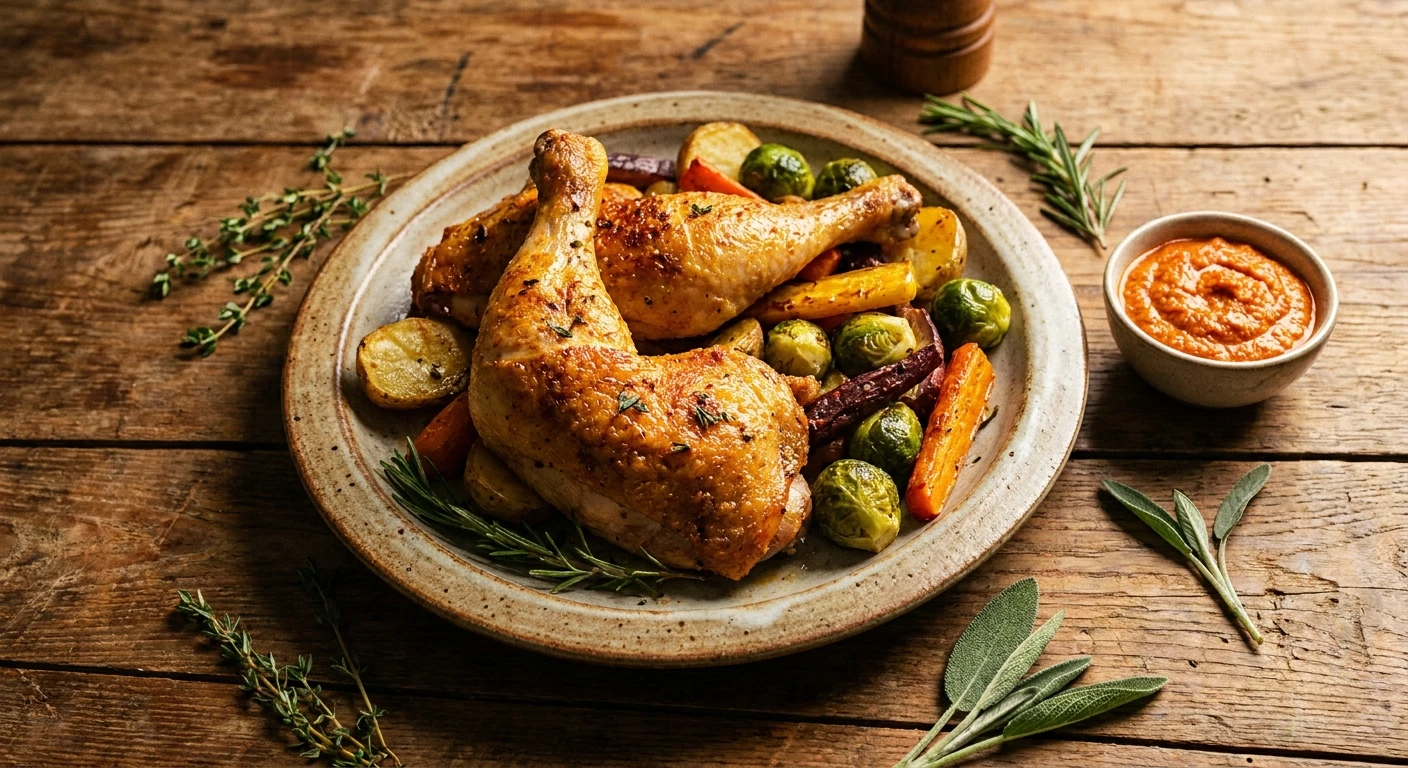
Crispy shake and bake chicken drumsticks: Your New Weeknight Obsession
Looking for a dinner that practically makes itself, leaving you with perfect shake and bake chicken drumsticks every single time? You are definitely in the right place. We are breaking down the ultimate method to achieve that nostalgic, crispy coating without the greasy mess of deep-frying, ensuring your entire family begs for seconds. Honestly, as someone who spends hours developing recipes, I can tell you that sometimes the simplest techniques yield the absolute best results. Back in Kyiv, long before the frantic pace of 2026 took over my calendar, my grandmother used a wonderfully similar technique. She would take local breadcrumbs, dried dill, and crushed garlic, tossing everything into a heavy cloth sack with fresh farm poultry. The kitchen would smell absolutely incredible, filled with the aroma of toasted spices and rich, savory meat. I modernized her brilliant trick to match this classic American staple, keeping the spirit of effortless cooking alive. The shaking method works because it perfectly coats the meat while pressing the seasoning right into the skin, resulting in an unbeatable texture.
Why This Method Will Change Your Dinner Routine
Let me tell you exactly why this recipe stands out as the ultimate dinner hack. Most weeknights, the last thing anyone wants to do is stand over a bubbling pot of dangerous, splattering oil. The genius of this approach lies in balancing a supremely crispy exterior with an incredibly juicy, tender interior. By utilizing the oven’s consistent heat, we bypass the heavy grease of traditional frying. The value proposition here is massive: you get significantly less oil, vastly easier cleanup, and bold, customizable flavor.
For example, instead of spending thirty minutes scrubbing a greasy skillet and wiping down your stovetop, you simply toss the parchment paper in the trash. As another example, you drastically cut down on unnecessary calories without sacrificing that satisfying crunch we all crave. You also save mental energy since the oven does all the heavy lifting for you.
| Cooking Method | Prep & Cleanup Time | Health Factor |
|---|---|---|
| Traditional Deep Frying | High (Splatter, oil disposal) | Low (Heavy in saturated fats) |
| Standard Oven Roasting | Low (Just a pan) | Medium (Often lacks crunch) |
| Shake and Bake Method | Very Low (Bag and parchment) | High (Baked, light oil) |
Here are the core benefits of utilizing this specific approach for your evening meals:
- Consistent Coating: Shaking the pieces inside a sealed environment ensures that every single millimeter of the meat is evenly dusted with your seasoned crumb mixture, leaving no bare spots.
- Moisture Retention: The outer crust acts as a temporary barrier during the initial baking phase, sealing in the natural juices of the dark meat so it never dries out.
- Endless Customization: You possess complete control over the spice blend, meaning you can easily swap in smoked paprika, cayenne pepper, or parmesan cheese depending on your mood.
The Origins of the Shaking Technique
The concept of convenience foods absolutely skyrocketed in the mid-20th century. During this era, home cooks were desperately seeking ways to replicate restaurant-quality fried foods without the intense labor and mess associated with deep-frying. Companies realized that by pre-packaging seasoned breadcrumbs and providing a plastic bag, they could offer a foolproof solution that saved immense amounts of time. It was a massive leap forward for domestic cooking, turning a complicated Sunday dinner into a casual Tuesday night option.
Evolution of the Crumb Coating
Over the decades, what started as a highly processed, mass-market box mix gradually evolved into a genuine culinary canvas. Home chefs began realizing they did not need to rely on store-bought packets loaded with sodium and artificial preservatives. People started experimenting with crushed cornflakes, panko breadcrumbs, and even crushed potato chips. The evolution moved from basic utility to gourmet experimentation. Spices like garlic powder, onion powder, and dried herbs became standard additions, elevating the humble breading into something truly spectacular and personalized.
The Modern State of Crispy Chicken
Now that we are navigating the food trends of 2026, there is a massive shift back to from-scratch preparation, even for convenience meals. People want complete transparency regarding what goes into their food. Making your own dry mix at home allows you to control the exact sodium levels, avoid unwanted chemicals, and tailor the heat level precisely to your family’s preferences. Food blogs and digital creators have fully embraced this revival, proving that a homemade shaking mix can easily outshine anything you buy in a cardboard box at the supermarket.
The Maillard Reaction Explained Simply
To really master this dish, it helps to grasp the basic science happening inside your oven. The primary reason your crumb mixture turns that gorgeous, appetizing golden brown is due to the Maillard reaction. This is a complex chemical interaction between amino acids (proteins) and reducing sugars that occurs when food is exposed to high heat. As the temperature of the outer crust rises above 300 degrees Fahrenheit, these compounds rapidly react, creating hundreds of new flavor molecules. This reaction is entirely responsible for the savory, roasted flavors and the visual browning that makes the dish look so incredibly appealing.
Moisture Retention Mechanics
While the outside is crisping up beautifully, a different physical process is happening on the inside. The starch from the breadcrumbs rapidly absorbs the surface moisture of the meat. As it bakes, this starch gelatinizes and then hardens, creating a structural barrier. This barrier effectively traps the internal steam generated by the meat’s natural juices. Because dark meat contains higher amounts of connective tissue and fat, it gently braises in its own juices while the exterior remains perfectly dry and crunchy.
- Thermal Conductivity: Dark meat like legs and thighs can withstand much higher internal temperatures than white meat, remaining incredibly tender even when the exterior is blasted with intense heat.
- Starch Gelatinization: The breadcrumbs rely on the fat rendering from the skin to toast properly, creating a self-frying mechanism right on the baking sheet.
- Lipid Oxidation: The breakdown of fats during the baking process contributes to the complex, rich aromas that fill your kitchen as the timer counts down.
- Temperature Gradients: Using a wire rack ensures 360-degree heat circulation, preventing the bottom of the meat from sitting in pooled juices and turning soggy.
Step 1: Patting the Drumsticks Dry
The absolute most critical step for achieving a proper crunch is removing surface moisture. Take sturdy paper towels and meticulously pat down every single piece of meat. If the skin is wet, the flour and crumbs will turn into a gummy paste rather than a crispy shell. Spend an extra minute here ensuring they are as dry as bone.
Step 2: Preparing the Ultimate Binder
While some recipes use eggs or buttermilk, a simple coating of olive oil or even mayonnaise works wonders for this method. Lightly brushing the meat with a thin layer of fat gives the dry ingredients something to violently adhere to. It also aids in the browning process, providing the necessary lipids to fry the breadcrumbs in the oven.
Step 3: Mixing the Dry Spices
In a medium bowl, whisk together your panko breadcrumbs, regular breadcrumbs, salt, black pepper, garlic powder, onion powder, and a generous heap of smoked paprika. The combination of two different breadcrumb textures guarantees maximum crunch. Do not skimp on the salt; the seasoning needs to aggressively flavor both the crust and the meat beneath it.
Step 4: The Shaking Process
Transfer your perfectly mixed dry ingredients into a large, heavy-duty zip-top plastic bag. Drop in one or two prepared pieces of meat at a time. Seal the bag tightly, leaving a little air inside to act as a cushion. Shake vigorously until the meat is entirely enveloped in the seasoned crumbs. Doing this in small batches prevents the pieces from knocking the breading off each other.
Step 5: Arranging on the Wire Rack
Line a large baking sheet with heavy-duty aluminum foil or parchment paper to catch the drips. Place an oven-safe wire rack directly on top of the lined pan. Lightly spray the rack with non-stick cooking spray. Gently place your coated meat onto the rack, leaving at least an inch of space between each piece to ensure proper air circulation.
Step 6: Baking to the Perfect Temperature
Preheat your oven to 400 degrees Fahrenheit. Slide the baking sheet onto the middle rack. The high heat is absolutely non-negotiable for forcing the Maillard reaction. Bake for roughly 40 to 45 minutes. You are looking for a deep golden brown crust and an internal temperature of at least 165 degrees Fahrenheit, though dark meat is often better when taken closer to 175 degrees.
Step 7: The Resting Period
Do not skip this step! Once you pull the pan from the oven, resist the immediate urge to bite into them. Let the meat rest on the wire rack for about five to eight minutes. This brief pause allows the boiling juices inside the meat to redistribute and settle. It also gives the crust a final moment to cool and solidify into that perfect crunch.
Myths & Reality
Myth: You need to add a massive amount of oil to make the chicken crispy.
Reality: The natural fat rendering out from the skin, combined with just a tiny brush of oil as a binder, is more than enough to perfectly crisp the breadcrumbs naturally.
Myth: Store-bought boxed mixes are fundamentally better and crispier than homemade versions.
Reality: Homemade blends give you ultimate, absolute control over the texture and flavor profiles without any bizarre chemical additives or anti-caking agents.
Myth: You can just toss all the pieces into the bag at once to save time.
Reality: Crowding the bag heavily leads to uneven coating and clumping; shaking them just one or two at a time strictly ensures absolute perfection.
Myth: Removing the skin makes it much healthier while remaining just as tasty.
Reality: The skin provides necessary lipids to properly toast the crumbs; without it, the breading often turns out dry, dusty, and severely lacking in flavor.
Can I use chicken breasts instead?
Yes, but you need to adjust the cooking time significantly since breasts cook faster and dry out much more quickly than dark meat.
How long do leftovers last?
Properly stored in an airtight container in the refrigerator, they will easily last for up to four days, though the crust will soften.
Can I freeze the dry mix?
Absolutely. You can make a massive batch of the dry seasoning and store it in the freezer or a cool pantry for up to six months.
What is the best type of bag to use?
A heavy-duty, gallon-sized freezer bag works best because it won’t easily puncture from the bones while you are shaking it.
Do I need to flip the drumsticks while baking?
If you are using a wire rack, flipping is entirely unnecessary because the heat circulates evenly all around the meat.
Can I make this gluten-free?
Yes, simply substitute the regular breadcrumbs for your favorite crushed gluten-free crackers, gluten-free panko, or almond flour.
Why is my coating falling off?
This usually happens if you did not pat the meat completely dry before applying the binder, or if you handled them too roughly after coating.
Can I use an air fryer?
Definitely. Air fryers are phenomenal for this. Cook at 380 degrees Fahrenheit for about 20-25 minutes, making sure not to crowd the basket.
There you have it—the ultimate guide to mastering this classic dinner staple. By understanding the simple science behind the breading and following these straightforward steps, you will guarantee a flawless, mouth-watering meal every single time. So preheat that oven, mix up your custom spices, and get shaking tonight! Leave a comment below letting me know what spices you added to your mix!



Leave a Reply