

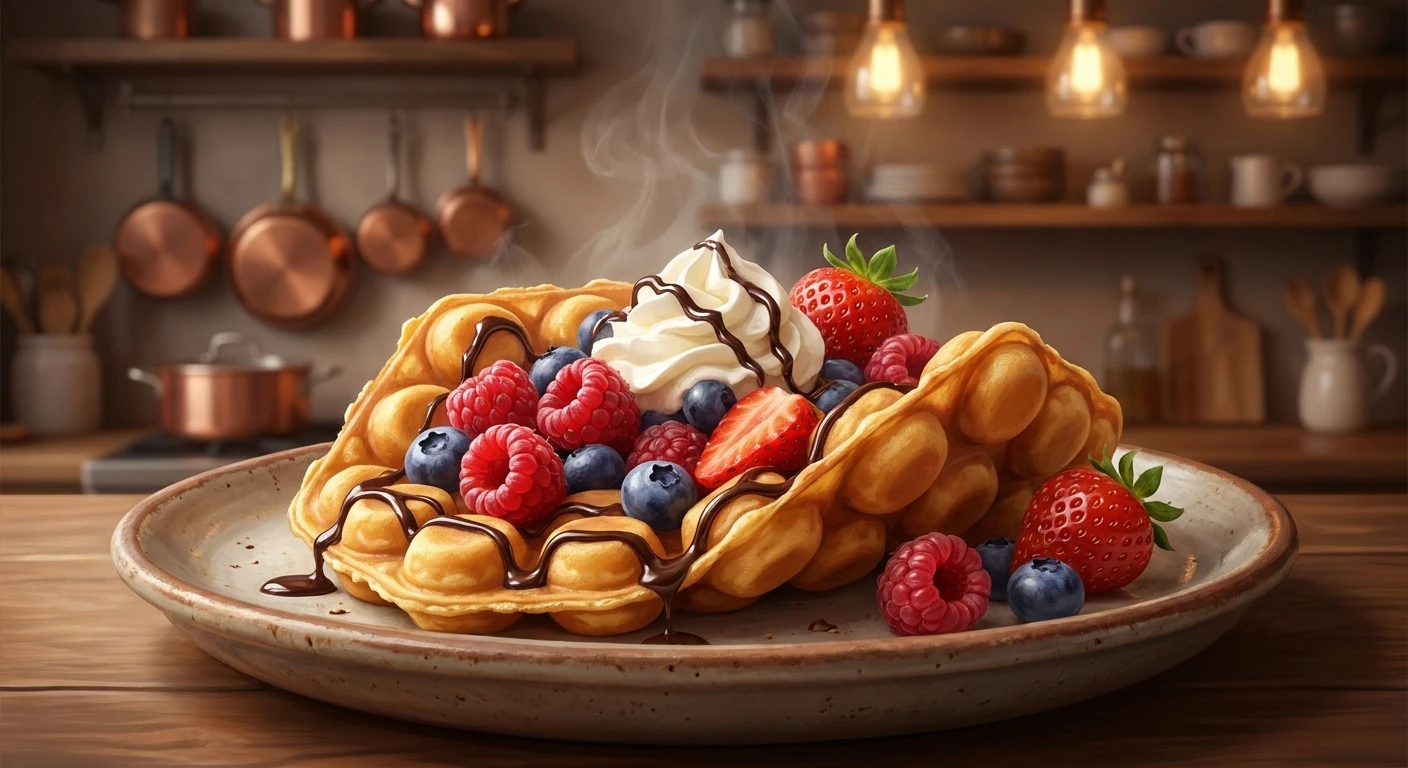
Why You Need a Bubble Waffle Maker Right Now
Buying a bubble waffle maker changes how you handle breakfast and dessert forever. These quirky, honeycomb-shaped treats—often referred to globally as egg waffles or gai daan jai—have taken the culinary scene by storm. Having the right equipment to make them at home is absolutely essential. A dedicated machine ensures that you get those perfectly spherical, crispy edges with soft, chewy centers that standard flat irons simply cannot replicate. Investing in proper equipment directly elevates your cooking game, allowing you to create café-quality street food entirely in your own kitchen.
Whether you want a sweet Sunday brunch loaded with ice cream or a savory snack to replace your standard sandwich bread, the exact temperature control and unique plate design of these specialized machines make it happen. You get to control specialized non-stick grids and 180-degree flipping mechanisms that turn a simple liquid batter into a structural masterpiece. By understanding the core mechanics, history, and optimal usage of this specialized culinary tool, you easily avoid the disappointment of soggy centers and uneven browning. As we navigate through 2026, the technology behind these compact countertop appliances has become incredibly user-friendly and highly efficient. There is zero excuse to miss out on making these delightful street snacks from the comfort of your home.
Read also: The Ultimate Crispy Bol Egg Roll Recipe; Crispy Mozzarella Cheese Balls: The Ultimate Snack Recipe.
Mastering the Core Mechanics and Benefits
What exactly makes owning a specific machine so beneficial for your kitchen? The value proposition of a high-quality unit comes down to absolute consistency, wild versatility, and remarkable speed. You are not just making standard breakfast fare; you are creating edible vessels. For example, you can craft a classic sweet vanilla base loaded with chocolate chips and matcha ice cream, or you can pivot instantly to a savory cheddar and chive batter topped with crispy fried chicken and hot honey. The specialized molds lock in steam while perfectly browning the exterior.
| Hardware Feature | Primary Culinary Benefit | Example Appliance Type |
|---|---|---|
| 180-Degree Rotary Flip | Forces batter into the top plate for even, hollow bubbles | Commercial-grade flip irons |
| Reinforced Teflon Coating | Ensures seamless release and fast cleanup | Standard home countertop units |
| Adjustable Thermostat | Provides total control over shell crispiness and color | Premium digital models |
To maximize your success with your new appliance, you need to follow a strict preparation protocol. The differences between a mediocre snack and a gourmet dessert lie in the execution.
- Preheating Precision: Always preheat your machine completely before pouring the batter. You need that instantaneous heat transfer to trigger rapid crust formation the second the liquid touches the metal.
- The Flipping Technique: Wait exactly ten seconds after pouring the batter and closing the lid, then smoothly flip the entire unit 180 degrees. This specific timing allows the bottom to set just enough before gravity pulls the remaining liquid into the upper spheres.
- The Cooling Strategy: Once cooked, immediately remove the waffle and drape it gently over a curved surface, like a rolling pin or a large cup, to set its iconic U-shape. Position a small fan to blow cool air over it for thirty seconds to drastically maximize the crunch factor.
These simple steps demonstrate exactly why standard waffle irons fail to produce this unique texture. The combination of heat retention, gravity, and airflow is the secret to perfection.
The Rich History and Evolution of the Egg Waffle
Origins on the Streets of Hong Kong
Long before these treats became a highly photogenic global sensation, they started purely out of economic necessity on the bustling streets of post-war Hong Kong in the 1950s. Local grocery shop owners needed a profitable way to utilize broken, visually unsellable eggs that customers refused to buy. They blended these eggs with simple flour, sugar, and evaporated milk, cooking them over hot charcoal fires. The vendors used heavy, hinged cast-iron molds to form the batter into the now-iconic honeycomb shape. This ingenious solution turned food waste into one of the most beloved street snacks in Asian history.
Evolution of the Equipment
The original manual cast-iron molds required constant, exhausting attention. Vendors had to physically hold and flip heavy iron griddles over open, unpredictable flames, relying entirely on intuition to gauge the temperature. By the late 1980s and 1990s, the first electric versions began appearing on the market. These early electric models standardized the cooking temperature and completely removed the dangerous need for live charcoal. While these initial electric iterations were incredibly bulky and mainly reserved for commercial kitchens, they successfully paved the way for the sleek countertop versions we see everywhere today.
Modern State of Waffle Appliances
Fast forward to the kitchens of 2026, and the modern machine is an absolute engineering marvel wrapped in a compact footprint. Today’s devices feature advanced ceramic or reinforced non-stick coatings, precision digital timers, and highly accurate thermostats. They are ubiquitous in hipster cafes globally, scaling from food trucks in Tokyo to dessert parlors in London. More importantly, manufacturers have condensed this commercial technology into affordable, lightweight units tailored perfectly for the everyday home cook.
The Scientific Thermodynamics of Spherical Baking
Understanding Heat Transfer and Maillard Reactions
The highly addictive texture of these snacks relies heavily on precise thermodynamics. When your room-temperature batter hits the hot metal spheres of the maker, the immediate contact triggers the Maillard reaction. This is a complex chemical interaction between amino acids and reducing sugars that gives browned, toasted food its highly distinctive flavor profile. The genius of the machine’s specific design lies in its ability to trap just enough steam inside the hollow bubbles to keep the interior soft and fluffy. Simultaneously, the exterior moisture evaporates rapidly upon contact with the metal, creating a brittle, crispy outer shell.
Material Engineering in Non-Stick Plates
The exact composition of the heating plates directly dictates the appliance’s longevity and daily performance. High-grade aluminum alloys are predominantly chosen by manufacturers for their rapid thermal conductivity. This means heat transfers almost instantaneously from the electrical heating element right into your batter.
- Thermal Mass Management: Heavier, thicker plates retain heat much better, preventing sudden temperature drops when cold batter is abruptly added to the grid.
- Maillard Threshold Specifications: The internal temperatures must consistently reach exactly 280°F to 330°F (140°C to 165°C) to achieve that optimal, golden-brown crust without burning the delicate sugars.
- Moisture Evaporation Rate: The small, engineered vents on the sides of the machine allow excess steam to escape at a heavily calculated rate, which is necessary to prevent the structural collapse of the bubbles.
- Advanced Polymer Coatings: Modern food-safe non-stick surfaces actively reduce the surface tension of the metal, allowing the batter to expand effortlessly into the spherical molds without fusing to the iron.
The 7-Day Masterclass: Actionable Plan
Let us put your new appliance to work right away with a comprehensive 7-day masterclass plan. This step-by-step progression will confidently take you from a complete beginner to a seasoned home pastry chef, maximizing the potential of your equipment.
Day 1: The Classic Hong Kong Original
Start simple to learn your machine’s quirks. Mix up a traditional, unflavored batter using whole eggs, tapioca starch, plain all-purpose flour, and evaporated milk. Focus entirely on nailing the 10-second wait time and the 180-degree flip technique. Your goal today is purely structural integrity and even browning.
Day 2: Chocolate Overload Variations
Fold high-quality Dutch-processed cocoa powder and mini semi-sweet chocolate chips directly into your base batter. You will quickly learn how increased sugar content affects the required cooking time. You usually need to lower the heat slightly to avoid burning the chocolate.
Day 3: The Savory Cheese and Herb Twist
Completely remove the sugar and vanilla from your base. Add freshly grated sharp cheddar cheese, garlic powder, and finely chopped scallions. This day teaches you how fat from the cheese interacts with the non-stick plates, creating incredibly crispy, savory edges perfect for a lunch wrap.
Day 4: Matcha Green Tea Infusion
Blend premium culinary-grade matcha powder into your sweet mix. Matcha requires significantly lower cooking temperatures to maintain its vibrant green color. If the iron is too hot, the batter will turn an unappealing brown and develop a bitter, burnt tea flavor.
Day 5: Ice Cream Cone Assembly
Cook a classic vanilla batch. Immediately upon removal, while the pastry is still piping hot and flexible, carefully fold it into a tight cone shape and slot it into a tall cup. Once it cools and becomes completely rigid, stuff it generously with your favorite gelato and toppings.
Day 6: The Vegan Alternative
Swap out the traditional chicken eggs for aquafaba (chickpea water) or flax eggs, and use oat milk instead of evaporated milk. This experiment teaches you how different plant-based binding agents react with the intense heat of the machine’s hot plates, requiring slight timing adjustments.
Day 7: Gourmet Plating and Presentation
Combine all your accumulated skills. Make a structurally flawless base, curl it perfectly, load it with fresh strawberries and bananas, drizzle heavily with salted caramel, and finish with a dusting of powdered sugar. Serve it immediately to fully appreciate the hot-and-cold contrast.
Separating Myths from Reality
There is a lot of misinformation circulating online regarding these unique appliances. Let us clear up some of the most common misconceptions so you can cook with absolute confidence.
Myth: You can just pour regular pancake mix into these machines and get the same results.
Reality: Regular pancake batter severely lacks the necessary starches—specifically tapioca or cornstarch—required to create the signature crispy shell. If you use pancake mix, it will just taste like a dense, soggy, sphere-shaped pancake.
Myth: The intricate, bubbly molds are impossible to clean properly.
Reality: If you utilize a properly greased or high-quality non-stick unit and let it cool completely, a simple wipe with a damp microfiber cloth is usually all it takes. Never scrub it with abrasive wire sponges.
Myth: You do not need a flipping feature; a stationary flat machine works just fine.
Reality: Without gravity actively pulling the wet batter down into the upper spheres during a manual flip, you will end up with flat, deformed, unformed bubbles on the top side of your snack.
Myth: These specialty irons take too long to heat up compared to normal griddles.
Reality: The vast majority of modern models utilize high-wattage elements that reach optimal cooking temperatures in well under three minutes, making them incredibly fast for quick morning breakfasts.
Frequently Asked Questions & Conclusion
What is the best wattage for home use?
Look for any appliance rated between 800W and 1200W. This range provides fast, even heating without repeatedly tripping standard kitchen circuit breakers.
Can I make keto-friendly recipes?
Yes, by utilizing fine almond flour, heavy cream, and extra egg whites. Be aware that the final texture will be slightly softer and less brittle than a starch-based recipe.
Why is my batter sticking to the plates?
Either the machine’s non-stick coating is fundamentally worn out, you used harsh metal utensils that scratched it, or you simply failed to let the machine preheat fully before pouring the liquid.
How much batter should I use per batch?
Usually, about 3/4 of a standard measuring cup is ideal, though it heavily varies by the specific machine’s diameter. Do not overfill the bottom plate, or it will rapidly leak out the sides during the flip.
Do I still need cooking spray on a non-stick model?
A very light, even mist of neutral cooking oil helps tremendously. It not only aids release but also actively promotes a deeper, more uniform golden color.
Can the plates be detached for washing in the sink?
Some premium, higher-end models offer removable, dishwasher-safe plates, but most standard home units have fixed plates that must be wiped down carefully by hand.
How long do they take to cook per batch?
Generally, you are looking at 3 to 5 minutes of total cooking time, depending entirely on your batter’s sugar content and your desired level of exterior crispiness.
Mastering a bubble waffle maker brings the incredibly vibrant, chaotic energy of an Asian street food market straight into your home kitchen. It seamlessly opens up endless creative, tasty possibilities for breakfast, lunch, and high-end dessert presentations. Stop settling for boring, flat morning meals. Grab your machine today, start mixing up that perfect starchy batter, and treat yourself to the ultimate crispy, fluffy culinary experience!



Leave a Reply