

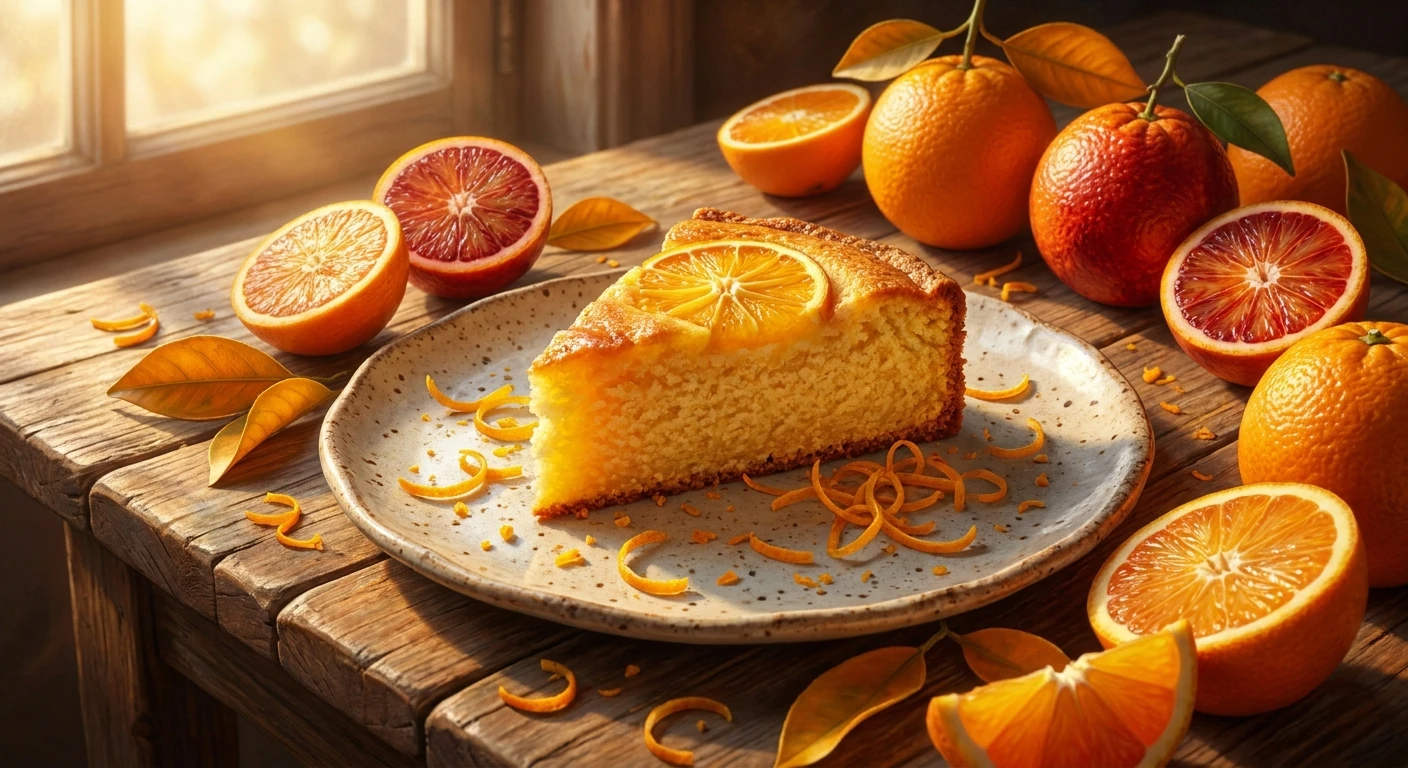
The Absolute Best Orange Pie You Will Ever Make
You probably did not wake up thinking about baking an orange pie, but trust me, once you smell that zesty magic doing its thing in the oven, there is no turning back. I was sitting in my grandmother’s cozy kitchen in Lviv just last month, watching her zest a massive pile of fresh citrus. Even though traditional Ukrainian baking leans heavily on apples, sour cherries, or sweet poppy seeds, she recently became totally obsessed with mastering a flawless citrus pastry. When she finally pulled this shimmering, golden crust out of the oven, the sweet and tangy aroma completely took over the entire house. It felt like absolute magic on a chilly afternoon.
This pastry gives you the ultimate balance of sweet, tart, and buttery richness that will upgrade your dessert game instantly. You get the familiar comfort of a classic fruit tart, but with a vibrant, sunny punch that wakes up your taste buds. If you have been looking for something new to bring to your family dinners, or just a treat to pair with your morning espresso, this is it. It is sweet without being heavy, tart without making you pucker, and incredibly satisfying to make from scratch.
Why You Need This Zesty Treat in Your Life Right Now
Making a proper citrus dessert is basically a flex for any home baker. Sure, chocolate cakes are great, and apple crumbles are reliable, but bringing a perfectly set, vibrant orange custard wrapped in a flaky, buttery shell to the table shows you actually know your way around a kitchen. The bright acidity of the fruit slices straight through the heavy richness of the butter, creating a dessert that you can easily eat two slices of without feeling weighed down.
Think about the sheer versatility here. It works beautifully for a fancy holiday dinner party, offering a palate-cleansing finish after a heavy roast. Alternatively, you can eat a cold leftover slice straight from the fridge the next morning with a cup of strong black coffee—which, by the way, is a spiritual experience.
Let’s look at how this compares to other classic citrus desserts so you know exactly what you are signing up for:
| Dessert Type | Flavor Profile | Effort Level |
|---|---|---|
| Orange Pie | Sweet, vibrant, floral, and deeply buttery | Medium – Requires blind baking |
| Lemon Tart | Sharp, aggressively tart, highly acidic | Medium – Curd requires constant whisking |
| Key Lime Pie | Creamy, sweet, tangy, tropical | Low – Simple graham crust and quick bake |
If you want to absolutely nail this recipe on your first try, you have to follow three golden rules. Do not skip these, or you will end up with a soggy bottom or a scrambled filling.
- Zest Only the Colorful Part: When you are grating your fruit, stop the second you see the white pith. The white part is intensely bitter and will completely ruin the delicate, floral sweetness of your filling.
- Chill Your Dough Like Your Life Depends On It: Butter needs to stay cold. If your kitchen is hot, pop the dough back in the fridge for ten minutes whenever it gets too soft. Cold butter creates steam in the oven, which equals a flaky crust.
- Blind Bake the Crust Fully: The custard filling is wet. If you pour a wet filling into raw dough, it will never crisp up. Bake your crust with pie weights until it is completely golden brown before adding the filling.
The Origins of Citrus Baking
People have been baking with fruit for centuries, but citrus has a uniquely fascinating journey. The ancient Mediterranean trade routes brought these vibrant fruits from Asia to the Middle East, and eventually into Europe. Early bakers did not have the refined sugars we use today. Instead, they relied on honey and dates to sweeten dense, rustic doughs wrapped around whatever fruits they could forage or trade.
When Arab traders introduced the concept of highly cultivated citrus groves to Moorish Spain and Southern Italy, local cooks started experimenting. They realized the intense oils locked inside the skin could flavor entire batches of dough, while the juice provided a brilliant tartness that balanced rich fats like olive oil and early churned butter.
The Evolution of the Custard Filling
Fast forward to the royal courts of the Italian Renaissance and the grand chateaus of France, where pastry chefs started competing to create the most luxurious sweets. They figured out that mixing the acidic juice with eggs, sugar, and fat created a velvety smooth curd. Early versions of this filling were often poured into thick, bread-like crusts that were not meant to be eaten—they just acted as baking vessels!
Over the next few centuries, bakers refined their techniques, eventually developing the delicate shortcrust pastry (pâte sablée) that we rely on today. The combination of a crumbly, cookie-like shell filled with a smooth, bright curd became a staple in European patisseries.
The Modern State of Citrus Desserts
Right now, in 2026, the baking world is obsessed with nostalgic but elevated flavors. We are moving away from overly complex, multi-layered cakes covered in fondant, and leaning back toward rustic, ingredient-driven baking. A beautifully executed homemade tart or pie fits perfectly into this vibe. Modern cafes and bakeries are experimenting by adding things like cardamom, fresh thyme, or a pinch of flaky sea salt to their citrus curds, proving that this classic recipe still has plenty of room for fun innovations.
The Chemistry of Pectin and Acid
Baking is literally edible science. When you make the filling, you are relying on some intense chemical reactions to turn liquid juice and raw eggs into a sliceable, creamy dream. Oranges naturally contain pectin, a complex carbohydrate found in the cell walls of plants. While they have less pectin than lemons or apples, there is still enough to help thicken your mixture.
The real magic happens when you introduce heat and acid to the egg proteins. The acid in the juice actually changes the structure of the egg proteins, lowering the temperature at which they coagulate (set). This means you get a much softer, creamier gel instead of rubbery scrambled eggs. If you don’t use enough acid, or if you cook it too fast, the proteins bind together too tightly, squeezing out the water and leaving you with a weeping, lumpy mess.
Mastering the Maillard Reaction in Pastry
Getting that gorgeous, golden-brown crust isn’t just about making it look pretty. It is about flavor development through the Maillard reaction. This is a chemical reaction between amino acids and reducing sugars that gives browned food its distinctive, complex flavor.
To maximize your chances of getting a perfect crust and filling, keep these scientific facts in mind:
- Butter Melting Point: Butter melts around 90°F to 95°F (32°C – 35°C). You must keep your dough significantly colder than this before baking to ensure the fat stays in distinct layers.
- Egg Coagulation: Whole eggs begin to set at 144°F (62°C) and become solid by 158°F (70°C). Heating your custard slowly prevents the proteins from shocking and scrambling.
- pH Levels: Oranges have a pH of around 3.3 to 4.2. This mild acidity is what balances the large amounts of sucrose (sugar) in your recipe, preventing the final product from tasting cloyingly sweet.
Day 1: Sourcing the Best Citrus
Great food starts with stellar ingredients. You want heavy, firm fruits with smooth, unblemished skin. The heavier the fruit feels in your hand, the more juice it holds inside. Pick up a mix of sweet varieties like Navels and something with a bit more complexity like Cara Cara or Blood oranges if you can find them. Wash them thoroughly because you will be using a lot of the zest.
Day 2: Perfecting the Butter Crust
Make your dough ahead of time. Pulse your flour, a pinch of salt, and a bit of sugar in a food processor. Drop in cubes of freezing cold butter and pulse just until it looks like coarse meal with some pea-sized butter chunks left. Add ice water one tablespoon at a time until it just comes together. Form it into a disc, wrap it tightly in plastic wrap, and let it rest in the fridge.
Day 3: The Crucial Resting Phase
Do absolutely nothing today. Seriously. Let that dough rest in the fridge for a full 24 hours. This allows the gluten strands you developed during mixing to fully relax. If you try to roll and bake it immediately, the gluten will snap back like a rubber band in the oven, and your crust will shrink massively.
Day 4: Preparing the Zest and Sugar Base
Take a cup of granulated sugar and dump in two tablespoons of fresh zest. Using your fingers, aggressively rub the zest into the sugar. The friction breaks open the essential oil pockets in the skin, turning the sugar a pale yellow and making it smell unbelievably fragrant. This simple step amplifies the flavor tenfold.
Day 5: The Blind Baking Process
Roll out your cold dough, line your tin, and freeze it for 30 minutes. Line the frozen shell with parchment paper, fill it to the very brim with ceramic pie weights (or dried beans), and bake at 375°F (190°C) for 20 minutes. Remove the weights and bake for another 10 to 15 minutes until the bottom is totally dry and beautifully golden.
Day 6: Assembling and Baking
Whisk your flavored sugar with your eggs, fresh juice, a tiny splash of cream, and a pinch of salt. Pour this vibrant, liquid sunshine straight into your warm, pre-baked crust. Drop the oven temperature to 325°F (160°C) and bake gently just until the edges are set but the very center still has a slight jiggle. This usually takes about 30 to 35 minutes.
Day 7: Cooling, Setting, and Serving
Do not cut into it while it is hot! The custard needs time to fully set and solidify. Let it cool completely at room temperature, then transfer it to the fridge for at least four hours. When you are ready to serve, use a hot, sharp knife to cut pristine slices. Top with a dollop of lightly sweetened whipped cream.
Myths vs. Reality
People get weirdly intimidated by making fruit curds and pastries from scratch. Let’s clear up some common nonsense so you can bake with total confidence.
Myth: Citrus curd is too hard and complicated for beginners.
Reality: It is literally just whisking wet ingredients and baking them at a low temperature. As long as you don’t blast it with super high heat, the oven does all the hard work for you.
Myth: You can totally use that plastic bottle of concentrated juice from the back of your fridge.
Reality: Absolutely not. Bottled juice lacks the bright, floral essential oils that fresh fruit provides. It will make your dessert taste flat, metallic, and heavily processed.
Myth: Margarine works just as well as real butter for the crust.
Reality: Margarine has a higher water content and completely lacks the rich, dairy flavor of butter. You will sacrifice both the flaky texture and the delicious taste. Stick to real, high-fat butter.
Can I freeze this dessert?
Yes and no. The crust freezes beautifully, either raw or fully baked. However, freezing the custard filling can sometimes alter its texture, making it slightly grainy or prone to weeping water when it thaws. It is best eaten fresh from the fridge.
What variety of oranges is best?
Navel oranges are standard and work great, but they lack acidity. I highly recommend mixing Navel juice with a squeeze of fresh lemon juice to bump up the tartness. Cara Cara oranges add a beautiful pinkish hue and a berry-like undertone.
Do I need a food processor for the dough?
Not at all! A food processor makes it faster, but you can easily rub the cold butter into the flour using just your fingertips or a simple metal pastry blender. Just work quickly so your hands don’t melt the butter.
Why did my filling turn out runny?
You likely underbaked it or cut into it while it was still warm. The filling needs to reach an internal temperature of about 160°F to fully set the eggs, and then it requires hours of chilling to solidify completely.
Can I use a graham cracker crust instead?
You absolutely can. If you are short on time or scared of making pastry dough, crushing up graham crackers with melted butter and pressing them into a pan works perfectly. It gives the dessert more of a Key Lime vibe.
How long does it last in the fridge?
If you keep it loosely covered with plastic wrap or in an airtight container, it will stay fresh and delicious for up to 4 days. After that, the crust starts to absorb moisture from the filling and becomes soggy.
Is it okay to reduce the amount of sugar?
You can reduce it slightly, but be careful. Sugar is not just for sweetness; it provides structure to the custard and helps the eggs set smoothly. If you drastically cut the sugar, you might end up with a watery, rubbery filling.
Final Thoughts on Your Baking Journey
At the end of the day, getting your hands deep into some flour and butter is incredibly therapeutic. You are creating something beautiful, aromatic, and deeply comforting from scratch. The sharp, vibrant bite of the citrus paired with a buttery, crisp shell is exactly the kind of treat that makes a simple weekend afternoon feel like a special occasion. Do not let the steps intimidate you—grab some fresh fruit, chill your butter, and get baking today!



Leave a Reply