

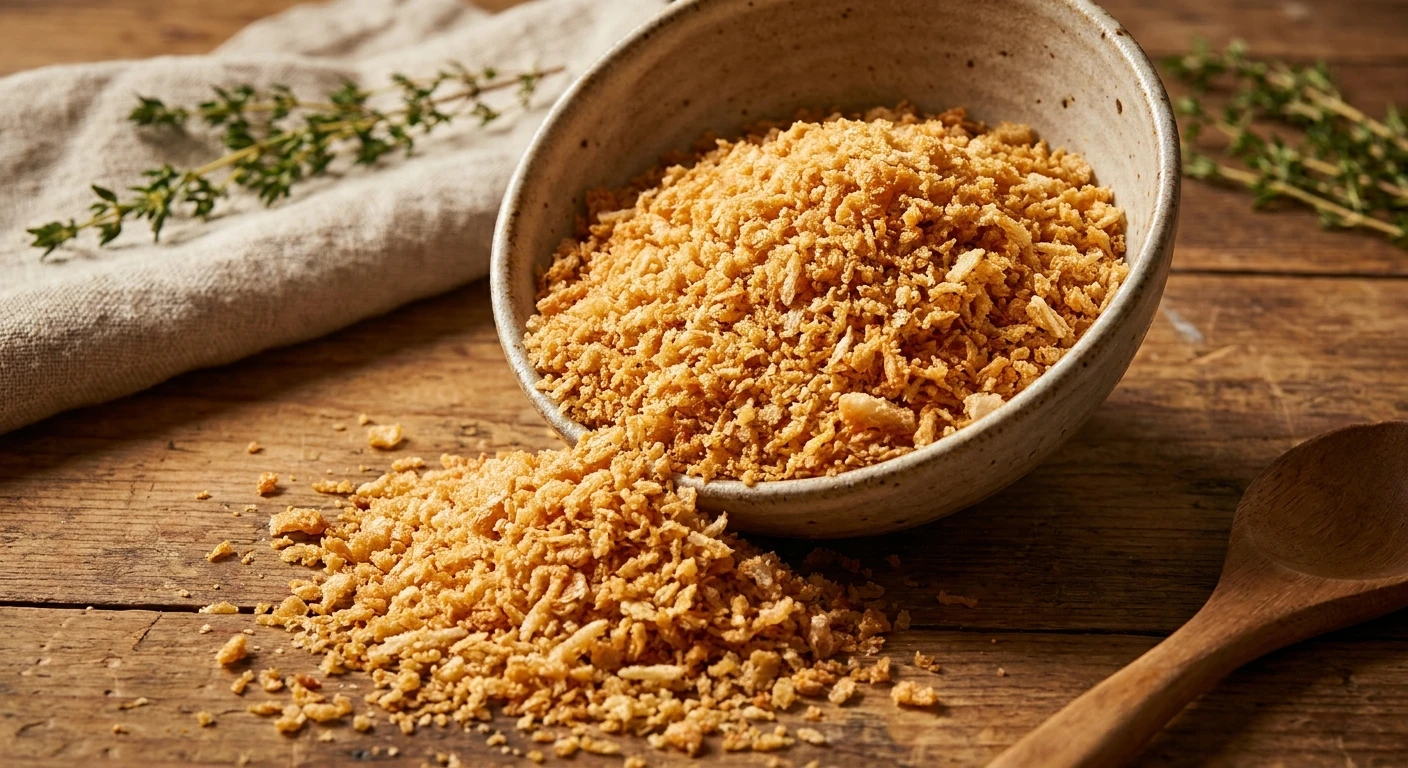
The Secret to Perfect Crunch: Japanese Bread Crumbs
Look, if you want that shatteringly crisp texture on your fried food, you absolutely need to use japanese bread crumbs. I mean it. I remember exactly when I realized standard breading was a complete joke. I was back in Kyiv, hanging out at a busy pop-up kitchen near the Podil district. My friend, an incredibly talented local chef, was experimenting with a modern twist on our classic Chicken Kyiv. Instead of rolling the chicken in those dense, dusty Western-style crumbs that just soak up grease and turn into a soggy mess, he pulled out a massive bag of pristine, airy flakes. The result? A crust that practically shattered when you cut into it, locking all that beautiful herbed butter perfectly inside.
It completely blew my mind. Now that we are navigating through 2026, the culinary standards have shifted. People are cooking smarter at home, and nobody has time for mediocre, heavy meals. You want your food to feel light, airy, and professional. That is exactly what this unique ingredient does. It completely changes the architecture of your food’s exterior. Whether you are coating a delicate piece of fish or going all out on a Friday night pork tonkatsu, this ingredient is the non-negotiable secret weapon. I am going to walk you through exactly why these magical little flakes are superior, how they came to be, and how you can master them in your own kitchen starting today.
So, what exactly makes these so wildly different from the stuff you grew up with? Let me break it down for you. Standard crumbs are usually just stale bread that has been pulverized into sand. They pack densely together, which creates a solid wall around your food. When that wall hits hot oil, it acts like a sponge. Japanese bread crumbs, commonly known as panko, are entirely different. They are flaky, jagged, and uniquely structured to repel oil rather than absorb it. This leaves you with a much cleaner bite and a dramatically enhanced flavor profile because you are tasting the food, not the grease.
| Breading Type | Texture & Structure | Oil Absorption Rate |
|---|---|---|
| Panko | Jagged, airy flakes | Very Low (Stays extremely crisp) |
| Traditional Western | Dense, sandy granules | High (Can become heavy/soggy) |
| Cornmeal | Gritty, hard crunch | Medium (Distinct earthy flavor) |
When you use them, you instantly get a value proposition that no other coating can offer. Take fried shrimp, for example. Coated in panko, it looks twice as large and stays crunchy for hours on a buffet table. Or think about macaroni and cheese—a handful sprinkled on top creates a phenomenal textural contrast against the creamy pasta. If you really want to maximize your cooking game, here are the core reasons you need to make the switch permanently:
- Unbeatable Aeration: The flakes do not pack tightly, meaning steam can escape during frying, preventing the crust from getting soggy.
- Lower Caloric Impact: Because they repel oil, you are actually consuming significantly less grease with every single bite.
- Incredible Versatility: They are not just for frying. They act as phenomenal binders in meatballs, incredible toppings for casseroles, and even texture enhancers in certain desserts.
Origins of Panko
Let me tell you a bit of history, because the backstory here is genuinely fascinating. We have to go back to World War II. Resources were incredibly scarce in Japan, and traditional ovens were either unavailable or too expensive to operate for feeding large numbers of troops. The Japanese military needed a way to bake bread rapidly without conventional heat sources. They came up with a brilliant workaround. Instead of applying heat to the outside of the dough, they essentially electrocuted it. Yes, you heard that right. They passed an electric current directly through the dough. This cooked the bread from the inside out, completely eliminating the crust. You were left with a pure, white loaf of bread that was incredibly light. When they ground this crustless bread up, the modern panko flake was born.
Evolution over the Decades
After the war, the technique didn’t just fade away; it evolved. The commercial food industry quickly realized that this crustless, electrically baked bread produced a frying coating that was vastly superior to anything else on the market. In the 1960s and 1970s, as Japanese cuisine started gaining a foothold globally, chefs began exporting this secret. At first, it was heavily restricted to high-end Asian restaurants. You would only see it on specialty tempura or katsu menus. But as global supply chains improved, the secret leaked to Western chefs who immediately started applying it to French and American cuisines.
Modern State of Crumb Production
Fast forward to today, and the production process is a beautifully refined art. Modern factories use highly sophisticated dielectric heating systems. The bread is still baked using electrical currents to ensure zero crust formation. Once baked, the loaves are left to air dry precisely so they retain just enough moisture to prevent turning into dust when milled. They are then ground through custom-designed screens that tear the bread into elongated, jagged splinters rather than crushing them. It is a highly controlled, incredibly precise manufacturing process that ensures every single bag you buy delivers that exact, consistent crunch.
The Dielectric Baking Process
Alright, let’s get a little technical, but I promise to keep it totally simple. The secret behind why these flakes are so uniquely airy comes down to something called dielectric heating. Imagine how your microwave works, but on an industrial scale and tuned specifically for dough. Traditional baking relies on thermal conduction—heat hits the outside of the bread and slowly works its way in. This inevitably creates a hard, brown crust. Dielectric baking passes an alternating electrical field through the highly resistive dough. The water molecules inside the dough rapidly flip back and forth, generating friction and heat simultaneously throughout the entire loaf. This means the bread rises and cooks instantly, without ever forming a crust. You get a completely uniform, sponge-like structure.
Crumb Structure and Oil Resistance
Now, let’s talk about what happens when you grind this unique bread. Because it is so airy, grinding it doesn’t pulverize it. It shreds it. This creates a highly specific microscopic structure. Here is the actual science behind why it performs so well in hot oil:
- Micro-Pockets: The shredded structure is full of tiny air pockets. When dropped in hot oil, these pockets expand, pushing oil away from the core of the food.
- Jagged Surface Area: The splinters create a massive surface area that crisps up instantly. This immediate crisping acts as a barrier, preventing oil penetration.
- Moisture Dynamics: The low inherent moisture content means there is less steam fighting to escape during the frying process, which prevents the coating from blowing off or becoming gluey.
- Thermal Stability: The pure white nature of the crustless bread means it can withstand longer frying times without burning, allowing thicker cuts of meat to cook perfectly on the inside.
Day 1: Finding the Right Brand
If you are serious about mastering this, let’s do a 7-day challenge together. Day one is all about sourcing. Do not just grab the first box you see. You want to look for bags that are semi-transparent so you can inspect the flakes. They should look like little shards of glass or snow, not like powder. Authentic brands usually come in larger, pillow-like bags. Check the ingredients—it should literally just be wheat flour, yeast, salt, and maybe a touch of sugar or shortening.
Day 2: The Perfect Breading Station Setup
Day two is preparation. You need to set up the classic standard breading procedure. Get three shallow dishes. Dish one: seasoned flour. Dish two: beaten eggs with a tiny splash of water to thin them out. Dish three: a massive mound of your gorgeous japanese bread crumbs. The trick here is the ‘dry hand, wet hand’ method. Use one hand strictly for the flour and panko, and the other hand strictly for the egg. This prevents your fingers from turning into giant, breaded clubs.
Day 3: Mastering Chicken Cutlets
Day three is your first test flight. Take a chicken breast, butterfly it, and pound it thin. Run it through your breading station. The absolute key here is to firmly press the flakes into the chicken on that final step. You want them embedded into the egg wash. Fry it in about half an inch of neutral oil at 350 degrees Fahrenheit. Listen to the sound it makes when you cut it—that is the sound of success.
Day 4: Seafood Frying Techniques
Day four, we move to delicate proteins. Shrimp or white fish. Because seafood cooks so incredibly fast, these flakes are perfect. They brown up at the exact same rate the fish cooks. Coat your shrimp, drop them in the hot oil, and pull them the absolute second they turn golden. They will remain beautifully tender inside with a profound crunch on the outside.
Day 5: Baking vs. Frying
Day five is for the health-conscious. You don’t have to fry. You can bake with these, but there is a trick. You must toast the flakes first! Toss them in a dry skillet with a tiny drizzle of olive oil or melted butter until they are golden brown. Let them cool, then use them to bread your chicken or fish and bake it. It will look and taste completely deep-fried without the extra calories.
Day 6: Creative Uses Beyond Frying
Day six is about thinking outside the box. Mix these flakes into your meatball or meatloaf recipe instead of regular breadcrumbs. Because they are so light, they absorb the milk and meat juices, creating an incredibly tender, melt-in-your-mouth texture. You can also mix them with parmesan cheese and herbs to top a baked macaroni and cheese or a potato gratin.
Day 7: Proper Storage Solutions
Day seven is maintenance. Once you open the bag, moisture is your enemy. Do not just roll the bag up and shove it in the pantry. Transfer the remaining flakes to a completely airtight container. A mason jar or a high-quality plastic locking tub works best. Keep them in a cool, dark place. If you live in a super humid environment, you can actually store them in the freezer to maintain maximum crispness indefinitely.
Let’s clear up some massive misconceptions that I see floating around online all the time. There is a lot of bad info out there.
Myth: They are just regular breadcrumbs that have been crushed up more coarsely.
Reality: Absolutely false. They are made from completely crustless bread that is baked using electrical currents, then specifically shredded, not crushed. The physical architecture is entirely different.
Myth: You can only use them for Asian cuisine like sushi rolls or katsu.
Reality: Not even close! They are a universal ingredient. I use them on Italian chicken parmesan, Southern fried chicken, and even as a topping for French casseroles. Crunch is universal.
Myth: They soak up more oil because they are so big and fluffy.
Reality: The exact opposite is true. Their unique airy structure and jagged edges cause them to expel oil and steam, acting as a barrier. Food fried in them is definitively less greasy.
Myth: You cannot bake with them because they will stay pale and white.
Reality: You can bake with them perfectly, provided you pre-toast them in a skillet with a little fat before using them as a coating. They hold their crunch beautifully in the oven.
Are they gluten-free?
No, the traditional authentic version is made from wheat flour. However, in 2026, many brands offer excellent gluten-free versions made from rice flour that mimic the texture almost perfectly.
Can I make them at home?
You can try by removing the crust from white bread and pulsing it lightly in a food processor, but you won’t get the exact same jagged texture as the electrically baked commercial versions.
What is the shelf life?
If kept in a totally airtight container in a cool pantry, they will easily last up to six months. In the freezer, they can last over a year without losing quality.
Do they burn easily?
They actually resist burning better than standard crumbs because they lack the high sugar content found in typical bread crusts, giving you a wider margin of error when frying.
Are they vegan?
Most traditional brands are entirely vegan, consisting only of wheat, yeast, and salt. Always check the label just to be safe, as some cheaper brands might use milk powder.
Why are they so white?
Because the bread they are made from is baked using dielectric heat, meaning it literally never develops a brown crust. You are getting 100% pure inside-crumb.
Can I use them in meatballs?
Absolutely. They are actually far superior to dense breadcrumbs as a panade, making your meatballs incredibly light and tender.
To wrap this up, if you are still using standard sandy breadcrumbs for your cooking, you are seriously missing out on the best texture imaginable. Making the switch to japanese bread crumbs is the easiest, most impactful upgrade you can make in your home kitchen right now. Go grab a bag, set up your breading station, and completely transform your Friday night dinners. Drop a comment below once you’ve tried them and let me know what you fried first!



Leave a Reply