

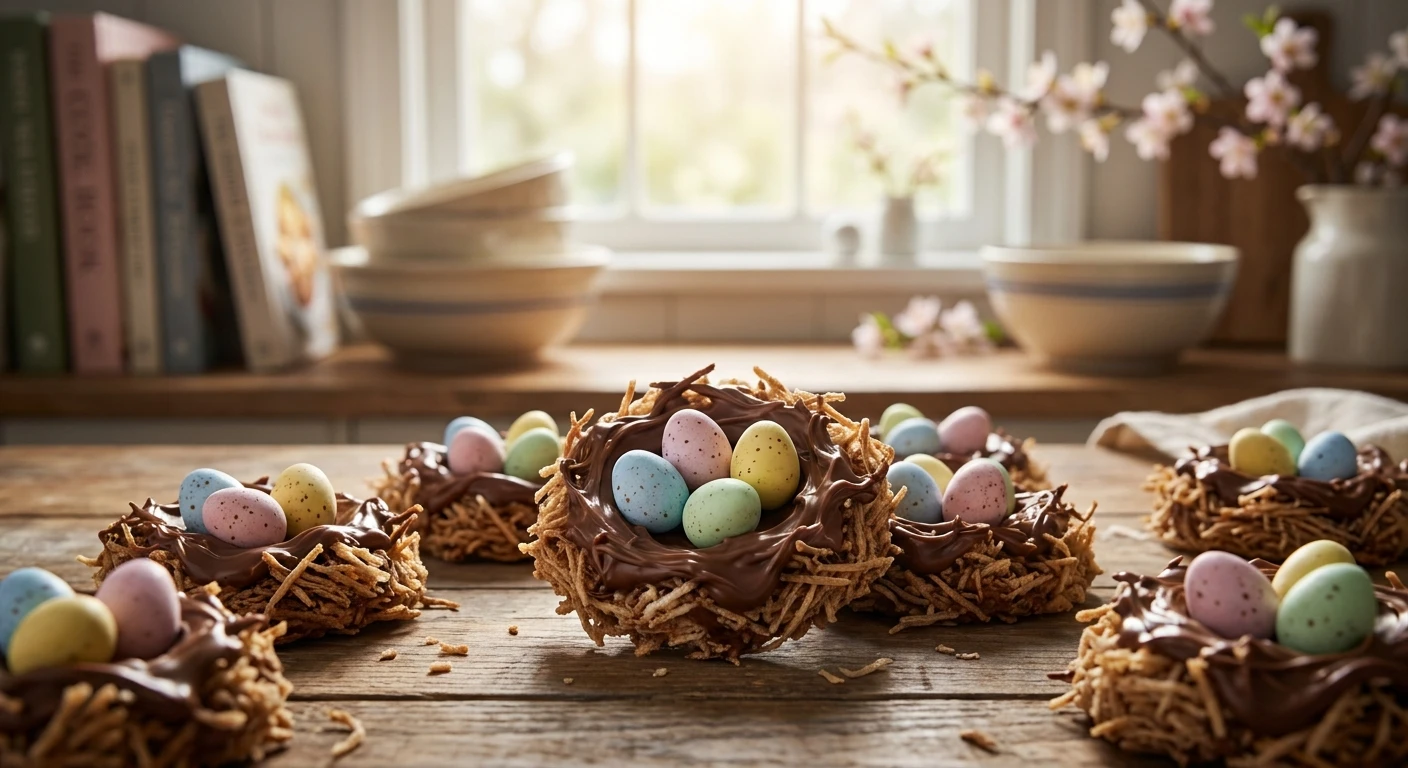
The Ultimate Guide to Making Birds Nest Cookies
Let me tell you, if there is one treat that instantly sparks joy, it is absolutely birds nest cookies. You need these in your life right now because they combine that satisfying crunch with rich, velvety chocolate, and honestly, they look totally adorable. My babusya back in Kyiv used to make something surprisingly similar. She did not have fancy silicone molds or imported pastel candy eggs. She would just melt whatever thick chocolate bars she could find at the local market, toss in some roasted nuts or crispy bread bits, and form them into little rustic spring baskets right on our tiny wooden kitchen table. We would sit there with our sticky fingers, anxiously waiting for them to set in the fridge. Now that we are well into 2026, I still find myself leaning on this exact method when I need a quick, reliable dessert. It is raw, it is messy, and it is entirely foolproof. I am sharing this specific approach with you because you deserve a treat that delivers maximum flavor with absolutely minimal stress. No complicated baking techniques, no weird ingredients you have to order online—just straightforward, delicious goodness that brings people together. Whether you are hosting a huge family gathering, a casual weekend brunch, or just treating yourself on a random Wednesday afternoon, these snacks never fail to impress. Plus, the sheer nostalgia factor is completely off the charts.
Let us talk about why this specific recipe works so incredibly well. At its core, the beauty of this dessert lies in its structural simplicity. You are essentially creating an edible matrix using a dry carbohydrate base and a fat-rich binding agent. The contrasting textures create a sensory experience that keeps you coming back for another bite. Here is a quick breakdown of what goes into these beauties:
| Ingredient | Purpose | Alternative |
|---|---|---|
| Chow Mein Noodles | Provides the main crunch and nest-like appearance | Pretzel sticks or crushed cornflakes |
| Semi-Sweet Chocolate | Acts as the delicious, sweet binding glue | Butterscotch chips or white chocolate |
| Mini Candy Eggs | Gives the iconic aesthetic visual appeal | Jelly beans or chocolate-covered almonds |
The value proposition here is massive. You get a high-yield dessert without ever turning on your oven. For example, if you are throwing a massive spring party, you can whip up fifty of these in under an hour without breaking a sweat. Or, as a second example, if your kids suddenly announce they need a snack for a school bake sale tomorrow morning, you can make these using standard pantry staples right before bedtime. Here are the top three reasons you will absolutely obsess over them:
- The sheer speed of preparation means you go from craving to eating in less than thirty minutes.
- They are endlessly customizable to fit your specific flavor preferences or allergy requirements.
- The visual appeal makes them look like you spent hours crafting a gourmet bakery item when you barely lifted a finger.
Seriously, once you try making them this way, you will never bother with complicated layer cakes again. The interplay between the slightly salty starch base and the rich, complex sugars in the chocolate creates a dynamic flavor profile. You get sweet, salty, crunchy, and smooth all happening simultaneously. It is exactly the kind of casual yet highly impressive treat we all need in our rotation.
Origins of the Nest Shape
Culinary history is totally wild when you look at how certain shapes became iconic over time. The concept of shaping food to look like elements from nature goes back centuries, mostly tied to celebrating the arrival of spring, warmer weather, and new life. Early European bakers used spun sugar and pulled caramel to create intricate nests for royalty and high-society banquets. But everyday people needed a more practical, affordable method to recreate that magic. Eventually, home cooks realized they could mimic these elaborate sugar creations using everyday ingredients. The woven, chaotic look of natural twigs translates perfectly to dry cereals and noodles, making it an incredibly accessible project for absolutely anyone, regardless of their culinary background.
Evolution of No-Bake Treats
During the mid-twentieth century, convenience foods hit the consumer market hard. People suddenly had access to pre-made noodles, boxed cereals, and highly stabilized chocolate chips. This era effectively birthed the entire no-bake dessert craze. Busy parents loved the idea of skipping the hot oven entirely. You just melt, mix, and chill. Over the decades, recipes shifted from dense fudge squares to these playful, sculptural items. Baking became less about strict science and more about edible arts and crafts. The formula was refined, tested, and passed down through community cookbooks, church newsletters, and handwritten recipe cards swapped over neighborhood fences.
Modern State of Crunchy Desserts
Fast forward to the present day. We are now in a culinary era where high-end pastry chefs are actually elevating these retro snacks. You will regularly see fancy metropolitan bakeries charging ten dollars for a single artisanal nest made with single-origin cacao and hand-toasted organic buckwheat. But the homemade version remains the reigning champion of our hearts. The modern approach encourages swapping out the traditional chow mein noodles for gluten-free pretzels, toasted coconut flakes, or even crispy brown rice cereal. The fundamental spirit of the recipe remains exactly the same—pure, unadulterated fun. Social media has also played a huge role in keeping this classic alive, with endless aesthetic variations popping up every single holiday season. It just proves that genuinely good ideas never really fade away.
The Chemistry of Chocolate Tempering
Okay, do not let the word chemistry scare you off. When we melt chocolate for binding, we are actually manipulating cocoa butter crystals on a microscopic level. Cocoa butter is naturally polymorphic, meaning its fat crystals can solidify into multiple different shapes depending on how they are heated and cooled. If you just blast your chocolate in the microwave for five minutes straight, you destroy the stable crystals, and your final product will look dull, streaky, and melt instantly the second it touches your fingers. By heating the chocolate gently and stirring constantly, you encourage the formation of stable Beta-V crystals. This specific crystallization process gives your treats that satisfying snap and gorgeous glossy finish when they finally set at room temperature.
Structural Integrity of Noodles and Chocolate
The reason the nest holds together so perfectly is largely due to surface area and viscosity. You need enough melted binder to coat the dry ingredients completely without turning the whole thing into a massive, solid brick. Here are some scientific facts about the binding process that make it work:
- The starch in the noodles possesses a highly porous exterior, allowing the liquid fat to grip the surface tightly upon initial contact.
- Lower temperatures in the refrigerator cause the triglycerides in the chocolate to crystallize rapidly, locking the chaotic noodle structure firmly into place.
- Moisture is the absolute enemy of this structural matrix; even a single drop of water can cause the melted chocolate to seize and turn violently granular.
- Adding a tiny bit of coconut oil can lower the overall viscosity, making the coating process much smoother while maintaining the structural integrity once chilled.
Understanding these basic physical reactions means you will never end up with a crumbly, falling-apart mess. You are essentially acting as a structural engineer in your own kitchen, using fat molecules to glue carbohydrate beams together. It is pretty cool when you think about it that way. You control the friction, the temperature, and the cooling rate. Mastering this simple fat-crystallization trick instantly upgrades your entire kitchen skillset, far beyond just making these fun little nests.
Let us break this down into a totally foolproof step-by-step plan. Follow these instructions exactly, and you will have flawless results every single time without stressing out.
Step 1: Gathering the Goods
Start by pulling all your ingredients out onto the counter before you do anything else. You need your crunchy base, your chocolate chips, maybe a spoonful of creamy peanut butter for extra flavor depth, and your decorative candy eggs. Having everything within arm’s reach prevents mid-recipe panic later when your chocolate is hot and ready to go.
Step 2: Prepping Your Workstation
Line a large, flat baking sheet with high-quality parchment paper or a non-stick silicone baking mat. Do not skip this step under any circumstances! If you build your nests directly on a ceramic plate or a bare metal pan, you will literally have to chisel them off later, destroying your hard work. Trust me on this one.
Step 3: Melting the Chocolate Binder
Set up a classic double boiler on the stove, or use your microwave on exactly fifty percent power. Melt the chocolate slowly, taking it out and stirring vigorously every thirty seconds. Patience is absolutely crucial here. You want a smooth, glossy pool of liquid gold, not a scorched, clumpy disaster that smells like burnt toast.
Step 4: Coating the Noodles Perfectly
Pour your crunchy noodles directly into the warm bowl of melted chocolate. Grab a flexible rubber spatula and gently fold the mixture together. You want to drag the spatula along the bottom of the bowl and fold it over the top, making sure every single piece gets completely coated without crushing the fragile sticks into dust.
Step 5: Shaping the Nests Gently
Use two metal spoons to drop clusters of the coated mixture onto your prepared parchment paper. Use the back of a spoon—or your slightly greased fingertips if you do not mind getting messy—to press a small, shallow indentation directly into the top center of each mound.
Step 6: Chilling for Maximum Hold
Pop the entire baking sheet straight into the refrigerator. They need at least twenty to thirty minutes of uninterrupted cold air to allow those cocoa butter fat crystals to solidify completely. Do not poke or prod them while they are chilling!
Step 7: Adding the Candy Eggs
Once the nests are totally firm and set, pull them out into the ambient room air and place three mini candy eggs right into the center indentation of each one. You can use a tiny dab of leftover melted chocolate on a toothpick to glue the eggs down securely if you plan on transporting them in a car or lunchbox.
There is a lot of bad advice out there regarding no-bake recipes. Let us clear the air right now and debunk some common misconceptions that trip people up.
Myth: You absolutely have to use actual chow mein noodles for this recipe to work properly.
Reality: Not at all! The aesthetic works with almost any linear, crunchy snack. Pretzel sticks broken into halves or even high-fiber bran twigs work phenomenally well and offer a great texture.
Myth: Microwaving chocolate is a guaranteed way to completely ruin it.
Reality: Microwaves are completely fine as long as you drop the power level to half and stir frequently. The issue is usually user error, not the appliance itself.
Myth: These treats spoil quickly if left out of the fridge on the counter.
Reality: Assuming you used standard chocolate and dry goods, they are totally shelf-stable. You only need the fridge for the initial setting process; after that, room temperature storage is perfectly safe.
Myth: You need highly expensive, imported baking chocolate for good results.
Reality: Standard grocery store chocolate chips actually contain specific stabilizers that make them ideal for holding their shape in casual, room-temperature recipes exactly like this one.
Still have a few lingering questions before you start melting your chocolate? I have got you covered with these quick, straightforward answers.
How long do they last?
Stored in an airtight container away from direct sunlight, they will easily stay fresh and crunchy for up to a full week at normal room temperature.
Can I use pretzel sticks?
Absolutely! Just snap them gently into smaller pieces before mixing so they look much more like rustic twigs rather than massive logs.
Are they gluten-free?
Traditional chow mein noodles definitely contain gluten, but you can easily swap them out for certified gluten-free pretzels or toasted rice cereal.
Do I need an oven?
Nope, absolutely zero baking is required. Just a simple heat source like a microwave or stove to melt the chocolate chips.
Can I freeze them?
Yes, you can carefully freeze them in a sealed container for up to two months. Just let them thaw slowly on the counter before eating.
What chocolate is best?
Semi-sweet offers the absolute best balance of flavor, but milk or dark chocolate works just as well depending on your personal sweet tooth.
Why did my chocolate seize?
Even a single microscopic drop of water will ruin melted chocolate permanently. Keep your bowls and spatulas absolutely bone dry!
Can I use food coloring?
Only if you use white chocolate and specialized oil-based food coloring. Standard water-based grocery store dyes will immediately cause seizing.
Wrapping things up, you really have no excuse not to try making these right away. They are ridiculously easy, perfectly crunchy, and visually stunning. Go grab your ingredients, clear some counter space, and start building your own delicious little treats today!



Leave a Reply