

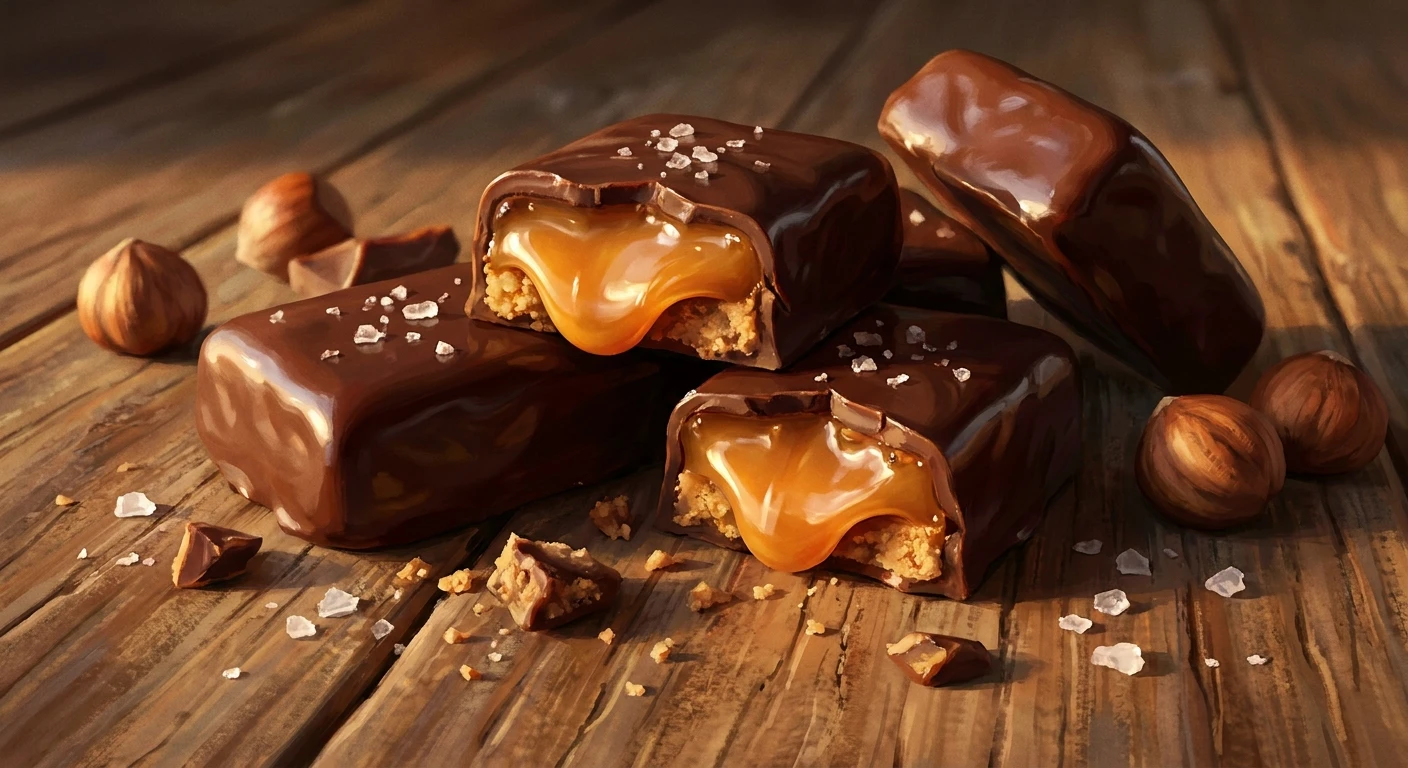
Why Toffee Chocolate is the Ultimate Treat
Let me tell you, once you taste real toffee chocolate, you never go back to the standard supermarket stuff. The satisfying snap of caramelized sugar paired with a rich, velvety cocoa coating creates an experience that completely redefines dessert. Honestly, my absolute obsession with this treat started during a frosty winter evening wandering through the cobblestone streets of Kyiv, Ukraine. The wind was biting, and I ducked into a tiny, unassuming artisan confectionery near Podil just to warm up my freezing hands. The owner, a sweet older gentleman, handed me a jagged piece of freshly cracked brittle enrobed in a thick layer of dark, tempered goodness. That single bite of handmade sweetness instantly melted my freezing stress away. The contrast between the buttery crunch and the smooth, slightly bitter coating was pure magic.
I realized right then that creating this at home isn’t just about following a basic recipe; it is a serious culinary art form requiring immense patience and exact precision. We are currently living through a huge home-baking renaissance in 2026, and everyone wants to master bakery-level treats right in their own kitchens. I am going to walk you through exactly why this specific combination is the absolute peak of candy making, how you can easily spot the good stuff, and the exact steps to recreate that cozy Ukrainian cafe experience on your own kitchen counter.
Making the perfect batch of this sweet treat requires a deep understanding of flavor balancing. You cannot just slap any sweet syrup and cocoa together and expect greatness. The true value comes from how the deep, roasted notes of the caramel layer perfectly interact with the natural bitterness of the cocoa bean. Think about gifting a beautiful tin of handmade sweets to your friends during the holidays—it screams effort, luxury, and deep care. Or picture yourself keeping a secret stash in the pantry for those late-night cravings when you desperately need a personal indulgence after a chaotic workday. The versatility of this confection is completely unmatched by anything else in your recipe book.
Let us look at how different styles pair together. Knowing your combinations will save you from making a cloyingly sweet mistake.
| Type of Chocolate | Toffee Style | Flavor Profile |
|---|---|---|
| Dark (70%+) | Salted Butter | Intensely rich, slightly bitter, savory finish |
| Milk (40%) | Almond Crunch | Creamy, nutty, exceptionally sweet |
| White | Macadamia Honey | Milky, floral, very rich and smooth |
If you are browsing a local shop or trying to perfect your own homemade batch, you need to know how to identify premium quality. Do not settle for subpar candy that sticks aggressively to your teeth and tastes like cheap artificial flavoring. Here is exactly what you should be looking for when evaluating top-tier creations:
- The Snap Factor: A high-quality piece should shatter cleanly when you bite into it, rather than bending, stretching, or pulling like a soft caramel.
- The Finish: The outer coating must have a glossy, beautiful mirror-like shine, proving that the cocoa butter was correctly tempered by the chef.
- The Butter Ratio: You should immediately taste rich, real dairy fat on your palate rather than cheap vegetable oils or high-fructose corn syrup fillers.
Mastering these critical elements is what separates a decent afternoon snack from a truly unforgettable culinary masterpiece.
The Origins of the Sweet Blend
Long before we had fancy silicone molds, digital thermometers, and electric stand mixers, folks were boiling sugar over open hearths. The concept of boiling sugar and butter together dates back centuries, initially gaining massive popularity in the United Kingdom. People desperately needed a way to preserve dairy and sugar for long journeys, creating hard, durable candies that could last for months without spoiling. Early versions did not even include cocoa; they were strictly molasses or brown sugar combined with whatever animal fat or butter was available locally. The harsh, rugged texture was a staple for travelers, sailors, and soldiers needing a quick, shelf-stable calorie boost during long, grueling days.
The Evolution Through the Centuries
As global trade routes expanded and cocoa became much more accessible in Europe during the 18th and 19th centuries, confectioners naturally started experimenting. They quickly realized that dipping these hard, buttery shards into melted cocoa paste completely elevated the flavor profile. The bitterness of the bean cut right through the intense sweetness of the sugar, creating a sophisticated, balanced profile that the upper class absolutely adored. By the early 20th century, mass production techniques and factory automation allowed companies to churn out coated candy bars by the thousands, making this luxurious combination readily available to the working class. This era also saw the brilliant introduction of adding roasted nuts like almonds, walnuts, and pecans, which brought a whole new dimension of texture and flavor to the classic recipe.
The Modern State of Confectionery
Fast forward to the year 2026, and the artisan candy scene has completely exploded in popularity. We have moved far beyond the basic factory-produced bars wrapped in cheap crinkly foil. Today, boutique confectioners are strictly using single-origin beans, imported cultured European butter, and exotic, hand-harvested sea salts from around the world. The focus is entirely on environmental sustainability and high-quality, traceable ingredients. People are treating this classic candy with the exact same level of respect and tasting scrutiny as fine wine, aged whiskey, or specialty pour-over coffee, recognizing the incredible skill and timing required to perfectly execute the pairing.
The Maillard Reaction Explained
Listen, cooking sugar isn’t just melting it in a pan; it is hardcore, fascinating chemistry. When you aggressively boil butter and sugar together, you trigger what scientists call the Maillard reaction. This is the exact same chemical process that gives a beautifully seared steak its crust or freshly baked sourdough bread its golden-brown color. As the amino acids in the dairy proteins react with the reducing sugars under high heat, hundreds of brand-new, complex flavor compounds are rapidly created in the pot. This is precisely why a perfectly cooked batch tastes deeply like toasted nuts, warm vanilla, and roasted coffee, rather than just plain old white sugar. Controlling this reaction requires precise temperature management—pull it off the stove too early, and it is overwhelmingly bland; leave it too long, and it becomes intensely acrid, bitter, and burnt.
Cocoa Tempering and Snap Mechanics
The other half of the science equation involves the coating. Real cocoa butter contains unique fat crystals that can solidify in six entirely different forms, but only one of them (Form V) gives you that satisfying, glossy, professional snap. If you just recklessly melt a bar and pour it over your hardened sugar base, it will dry dull, gray, and instantly melt all over your fingers when you pick it up. This sad state is known in the industry as fat bloom. You have to manipulate the temperatures up, down, and back up again to force the fat molecules into perfect alignment.
Here are some fascinating scientific facts about the candy-making process:
- The boiling sugar syrup must reach precisely 300°F (149°C), scientifically known as the “hard crack” stage, to ensure absolutely no moisture remains in the mixture.
- Form V cocoa crystals melt at exactly human body temperature, which is why a properly tempered piece feels incredibly cooling and smooth as it dissolves on your tongue.
- Adding a tiny pinch of alkaline baking soda to the boiling sugar neutralizes the acid and introduces microscopic air bubbles, making the final hard candy significantly easier to chew.
- High humidity in your kitchen can totally ruin a batch, as sugar is highly hygroscopic and will aggressively pull moisture right out of the surrounding air, making your candy sticky.
Making this from scratch is an exciting, highly rewarding journey. Do not try to rush it in a single afternoon. I have broken down the entire process into a foolproof seven-day plan so you can comfortably focus on mastering one technique at a time without getting overwhelmed by the intense kitchen chemistry.
Day 1: Sourcing Ingredients
You absolutely cannot cheat on quality here. Spend today tracking down high-fat cultured butter (European style is definitely best), pure cane sugar, and a large block of high-quality couverture. Skip the standard grocery store chocolate chips, as they contain heavy stabilizers that will actively ruin the melting and tempering process.
Day 2: Perfecting the Sugar Boil
Practice your candy thermometer skills today. Boil a small test batch of just sugar and water to safely watch how the bubbles change size and listen to how the sound of the boiling liquid dramatically shifts as the water fully evaporates. It is crucial to learn these visual and audio cues.
Day 3: Cooling and Cracking
Today is all about mastering the pour. Spread your hot, bubbling mixture onto a silicone baking mat or high-quality parchment paper. Practice spreading it quickly and evenly with an offset spatula before it sets, then learn the exact right moment to softly score it with a knife so it snaps cleanly later on.
Day 4: Melting the Cocoa Base
Set up your double boiler. Practice slowly and gently melting your couverture over gently simmering water. Be incredibly careful—do not let a single drop of water or steam touch the mixture, or it will instantly seize into an unusable, grainy, hard paste.
Day 5: The Art of Enrobing
This is where it all finally comes together. Dip your shattered candy pieces into the perfectly tempered liquid. Use a specialized dipping fork to gently tap off the excess liquid so you get a beautiful, thin, even coat rather than a clunky, thick, muddy mess.
Day 6: Setting and Curing
Patience is mandatory at this stage. Let your beautiful creations rest undisturbed in a cool, dark room at around 65°F (18°C). Do not put them in the fridge! The fridge introduces condensation, which will completely ruin the beautiful gloss you worked so incredibly hard to achieve.
Day 7: Tasting and Pairing
The absolute best day of the week. Brew a strong, hot cup of black coffee or pour a generous glass of bold red wine. Taste your homemade creation, closely analyzing the crunch, the salt balance, and how smoothly the coating melts away. Share it with someone special!
There is a lot of bad advice floating around on the internet regarding confectionery. Let’s clear up some common misunderstandings.
Myth: It is basically just burnt sugar.
Reality: Absolutely not. It is a highly controlled chemical reaction. If it actually tastes burnt, the cook completely failed to monitor the temperature and left it on the heat way too long.
Myth: You cannot make it at home without commercial bakery equipment.
Reality: All you genuinely need is a reliable digital instant-read thermometer, a heavy-bottomed saucepan, a silicone spatula, and patience. People have been making this successfully in rustic kitchens for literally hundreds of years.
Myth: Any cheap cocoa bar will work for the coating.
Reality: Standard grocery store candy bars are loaded with heavy wax, palm oil, and chemical stabilizers. They will absolutely not temper properly and will totally ruin the texture and mouthfeel of your homemade candy.
Myth: It goes bad and spoils quickly on the counter.
Reality: Because the moisture content is virtually zero, a properly stored batch kept in an airtight container away from direct sunlight can easily last for several weeks without losing its incredible crunch.
Is it gluten-free?
Yes, the traditional recipe consists only of butter, sugar, salt, and cocoa, making it naturally completely gluten-free for those with dietary restrictions.
Does it contain dairy?
Yes, traditional versions rely heavily on real dairy butter, though you can absolutely experiment with high-quality plant-based butters for fantastic vegan options.
How long does it last?
If stored correctly in a properly sealed airtight container in a cool, dark, and dry place, it can easily last for three to four weeks with optimal texture.
Can I freeze it?
It is really not recommended. Freezing introduces rapid moisture changes, which makes the hard sugar center very sticky and causes the delicate coating to suffer from fat bloom.
What is the best cocoa percentage?
A semi-sweet or dark variety sitting right around 60% to 70% provides the absolute best flavor contrast to the extremely sweet caramel center.
Why is my batch sticky?
You most likely did not cook the sugar syrup hot enough, leaving far too much water in the mixture, or your kitchen was simply too humid on the day you cooked.
Can I add nuts?
Absolutely. Toasted almonds, macadamias, or pecans are classic, delicious additions that provide fantastic extra crunch and a deep, roasted flavor profile.
If you are ready to completely elevate your dessert game, grab your thermometer, source the best ingredients you can find, and start boiling. Making your own toffee chocolate at home is incredibly rewarding and totally transforms how you view sweets. Bookmark this guide, share it with a friend who loves baking, and let me know how your very first batch turns out! Get in the kitchen and start your candy-making journey today.



Leave a Reply