

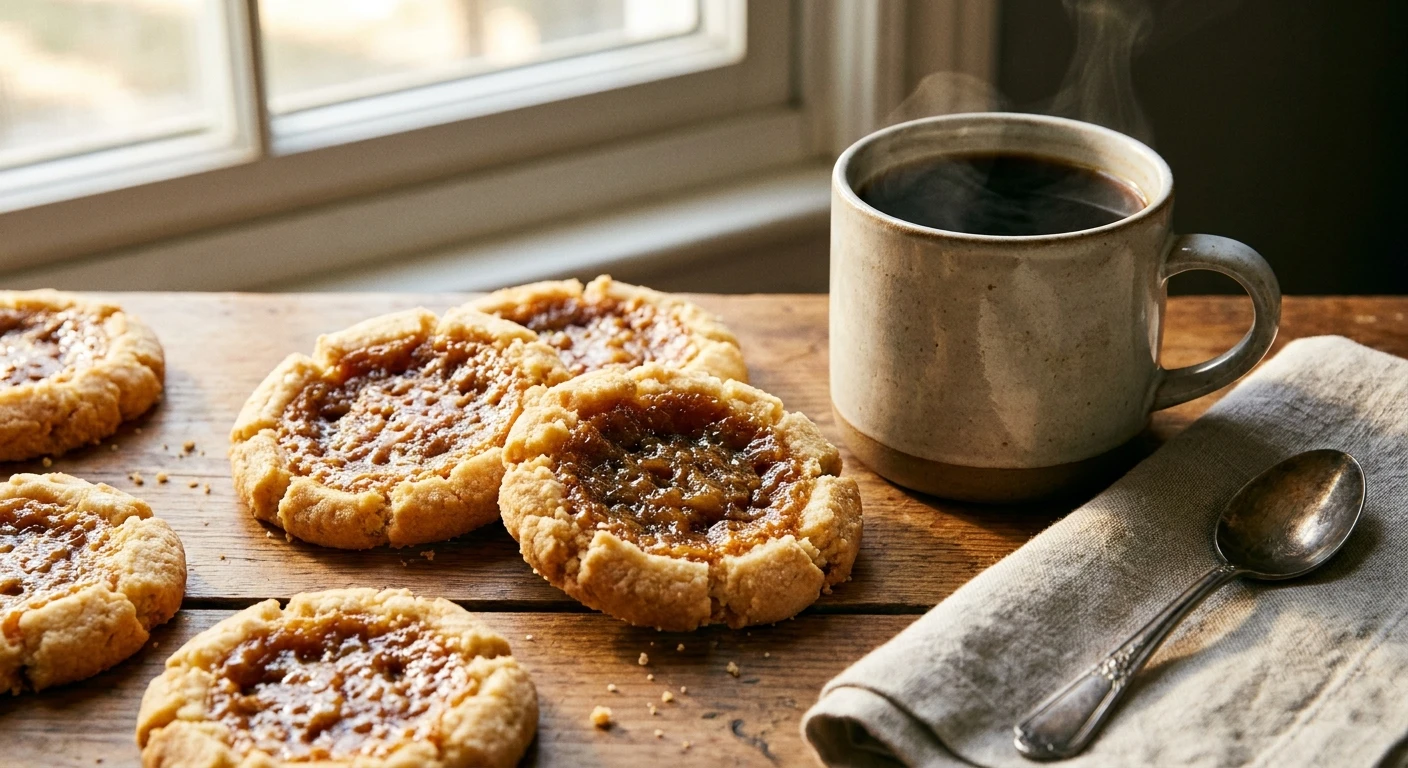
Why You Need These Butter Tart Cookies in Your Life
Listen, if you haven’t tasted perfectly baked butter tart cookies yet, you are seriously missing out on the ultimate sweet treat. You get the rich, gooey, caramel-like filling of a classic Canadian pastry combined seamlessly with the crisp, tender base of a classic shortbread. It completely changes the dessert game. I remember sitting in a cozy little kitchen in Kyiv during a remarkably chilly winter. The wind was howling outside, and I desperately wanted to recreate my favorite childhood bakery memories from back home. My Ukrainian friends had never even heard of a butter tart before, let alone a cookie version. I decided to whip up a massive batch using whatever ingredients I could find at the local market.
The moment the rich scent of caramelized brown sugar, toasted pecans, and vanilla filled the apartment, everyone crowded around the oven. I pulled the baking sheet out, and the filling was bubbling beautifully inside those little buttery shortbread cups. One bite of that perfectly gooey pecan center contrasting with the crumbly crust, and my friends were completely hooked. They demanded the recipe immediately. That experience proved to me that this dessert transcends borders. It is a universal language of comfort, butter, and sugar. The concept is pure genius: you take the frustratingly finicky pastry crust of a traditional pie and replace it with a melt-in-your-mouth cookie dough that practically makes itself. No rolling pins, no shrinking dough, and absolutely no soggy bottoms.
The Real Magic Behind the Ultimate Hybrid Dessert
Let me explain exactly why this specific recipe works so well and why it easily beats out traditional pastries. The core value proposition here is the sheer convenience without sacrificing any of the authentic flavor. You get the exact same emotional and sensory payoff of eating a slice of pie, but you can hold it in one hand while drinking your morning coffee. For example, if you are hosting a holiday party, you don’t need forks or plates. People can just grab one off the tray. Another huge benefit is the optimal ratio of crust to filling. Often, a full-sized tart has too much pastry and not enough of the good, gooey stuff. Here, the thumbprint indentation guarantees a perfectly balanced bite every single time.
| Feature | Butter Tart Cookies | Traditional Whole Pie |
|---|---|---|
| Prep Time | Under 20 minutes | Over an hour with dough chilling |
| Portability | Extremely high, eat on the go | Requires plates, forks, and sitting down |
| Crust Texture | Crumbly, buttery shortbread | Flaky, sometimes soggy pastry |
There are several specific reasons why switching to the cookie format is the best baking decision you will ever make:
- Zero Pastry Stress: You do not have to worry about keeping your butter ice-cold or preventing the gluten from toughening up. A shortbread base is incredibly forgiving and robust.
- Portion Control: Sometimes you just want a little taste of something sweet without committing to a massive slice of pie. These are two-bite wonders.
- Customizable Fillings: You can easily split the batch. Make half with toasted pecans for the nut lovers, and fill the other half with traditional raisins for the purists.
By using a simple thumbprint method, you create a little edible bowl that perfectly cradles the sweet syrup. It is a foolproof technique that guarantees impressive results, even if you rarely bake.
A Sweet History Worth Knowing
Origins of the Original Filling
The flavor profile we know and love actually stems from pioneer times in North America, specifically early Canada. Early settlers had to make do with what they had in their pantries during long winters. They mixed together basic staples: butter, sugar, syrup, and eggs, pouring the mixture into whatever rough pastry they could cobble together. It was a rustic, practical dessert born out of necessity, but the resulting caramelization turned it into a cultural icon. The deep, rich molasses notes from the brown sugar created a flavor that felt incredibly comforting and warm.
The Evolution into Cookie Form
As decades passed, bakers started getting frustrated with the tedious process of rolling out individual pastry shells for mini tarts. Baking should be enjoyable, not a stressful chore. Somebody had the brilliant idea to use a thumbprint cookie dough as the base instead. Thumbprint cookies already existed in various European traditions, usually filled with jam or chocolate. Swapping out the fruit preserves for that iconic gooey brown sugar mixture was a massive breakthrough. It streamlined the process and actually improved the overall texture by introducing a crumbly, buttery shortbread that contrasted perfectly with the sticky center.
The Modern State of Baking
Now that we are solidly in 2026, bakery trends heavily prioritize bite-sized convenience and hybrid desserts. People want high-quality, nostalgic flavors, but they want them packaged in a modern, easy-to-eat format. We see the influence of this everywhere, from bakeries in Toronto to trendy cafes in Europe trying out North American flavors. These treats fit perfectly into the current landscape because they look adorable on a platter, require minimal special equipment, and deliver an intense punch of flavor that satisfies modern cravings for sweet, salty, and buttery combinations.
The Delicious Science Behind the Recipe
The Maillard Reaction in the Filling
You don’t need a chemistry degree to understand why these taste so incredibly good, but knowing the science helps you bake them better. The magic happens primarily through the Maillard reaction. When the brown sugar and proteins from the egg and butter heat up in the oven, they undergo a complex chemical process. The molecules rearrange and create entirely new flavor compounds. This is why the filling doesn’t just taste sweet—it tastes like toffee, caramel, and butterscotch. If you pull them out of the oven too early, you miss out on these complex, roasted notes. You actually want the edges of the filling to get slightly dark and bubbly.
Shortbread Science: Butter and Flour
The cookie base relies heavily on the ratio of fat to flour. Unlike standard chocolate chip varieties, we are not using chemical leaveners like baking soda or baking powder here. We want a dense, tender crumb, not a puffy, cakey texture. The high butter content coats the flour proteins, severely limiting gluten formation. This is what gives the base its signature “short” or crumbly texture.
- Temperature is everything: Using room-temperature butter ensures it creams properly with the sugar, trapping tiny air bubbles that provide a slight lift.
- Sugar crystallization: Using powdered sugar in the dough instead of granulated sugar prevents spreading and keeps the walls of your thumbprint sturdy.
- Egg stabilization: The egg in the filling coagulates as it bakes, turning the liquid syrup into a semi-solid, chewy gel that won’t run down your chin.
- Salt contrast: A pinch of salt in the filling enhances our perception of sweetness while cutting through the heavy richness of the butter.
Your Foolproof Action Plan for Baking Day
Step 1: Gathering the Right Ingredients
Do yourself a favor and get everything out on the counter before you start. You will need unsalted butter, powdered sugar, all-purpose flour, vanilla extract, dark brown sugar, an egg, and optionally, some chopped pecans or raisins. Using high-quality butter makes a massive difference here since it is the primary flavor of the cookie base.
Step 2: Creaming the Butter and Sugar
Take your softened butter and powdered sugar, and beat them together until they are light and fluffy. This should take about two to three minutes on medium speed. You want the mixture to look pale. Then, gently mix in the vanilla extract and the flour. Do not overmix at this stage; just mix until the white streaks of flour disappear. You want a soft dough that holds together when you squeeze it.
Step 3: Chilling the Dough Properly
This is non-negotiable. Put the dough in the fridge for at least 30 minutes. Chilling firms up the butter, which guarantees that your cookies won’t flatten out into sad puddles when they hit the hot oven. If you skip this, your little dough bowls will collapse, and the filling will spill everywhere.
Step 4: Shaping the Thumbprints
Scoop the chilled dough into tablespoon-sized balls. Roll them smoothly between your palms, then place them on a parchment-lined baking sheet. Use the back of a measuring spoon or your actual thumb to press a deep indentation into the center of each ball. Make the walls as even as possible so they bake uniformly.
Step 5: Mixing the Gooey Filling
While the shaped cookies rest, grab a small bowl. Whisk together the melted butter, dark brown sugar, vanilla, a tiny pinch of salt, and a beaten egg. It should look like a thick, glossy syrup. If you are using nuts or raisins, drop a few pieces into the center of each cookie indentation before pouring the liquid over them.
Step 6: The Precision Bake
Carefully spoon the liquid filling into the indentations, filling them about three-quarters of the way to the top. Do not overfill! Bake them at 350 degrees Fahrenheit (about 175 Celsius) for 12 to 14 minutes. Keep a close eye on them. You want the edges of the cookies to be barely golden and the filling to look slightly puffed and bubbly.
Step 7: Cooling and Setting
When you pull them out, the filling will still look liquid and jiggly. Do not panic. Leave them entirely alone on the hot baking sheet for at least 10 minutes. The residual heat finishes cooking the filling, and as they cool, the centers will sink slightly and set into that perfect, chewy texture. Transfer them to a wire rack only when they are firm enough to move.
Clearing Up Common Baking Misconceptions
Myth: You absolutely must use corn syrup to get the right texture for the filling.
Reality: Pure maple syrup or simply dark brown sugar mixed with butter creates a vastly superior flavor profile with the exact same gooey texture. Corn syrup is completely unnecessary.
Myth: The filling will inevitably boil over and burn on the pan, ruining the batch.
Reality: If you chill the base thoroughly, make deep indentations, and strictly avoid filling them all the way to the brim, the syrup stays perfectly contained inside the cookie.
Myth: Making them takes hours of intensive prep work.
Reality: It is literally just a drop cookie with a simple stir-together syrup. Active hands-on time is usually less than 15 minutes, making it highly accessible for beginners.
Frequently Asked Questions About the Process
Can I freeze the dough?
Absolutely. You can roll the balls, make the indentations, and freeze them solid on a tray. Transfer them to a ziplock bag and bake them straight from frozen, just adding an extra minute or two to the timer.
Do I need pecans or raisins?
No, you do you. The plain brown sugar filling is spectacular all on its own. Nuts just add a nice textural crunch.
How long do they last on the counter?
They stay fresh for up to five days in an airtight container at room temperature. The moisture from the filling actually keeps the cookie base tender.
Can I use salted butter?
Yes, you can. If you use salted butter, just completely omit any extra salt from both the dough recipe and the filling recipe to maintain the right balance.
Why did my cookies spread so much?
The butter was definitely too warm before baking. Always chill your shaped dough before it hits the oven.
Can I make them vegan?
You can substitute the butter with a high-quality plant-based block, and use a flax egg or commercial egg replacer for the filling. The texture will be slightly different but still delicious.
What kind of brown sugar is best?
Dark brown sugar yields a much richer, deeper molasses flavor, but light brown sugar works perfectly fine if that is all you have in your pantry.
Can I make them gluten-free?
Yes, swap the all-purpose flour for a 1-to-1 gluten-free baking blend that contains xanthan gum. The shortbread texture adapts very well to gluten-free flours.
Now that you know exactly how simple and incredibly rewarding this recipe is, grab your mixing bowl, turn on your oven, and get baking. These butter tart cookies are guaranteed to become a permanent fixture in your dessert rotation. Happy baking, and enjoy every single gooey bite!



Leave a Reply