

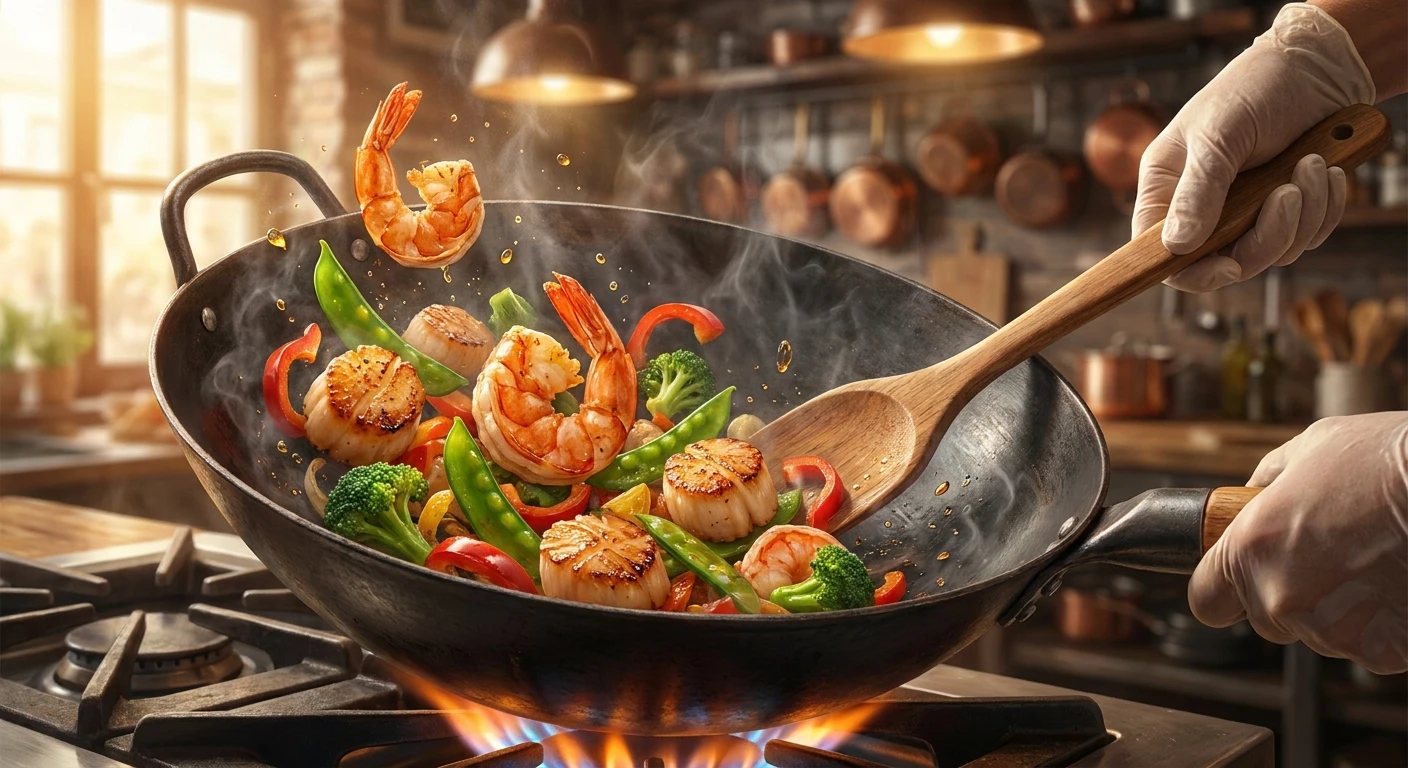
Why You Need This seafood stir fry in Your Life Right Now
Listen, let me tell you straight up, making a brilliant seafood stir fry at home is much easier than you think. You know that feeling when you are staring at the fridge at 6 PM, exhausted, and tempted to order overpriced takeout? Stop right there. Growing up near Odesa, the Black Sea coast taught me everything I needed to know about cooking fresh catches. We didn’t always have professional kitchens or fancy imported woks, but throwing fresh shrimp, mussels, and squid into a hot pan with garlic and herbs was just how we survived the blistering summer heat. It was fast, it was communal, and it was undeniably delicious.
Fast forward to 2026, and this pan-tossed magic is my absolute go-to when I need something fast, healthy, and incredibly tasty. The thesis here is simple: mastering high-heat cooking means you completely control the texture, the rich savory sauce, and the satisfying crunch of your dinner. You are turning a handful of basic ingredients into an absolute feast without breaking a sweat or spending hours doing dishes. Honestly, once you nail this technique, your friends will think you secretly went to culinary school.
Mastering the Core Mechanics of Wok Cooking
What makes wok-fired dinners so ridiculously good? It is the intense heat and the flawless balance of flavors. The rapid cooking process locks in the natural sweetness of the shrimp and scallops while keeping the bell peppers and snow peas vibrant and crisp. If you boil or bake these ingredients, you lose that signature bite. You want a sear. You want that quick caramelization that happens when protein hits screaming hot oil.
Here is a quick breakdown of how your ingredients work together:
| Component | Primary Purpose | Pro Tip for Success |
|---|---|---|
| Protein (Shrimp, Scallops, Squid) | Delivers the main savory flavor and satisfying meaty texture | Always pat dry with paper towels before cooking to ensure searing |
| Vegetables (Broccoli, Peppers, Snow Peas) | Provides essential crunch, bright colors, and volume | Cut into uniform, bite-sized pieces so they finish cooking together |
| Aromatics & Sauce (Garlic, Ginger, Soy) | Creates the umami glaze that ties the whole dish together | Mix your liquids in a small bowl beforehand to save precious seconds |
The value proposition here is massive. First, you are saving incredibly valuable time—start to finish, this meal takes about twenty minutes. Second, you are saving a ton of money compared to dining out at a fancy Asian fusion restaurant where they charge premium prices for a handful of shrimp. You get double the portion for half the cost.
To pull this off flawlessly, you need to follow my top three non-negotiable rules:
- Prep everything beforehand: We call this mise en place. You absolutely will not have time to chop garlic once the oil is smoking. Have your bowls lined up and ready.
- High heat is your best friend: A cold pan will just steam and boil your expensive seafood. You want that fierce, roaring sizzle the second the food drops in.
- Never crowd the pan: If you dump all your ingredients in at once, the pan’s temperature crashes. Cook in batches. Do the seafood first, remove it, then blast the veggies.
The Ancient Origins of Wok Cooking
Did you know cooking in a wok-like vessel dates back thousands of years? It originated out of sheer necessity during the Han dynasty in China. Fuel like wood and coal was scarce, so people needed a way to cook their food extremely fast over a small fire. The curved shape of the wok allowed heat to concentrate at the very bottom while providing ample room up the sides to push food away from the hottest zone. It was an absolute stroke of engineering genius that changed culinary history forever.
The Evolution of Coastal Recipes
As maritime trade routes expanded across Asia and eventually the world, people living near the oceans naturally started throwing their daily catch into these roaring hot pans. Fishermen would trade a portion of their haul for salt, spices, and soy, bringing coastal flavors inland. The rapid cooking style was perfect for delicate oceanic proteins because it killed bacteria quickly without turning the meat into rubber. It became the ultimate fast food for busy port cities.
The Modern State of Wok Culture
Now, as we navigate through 2026, street food culture and home kitchen setups have completely merged. High-BTU indoor burners and carbon steel pans are highly accessible. We’ve taken those ancient techniques and adapted them to modern grocery store convenience, using pre-peeled garlic, flash-frozen catches, and bottled oyster sauces to recreate the magic of a bustling night market right in our own suburban kitchens.
The Maillard Reaction Explained Simply
You hear chefs talk about the Maillard reaction constantly on cooking shows, and it sounds super intimidating. Simply put, it is just a chemical reaction between amino acids and reducing sugars that happens when food hits about 300°F (150°C). It is exactly what gives browned food its incredibly distinctive, savory flavor. When that shrimp hits the scorching oil, it is not just getting hot; its entire chemical structure on the surface is changing to create a crust of pure umami. Without high heat, this reaction never triggers.
Heat Transfer and the Breath of the Wok
Then there is Wok Hei, translated as the breath of the wok. It sounds almost mystical, but it is pure physics and chemistry. When you toss food in the air above a gas flame, tiny droplets of oil vaporize and ignite just slightly, kissing the food with a distinctly smoky, charred flavor that is impossible to replicate in a microwave. Let’s look at some cold hard facts about the science of the pan:
- Water boils at a maximum of 212°F, but cooking oil can easily reach 400°F or more, which is the absolute minimum threshold necessary for rapid, effective searing.
- Seafood proteins denature much faster than beef or chicken; cooking delicate ocean proteins past 140°F causes the muscle fibers to violently contract, squeezing out all moisture and making them terribly tough.
- Velveting, an old technique of coating proteins in a thin layer of cornstarch and egg white, creates a microscopic barrier that protects delicate meats from intense heat while helping sauces cling to the surface.
Step 1: The Ultimate Grocery Run
Your meal is only as good as what you buy. Head to the store and grab large raw shrimp (21-25 count per pound is ideal), some fresh sea scallops, a head of broccoli, snap peas, and a red bell pepper. Don’t forget fresh garlic and a knob of ginger. If the fresh seafood looks sad, head straight to the freezer aisle. Flash-frozen is vastly superior to fish that has been sitting out for three days.
Step 2: The Wash and Dry Phase
Moisture is the absolute worst enemy of a good sear. Wash your vegetables and dry them thoroughly with a clean kitchen towel. Thaw your frozen catch under cold running water, then spend an extra minute patting every single piece completely dry with paper towels. If they are wet, they will steam, and we hate steamed, rubbery food.
Step 3: Chopping and Slicing
Uniformity really matters here. Slice your bell pepper into strips of equal thickness. Cut the broccoli into bite-sized florets. Mince the garlic and ginger incredibly fine. You want every bite on your fork to have a perfect ratio of meat, vegetable, and aromatic flavor. Put all these prepped items into separate small bowls around your stove.
Step 4: Mixing the Secret Sauce
Grab a small measuring cup. Whisk together three tablespoons of low-sodium soy sauce, one tablespoon of oyster sauce, a teaspoon of toasted sesame oil, a splash of rice vinegar, and a half teaspoon of cornstarch. The cornstarch is the magic thickener that will turn this watery liquid into a glossy, beautiful glaze.
Step 5: Firing Up the Pan
Place your largest skillet or wok on your stove’s biggest burner and turn the dial all the way to maximum. Let it sit there empty for a couple of minutes until you can hold your hand a few inches above it and feel intense radiating heat. Add two tablespoons of a neutral, high smoke-point oil like avocado or peanut oil. It should shimmer immediately.
Step 6: The Quick Protein Sear
Carefully lay your shrimp and scallops in the oil in a single layer. Leave them completely alone for 60 seconds. Resist the urge to poke them. Flip them once you see a golden crust, give them another 30 seconds on the other side, and immediately remove them to a clean plate. They will finish cooking later.
Step 7: Tossing it All Together
Add a tiny bit more oil if the pan is dry. Throw in your broccoli and peppers, tossing constantly for two minutes. Add your garlic and ginger for the last 30 seconds so they don’t burn. Pour in your sauce mixture, watch it bubble and thicken instantly, then dump the seafood back in. Toss everything together vigorously for 15 seconds, turn off the heat, and serve it immediately over steamed jasmine rice.
Myths vs. Reality
Myth: You absolutely need a massive commercial gas stove to get decent results at home.
Reality: A standard home electric or gas burner works perfectly fine if you preheat your pan thoroughly and, most importantly, cook in smaller batches so the temperature doesn’t drop.
Myth: Frozen shrimp is terrible and should never be used for wok cooking.
Reality: Flash-frozen catches are often significantly fresher than what is sitting on ice at the supermarket counter. Just thaw it safely and dry it completely before it hits the oil.
Myth: You need to constantly stir the food frantically the entire time it is in the pan.
Reality: If you move the food constantly, it never has a chance to sear. Let the proteins sit completely undisturbed for a few seconds to build a tasty crust before you start tossing them around.
Frequently Asked Questions
Can I use fish fillets instead of shellfish?
Yes, absolutely. Firm, meaty fish like halibut, cod, or mahi-mahi work great. Just cut them into thick chunks so they don’t disintegrate when you toss them.
What is the best pan if I don’t own a wok?
A large cast-iron skillet or a wide, heavy-bottomed stainless steel pan is your best bet. They retain heat beautifully, which is exactly what you need.
How long do leftovers last in the fridge?
I recommend a maximum of two days in an airtight container, but honestly, seafood is vastly superior when eaten fresh right out of the pan.
Can I make this dish spicy?
100 percent. Throw in some dried red chilies with your aromatics, or simply drizzle a generous spoonful of chili crisp oil over the top right before serving.
Do I need to add MSG?
It is totally optional but highly recommended. A tiny pinch adds an incredible depth of umami flavor that elevates the whole meal. Don’t fear it!
What vegetables work best if I hate broccoli?
Snow peas, thinly sliced carrots, baby corn, water chestnuts, and bok choy are all phenomenal, top-tier choices that offer great crunch.
Is this recipe naturally gluten-free?
It can be easily adapted. Just swap out the regular soy sauce for a high-quality tamari and ensure your oyster sauce is certified gluten-free.
So there you have it, my friend. You now have the blueprint, the science, and the step-by-step game plan to conquer dinner tonight. Grab your spatula, crank up your favorite playlist, and get that pan smoking. Trust me, once you take that first bite of perfectly seared shrimp, you will never look at takeout menus the same way again. Now go check your fridge and let’s get cooking!



Leave a Reply