

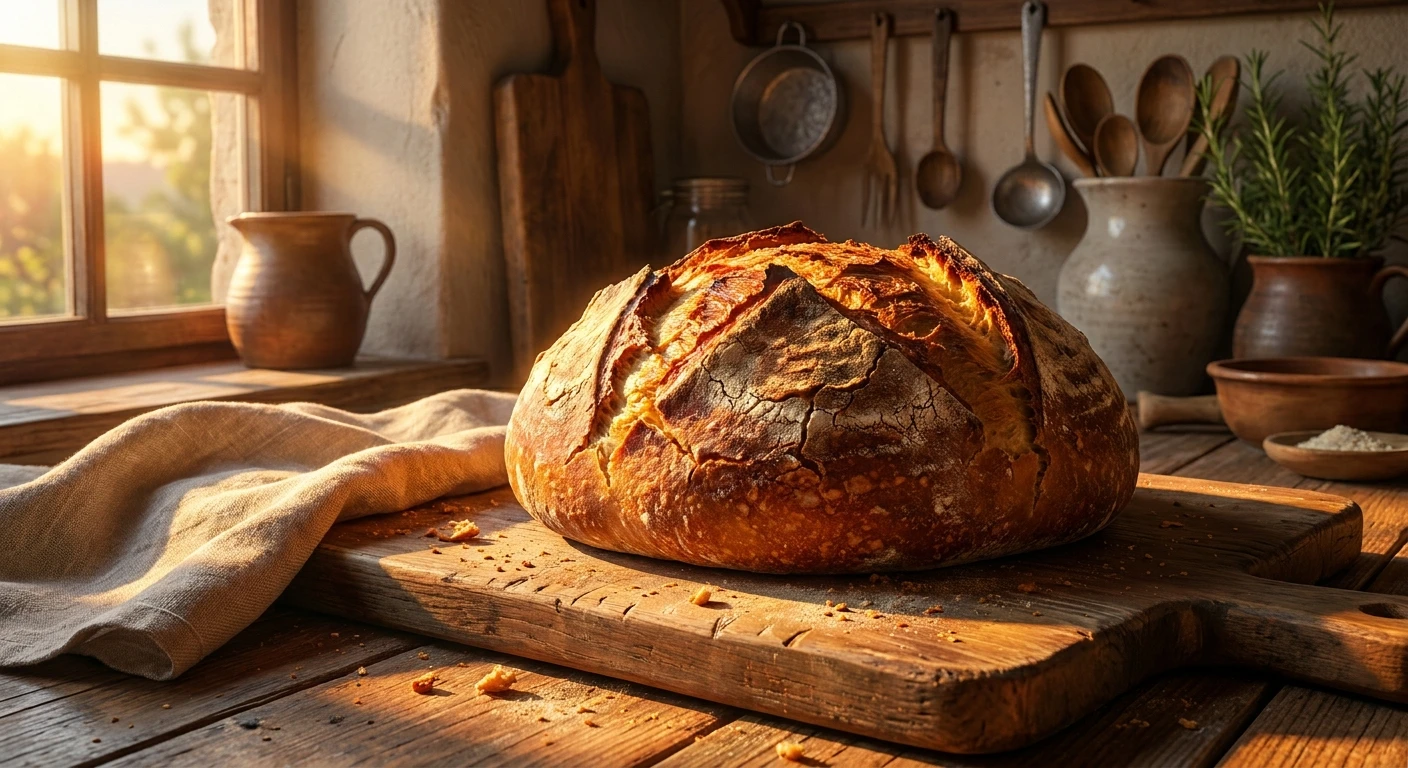
Calabrese Bread: The Ultimate Guide to Italy’s Crunchiest Loaf
Have you ever ripped into a fresh loaf of calabrese bread and just paused for a second to appreciate the sheer perfection of that crispy crust? Listen, if you are anything like me, you probably spend an unhealthy amount of time thinking about carbs. I totally get it. Bread is basically a lifestyle. I remember walking into this incredible little artisan bakery just recently—can you believe how far home baking has evolved by 2026?—and being absolutely floored by the rustic, golden loaves lining the shelves. It instantly brought back memories of a trip I took years ago, wandering through the sun-baked streets of southern Italy. The smell of toasted flour and wild yeast hanging in the air was pure magic.
My goal here is to talk about why this specific regional loaf deserves a permanent spot on your kitchen counter. We are talking about a bread that balances a wildly crunchy exterior with a soft, airy, slightly chewy crumb. It is the kind of rustic masterpiece that holds its own next to a bowl of rich stew or layered up in a heavy-duty sandwich. Stick with me as we break down the history, the hardcore baking science, and the exact steps you need to take to master this dough at home. Grab a coffee, pull up a chair, and let us talk dough.
Why You Should Bake or Buy It Today
So, what exactly sets this southern Italian staple apart from the hundreds of other breads out there? The secret lies in the flour and the fermentation. Traditionally, this loaf is crafted using a significant percentage of durum wheat flour—specifically semola rimacinata, which is finely milled durum wheat. This golden flour gives the dough a slightly yellowish tint, a nutty flavor profile, and an incredibly resilient texture. When you compare it to your standard white loaf, the difference is night and day.
To really understand where this fits into the bakery hierarchy, check out this quick breakdown:
| Bread Type | Crust Texture | Crumb Structure |
|---|---|---|
| Calabrese | Extremely thick and crunchy | Dense, chewy, slightly yellow |
| Sourdough (San Francisco) | Blistered and crispy | Open, airy, very tangy |
| Ciabatta | Thin, dusty, and crisp | Highly open with massive holes |
| French Baguette | Shatteringly crisp, thin | Light, fluffy, irregular holes |
The value proposition of this bread is massive. First, it is the ultimate soup-dipping bread. Because the crumb is slightly tighter and chewier thanks to the durum flour, it does not instantly disintegrate when dunked into a heavy minestrone or a spicy tomato broth. Second, it makes the most structurally sound sandwiches imaginable. You can pile on prosciutto, roasted red peppers, fresh mozzarella, and a heavy drizzle of olive oil, and the crust will hold everything together without turning into a soggy mess.
If you want to know how to spot a truly authentic loaf at your local market, keep these rules in mind:
- Look for the golden hue: The crumb should not be stark white. A pale yellow color indicates the proper use of durum wheat.
- Tap the bottom: When you flip the loaf over and tap the bottom, it should sound hollow and feel incredibly rigid.
- Check the shape: Traditional loaves are usually shaped as large, rustic rounds (boules) or oblong shapes, often with an ‘S’ shape or distinct slashes on top.
Origins of the Dough
Let us travel back in time to the rugged, sun-drenched region of Calabria, located at the very toe of Italy’s boot. Historically, this was a poor, agricultural area where people relied on what they could grow in the harsh, dry climate. Durum wheat, which is much tougher and more drought-resistant than soft wheat, thrived here. Peasant families did not have access to highly refined white flours, so they used what the land gave them. This necessity birthed a bread that was dense, highly nutritious, and capable of lasting for days without spoiling.
Evolution Over the Centuries
As time passed, the baking methods evolved but the core ingredients remained stubbornly traditional. In the old days, families would mix their dough at home in massive wooden troughs called ‘madie’. Because few people owned their own ovens, they would carry their proofed dough to a communal village oven. These massive wood-fired brick ovens reached blistering temperatures, which is exactly what gives this bread its signature thick, dark crust. Women would stamp their loaves with unique family seals or distinct slashing patterns so they could identify their bread when it came out of the communal fire.
The Modern State of Italian Baking
Fast forward to the modern era, and the art of southern Italian baking has exploded globally. Artisan bakers around the world are rediscovering the magic of regional Italian flours. The intense focus on slow fermentation and natural leavening has brought these historic recipes back into the spotlight. While modern deck ovens have replaced the communal village wood fires, the passion for that authentic, blistered crust and chewy durum crumb remains stronger than ever.
The Chemistry of the Crust
Okay, let us geek out for a minute and talk about the science behind why this bread is so ridiculously good. Baking is basically just edible chemistry. The incredible crust of a Calabrese loaf comes down to a process called the Maillard reaction. When the amino acids and reducing sugars in the durum wheat hit the intense heat of the oven, they rapidly caramelize. Because this specific dough usually contains a lower hydration level compared to something like a ciabatta, the outside dries out quickly in the oven, creating a thick, protective shell that locks the moisture inside the crumb.
Fermentation and Hydration Secrets
The texture of the crumb is heavily dictated by the hydration and the fermentation schedule. Most traditional recipes utilize a ‘biga’—a stiff pre-ferment that is mixed a day in advance. This biga develops complex organic acids that give the bread a subtle tang and dramatically improve its shelf life. Durum wheat absorbs water differently than standard bread flour, so bakers have to carefully balance the hydration to ensure the dough does not become too dense.
- High Protein Content: Durum wheat has a high protein level (around 13-14%), but its gluten network is less elastic than soft wheat, resulting in a chewier bite.
- Starch Gelatinization: The prolonged baking time allows the starches in the dough to fully gelatinize, which gives the interior its slightly glossy, soft texture.
- Enzymatic Activity: A long, slow fermentation at cool temperatures allows enzymes to break down complex starches into simple sugars, fueling the yeast and enhancing the crust’s caramelization.
- Oven Spring: The initial blast of steam in a professional or Dutch oven keeps the crust pliable just long enough for the dough to rapidly expand before the crust hardens.
Step 1: Sourcing the Right Flour
If you want to tackle this 7-Day Bread Mastery plan, the first day is all about gathering the right materials. Do not just grab standard all-purpose flour. You need to hunt down high-quality bread flour and, most importantly, fine semolina flour (semola rimacinata). The ratio is typically 70% bread flour to 30% semolina. Check local Italian specialty shops or order online. Getting the flour right is non-negotiable for that authentic texture.
Step 2: Building the Biga
On day two, you are going to create your pre-ferment. A biga is a stiff mixture of flour, water, and a tiny pinch of commercial yeast. You mix it until it just barely comes together into a shaggy ball, then cover it and let it sit at room temperature for 12 to 16 hours. This slow, cool fermentation is where all the deep, complex flavors are born. It requires patience, but the payoff is massive.
Step 3: The Autolyse and Mixing
Day three is where the magic happens. You take your ripe biga, tear it into chunks, and mix it with the remaining flour, water, and salt. I highly recommend using the autolyse method—mixing just the flour and water together and letting it rest for 30 minutes before adding the salt and biga. This hydrates the flour fully and jumpstarts gluten development, making the dough much easier to handle.
Step 4: Bulk Fermentation and Folding
Now you are entering the bulk fermentation stage. The dough needs to rest in a warm spot for about 3 to 4 hours. During this time, you want to perform a series of stretch-and-folds every 45 minutes. You literally grab the edge of the dough, pull it up, and fold it over itself. This builds incredible structural strength into the gluten network without aggressively kneading the air out of the dough.
Step 5: Shaping the Loaf
Once the dough is bubbly and has increased in volume, turn it out onto a lightly floured surface. You want to shape it gently into a tight boule (round) or a batard (oval). Use your bench scraper to create surface tension on the outside of the dough. The tighter the surface, the better it will split and bloom in the oven. Place it in a banneton (proofing basket) and pop it in the fridge overnight to retard the final proof.
Step 6: The Final Bake
Preheat your oven to a screaming hot 475°F (245°C) with a Dutch oven inside. You need intense heat and steam. Score the top of your cold dough with a razor blade, carefully drop it into the hot Dutch oven, cover it with the lid, and bake for 20 minutes. Then, remove the lid and bake for another 20-25 minutes until the crust is a deep, dark mahogany brown. Let it cool completely on a wire rack—do not cut into it while it is hot!
Step 7: The Perfect Sandwich and Storage
By day seven, you have a masterpiece. The crust will be slightly softer but still wonderfully chewy. This is the absolute best time to make bruschetta. Slice it thick, toast it over an open flame, rub a raw clove of garlic over the rough surface, and pile on fresh tomatoes and olive oil. To store whatever is left, keep it in a paper bag or bread box at room temperature. Never put it in the fridge, or it will dry out instantly.
Myths and Realities
Myth: You need a wood-fired brick oven to make this bread properly.
Reality: While a wood-fired oven is traditional and adds a unique smokiness, you can absolutely replicate the intense heat and steam environment at home using a heavy cast-iron Dutch oven.
Myth: Durum wheat makes the bread too heavy and dense.
Reality: If the hydration and fermentation are handled correctly, durum actually creates a beautifully soft, slightly chewy crumb that is incredibly pleasant to eat.
Myth: Artisan bread like this goes stale in a single day.
Reality: Thanks to the use of a biga (pre-ferment) and the thick protective crust, a well-baked loaf can actually stay fresh and highly edible for up to four or five days.
Myth: You can just substitute cornmeal if you cannot find semolina flour.
Reality: Absolutely not. Cornmeal does not contain gluten and behaves entirely differently. Semolina is wheat, which is essential for the structure.
Frequently Asked Questions
Can I freeze the baked loaf?
Yes, absolutely. Once it is completely cooled, slice it, wrap the slices tightly in plastic wrap, and place them in a freezer bag. You can toast the slices straight from frozen.
Is this bread naturally vegan?
Yes! Authentic recipes contain nothing but flour, water, salt, and yeast. There are no dairy, eggs, or animal fats involved in the traditional baking process.
What is the exact hydration percentage usually used?
Most traditional recipes aim for a hydration level between 65% and 72%. It is wet enough to create an open crumb but dry enough to hold a tall, proud shape.
Do I strictly need a Dutch oven?
While a Dutch oven is the easiest way to trap steam at home, you can also bake on a preheated pizza stone and pour boiling water into a heavy pan at the bottom of the oven to create steam.
Why is my crust turning out soft?
A soft crust usually means your oven was not hot enough, you did not bake it long enough, or you trapped it in a plastic bag after baking, which causes the crust to steam and soften.
Can I use a sourdough starter instead of a biga?
Definitely. Using an active, bubbly sourdough starter adds incredible complex flavors. You will just need to adjust your bulk fermentation times since wild yeast works slower than commercial yeast.
Why is my crumb super tight and heavy?
This usually points to under-proofing. If the dough has not spent enough time fermenting and building gas, the interior will be gummy and dense instead of light and chewy.
What happens if I skip the autolyse step?
You can skip it, but you will have to knead the dough significantly longer to develop the gluten. The autolyse makes the dough smoother, more extensible, and vastly easier to work with by hand.
There you have it—a complete, no-nonsense breakdown of one of Italy’s greatest culinary treasures. Baking is a journey, and mastering this particular loaf will totally elevate your kitchen game. The crunch, the flavor, the history; it all comes together in one perfect bite. Do not wait for a special occasion. Grab some high-quality flour, mix up a biga tonight, and start your own baking adventure. If you enjoyed this guide, share it with a friend who loves carbs just as much as you do!



Leave a Reply